
A Day In The Life Of A Sports Photographer At The World Collegiate Baseball Championship Final Featuring The Canon EOS R1 & EOS R5 Mark II
Every summer, my schedule fills up with sports tournaments. Sometimes I shoot as an official photographer for the tournament, sometimes as a team photographer, and other times representing media outlets. People often express envy, saying how amazing it is that I get to travel the world taking photos. But the truth is, this job is far from easy. Every role carries distinct demands and objectives, not to mention one overarching goal that unites them all: capturing exceptional match photos. Whether you can execute this consistently determines if clients and vendors will pay you what you’re worth.
How should you structure your workflow during a sports event?Is it just a matter of holding down the shutter and spraying shots, or is there a more efficient, strategic approach?
Today, I’ll walk you through my exact operational workflow, taking my day at the Gold Medal Game of the World Collegiate Baseball Championship Final as a real-world case study.
Pre-Game Preparation
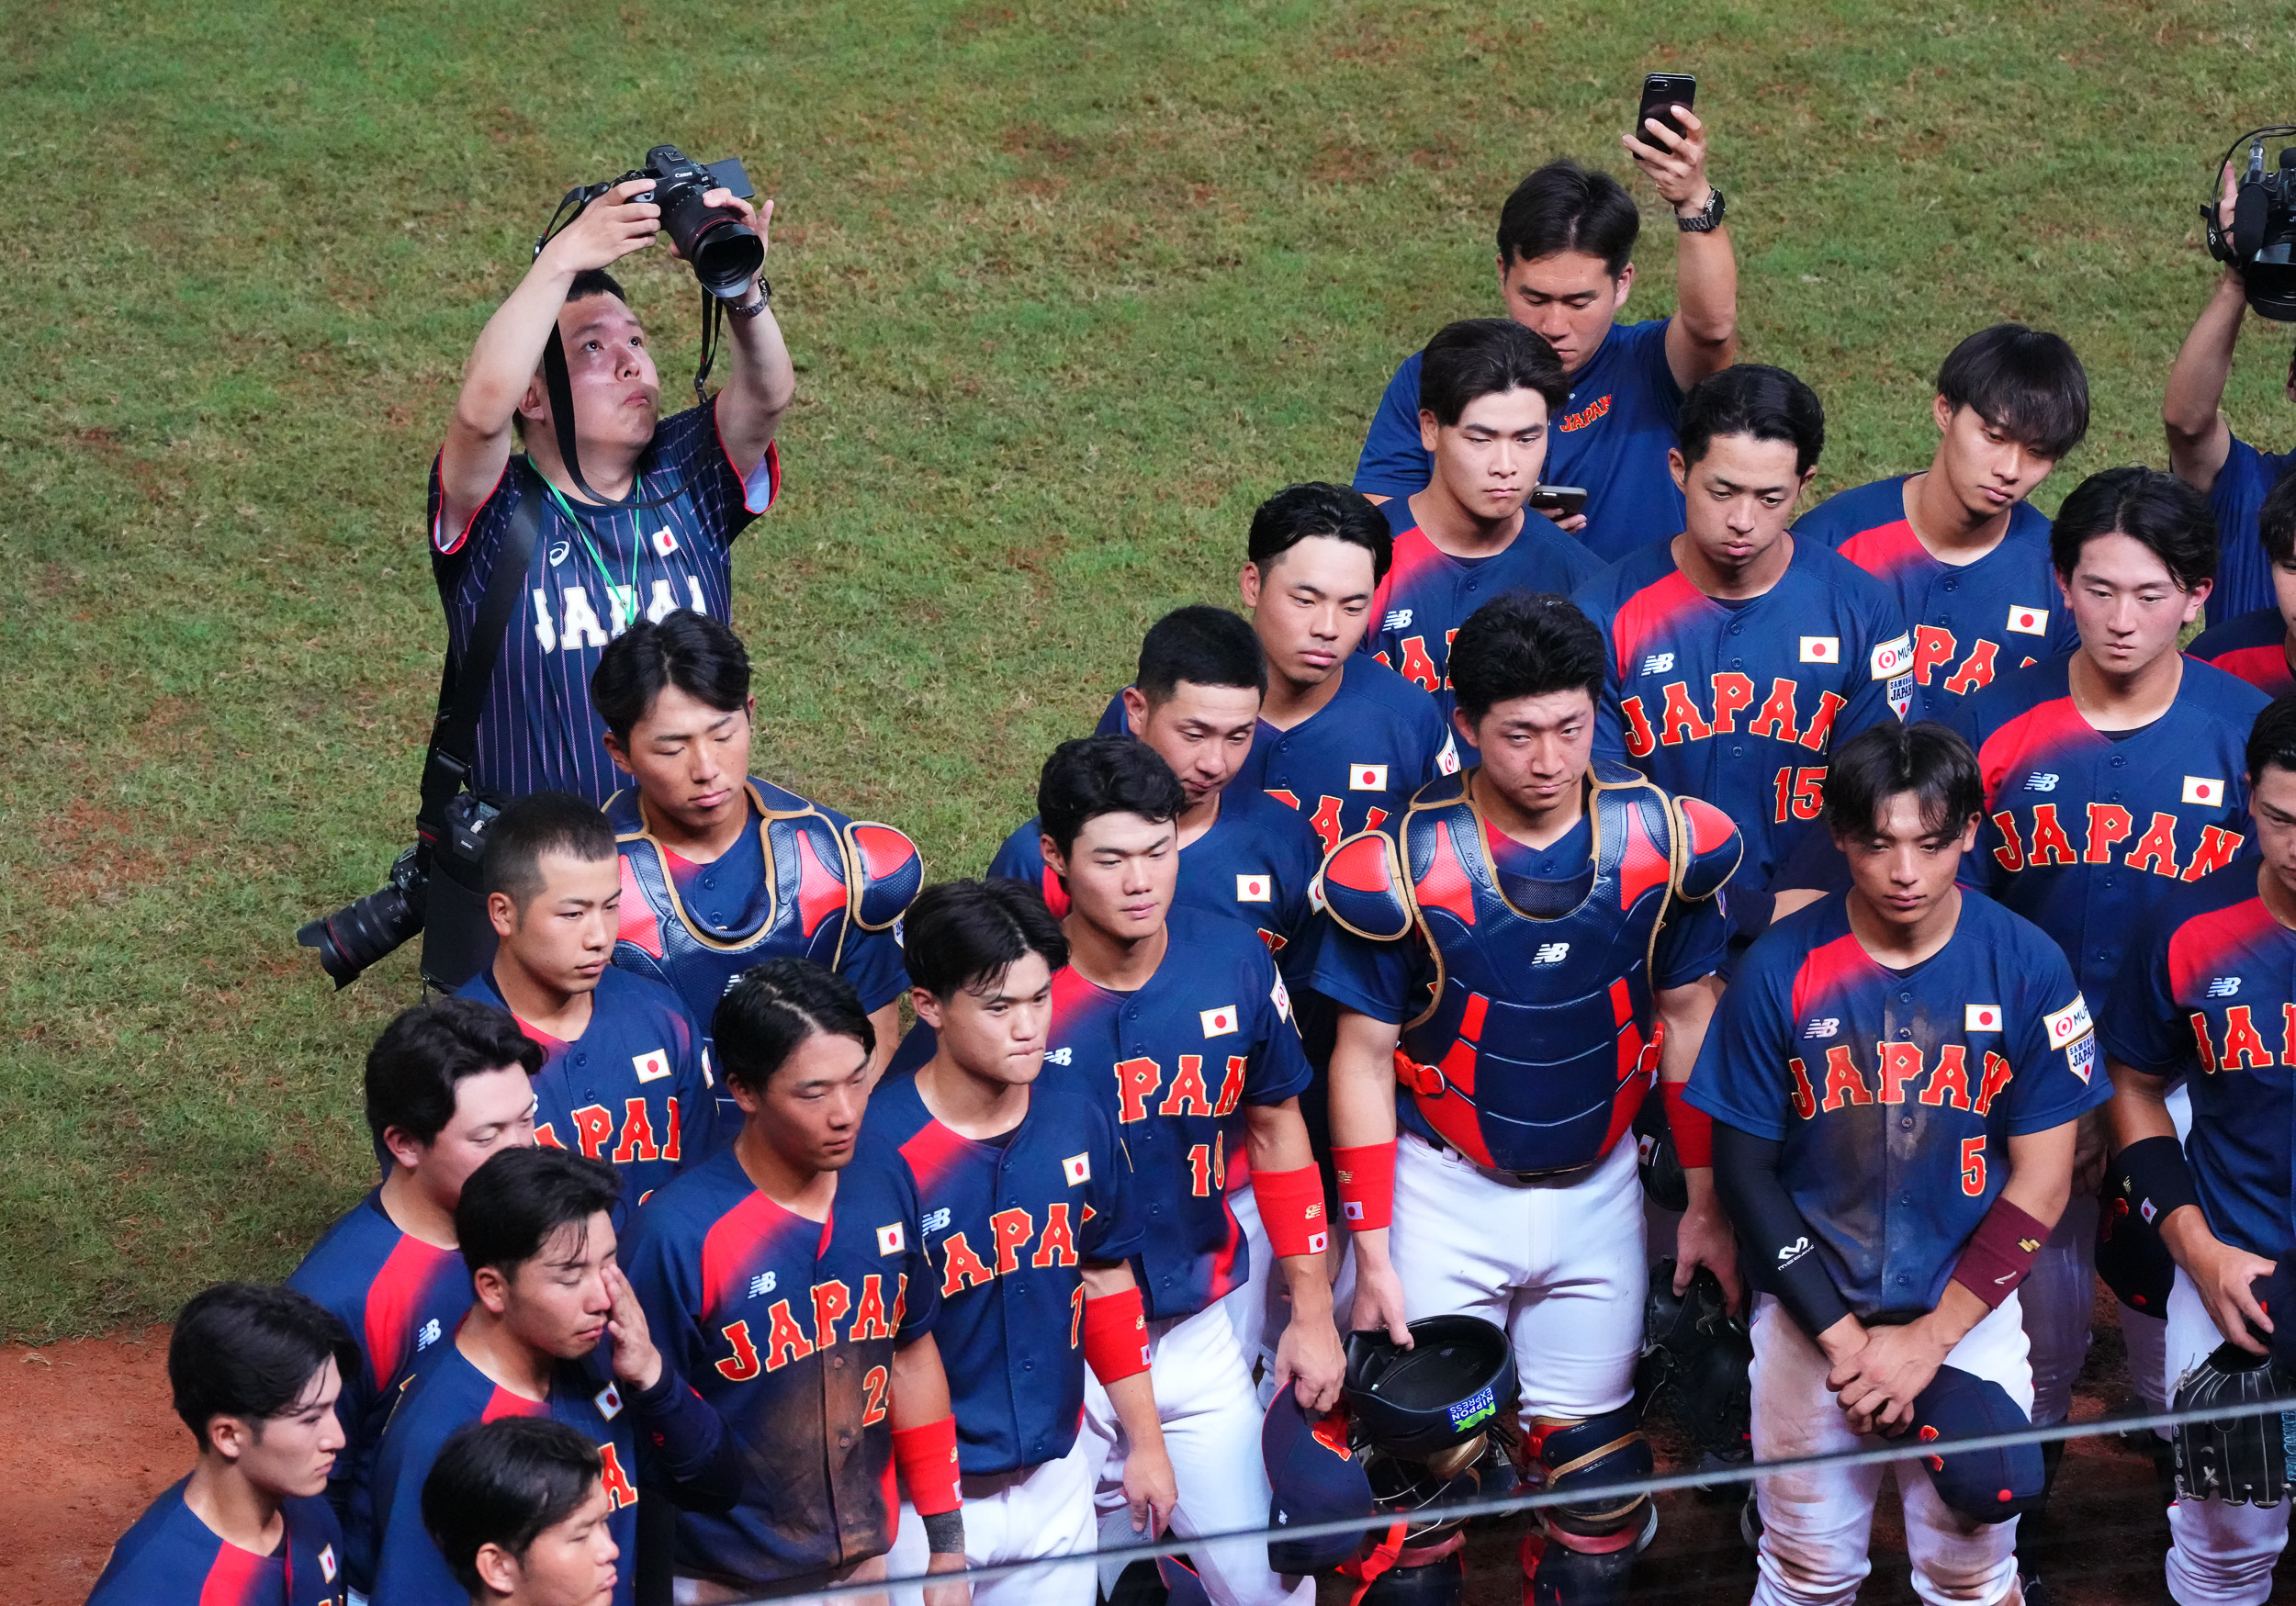
Understand the Client’s Brief & Define Your Role
When assigned a job, many photographers jump straight into shooting as soon as the pay is confirmed, neglecting to thoroughly listen to the client’s actual requirements. Before showcasing your photo skills, you must carefully clarify what the client needs and understand your specific role on the field.
Photography roles generally break down into three primary categories:
- Official Photographer: Captures high-action highlight shots (a fundamental requirement), pre-game events (commercial and networking), star player interactions, general event atmosphere, and sponsor integration/branding placement.
- Team Photographer: Focuses primarily on a specific team’s roster. The objective is to capture every participating player from multiple angles (portraiture, training sessions, product placements) and game action, ensuring equal and fair coverage across the entire squad.
- Media Photographer: Structures shot selection around news editorial needs, such as capturing specific players designated by text journalists or documenting key high-profile interactions on the field.
Identify Final Photo Deliverables & Distribution Platforms
Once you know what the client expects, you need to understand how and where the images will be published. Framing and orientation must be tailored to these platforms:
|
• General Stock / Storytelling Assets: Well-composed, action-packed offensive and defensive moments, or narrative-driven shots that pair well with text. Available in both landscape and portrait orientations. • Editorial News Outlets (Websites): Primarily 4:3 landscape orientation, perfectly formatted for text-and-image news articles. • Social Media Platforms: 4:5 vertical and 1:1 square aspect ratios are standard for Facebook and Instagram posts. 9:16 vertical is required for Stories. Unless explicitly specified, provide a variety of wider landscape shots to allow designers room to crop and edit without clipping subjects too tightly. • Sponsor & Commercial Use: Always retain high-resolution RAW files to give brand partners maximum flexibility for high-end print, advertising, and merchandise production. |
Drafting an Operational Execution Plan
After confirming the requirements and target platforms, I compile a formal Execution Plan detailing the single-day roadmap:
- Timeline, Venue & Event Schedule: Knowing exactly when to arrive at the ballpark (typically 4 hours before first pitch) and verifying venue details (especially when matches are split across multiple fields).
- Shot Checklist: An itemized list of required shots to ensure zero missing deliverables.
- Delivery Deadlines & Platforms: Confirming real-time filing requirements (live-transmitting during game vs. post-game upload) and designated client destination servers (Website CMS, FTP, Google Drive, Dropbox, OneDrive, etc.).
In-Game Shooting Logic & Execution
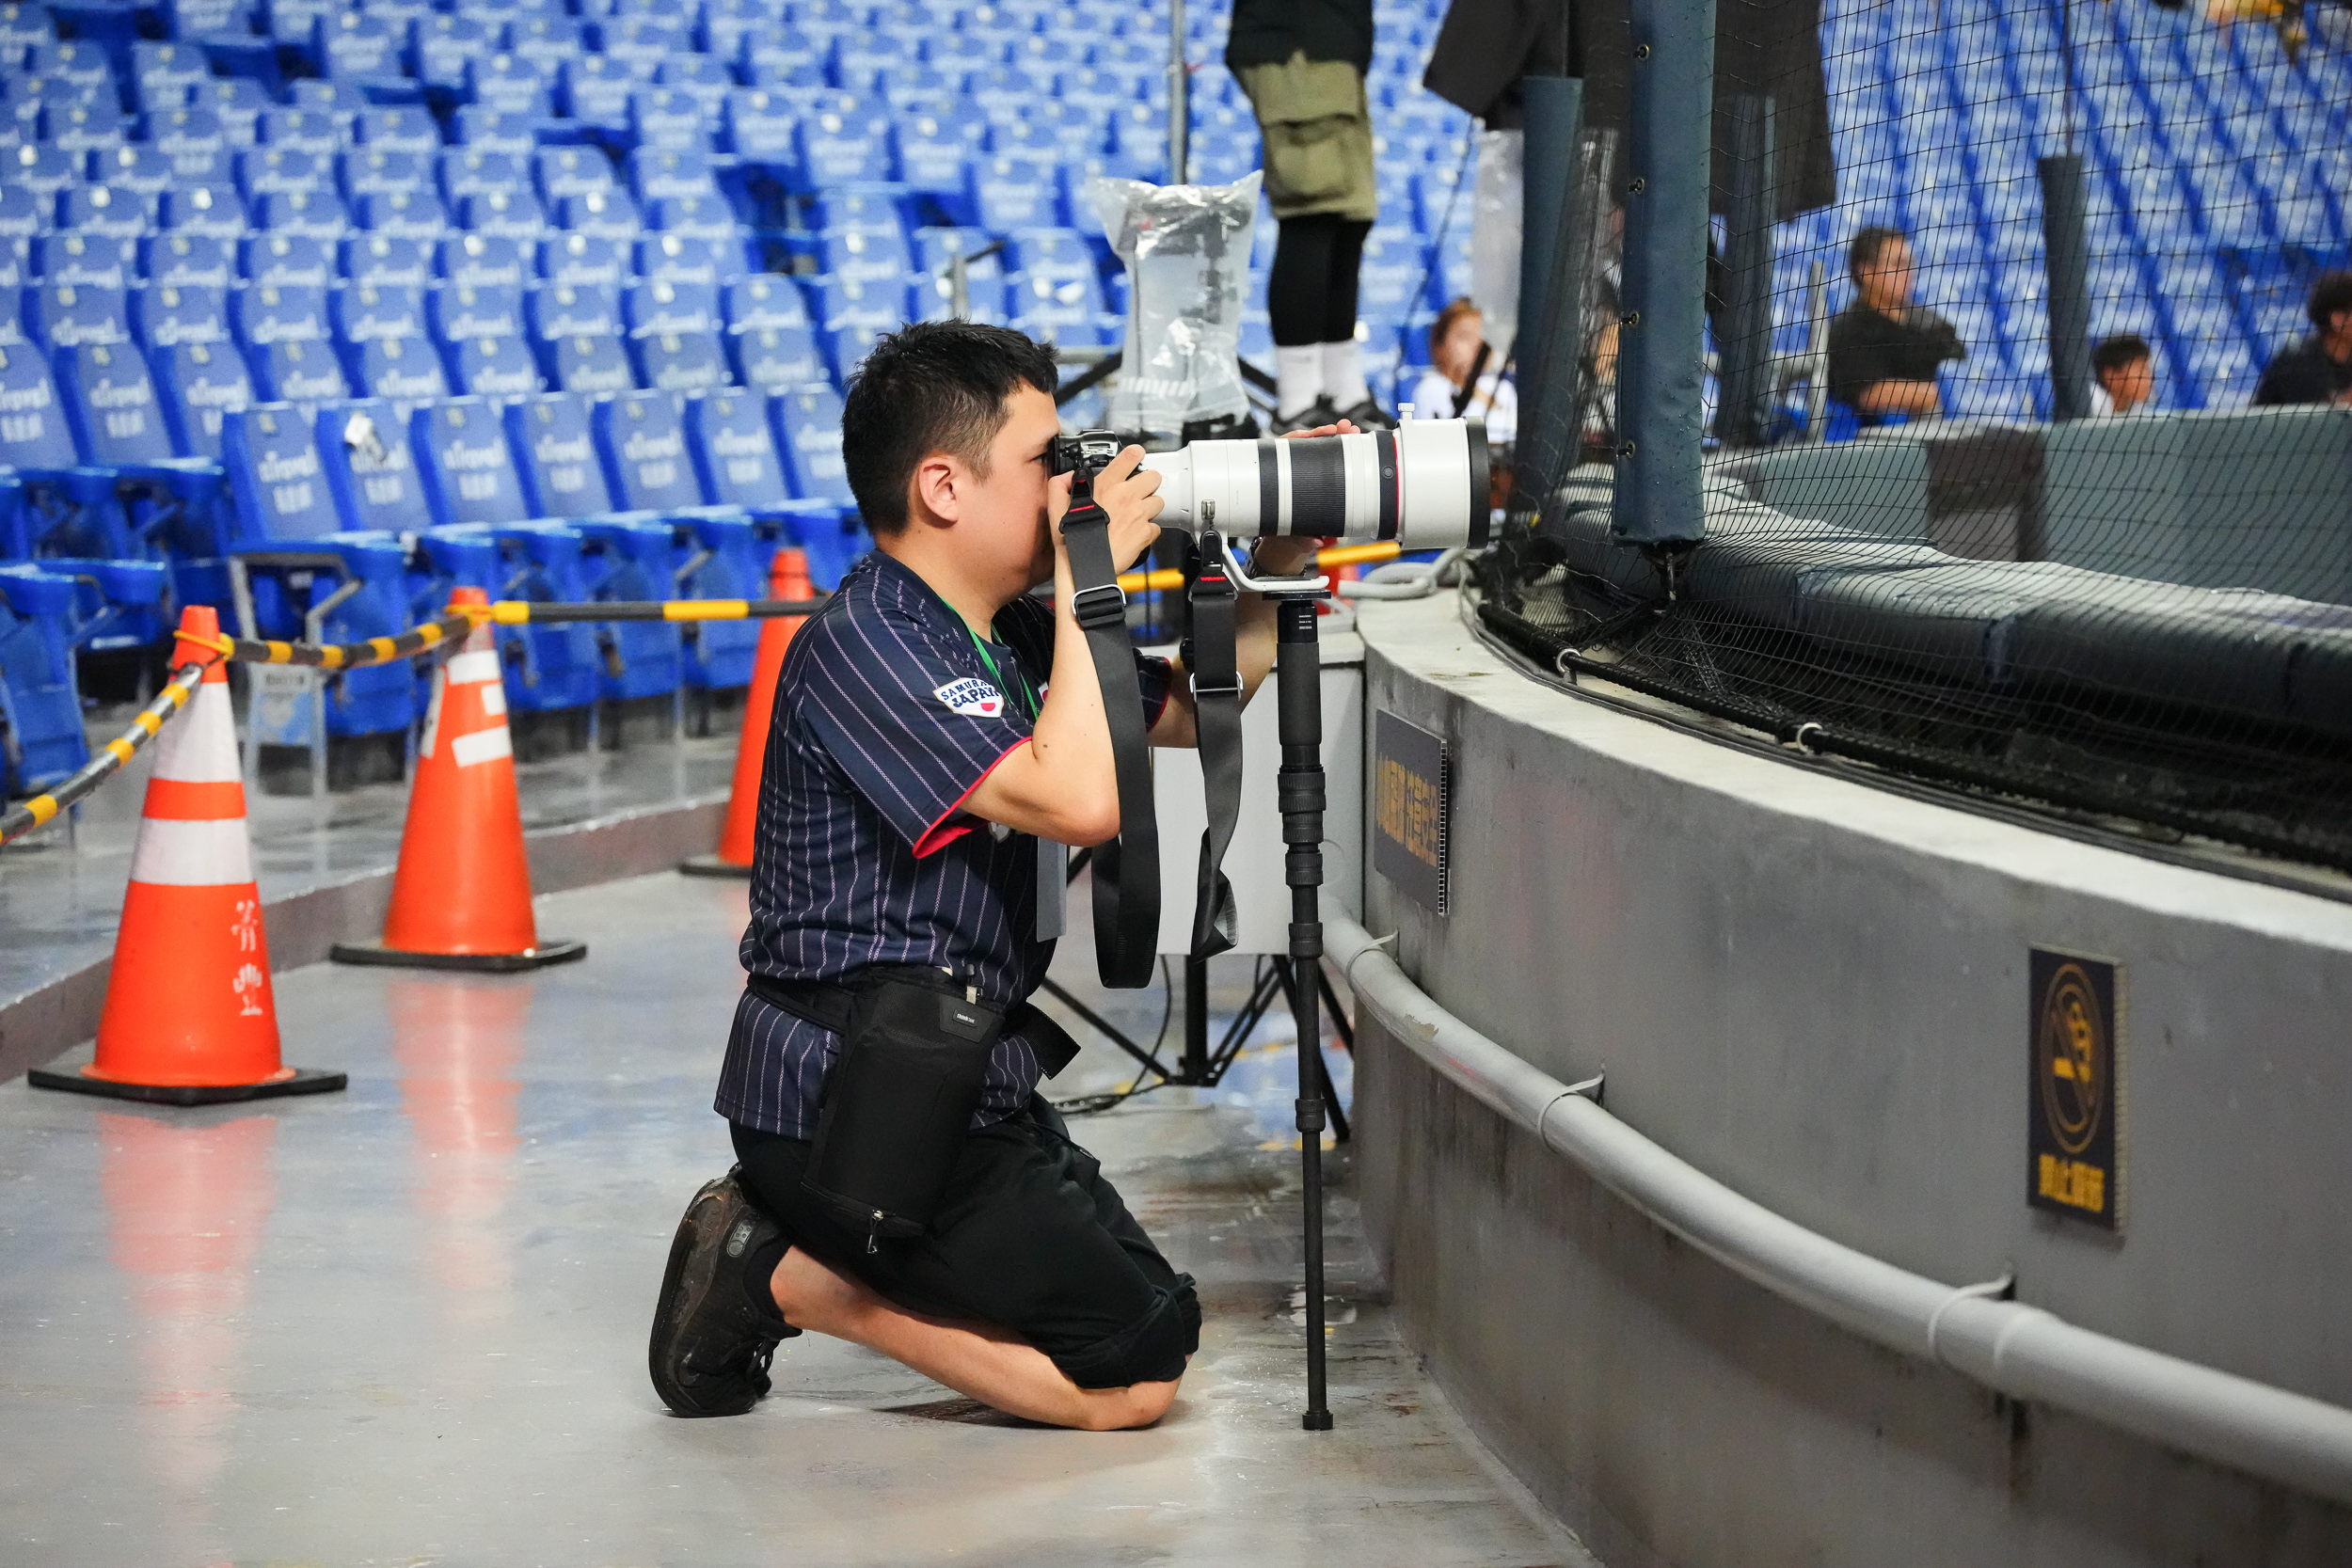
Moving into the game you might think, ‘It’s just two teams playing—track the ball, snap a nice play, shoot whatever happens. Does that really require a strategy?’ I can tell you unequivocally that this is a completely flawed mindset. Sports photography isn’t like taking casual smartphone snapshots.
When wielding flagship high-speed bodies like the Canon EOS R5 Mark II (30 fps burst) or the flagship Canon EOS R1 (40 fps burst), pulling 2,000 to 3,000 frames in a standard game is common. In a high-pressure championship match where every single inning and play matters, the volume skyrockets. Across the World Collegiate Baseball Championship Finals and post-game ceremony, I captured a total of 17,952 images. Trying to cull through nearly 18,000 photos blindly post-game is inefficient and a massive waste of time.
|
PRO TIP: On-the-Fly In-Camera Rating System To solve this, I take physical notes on paper during the game while actively utilizing the camera’s built-in Rating (‘Rate’) button. During brief lulls between pitches and batters, I quickly review shots on the camera LCD: • 5-Star Rating: Assigned to essential, key highlight shots. Processed FIRST during game or post-game. • 1-Star Rating: Assigned to strong secondary shots. Processed in the second wave. • Final Wave: Quick scan of the immediate frame sequences surrounding 1-star and 5-star shots to ensure no secondary expression was missed. |
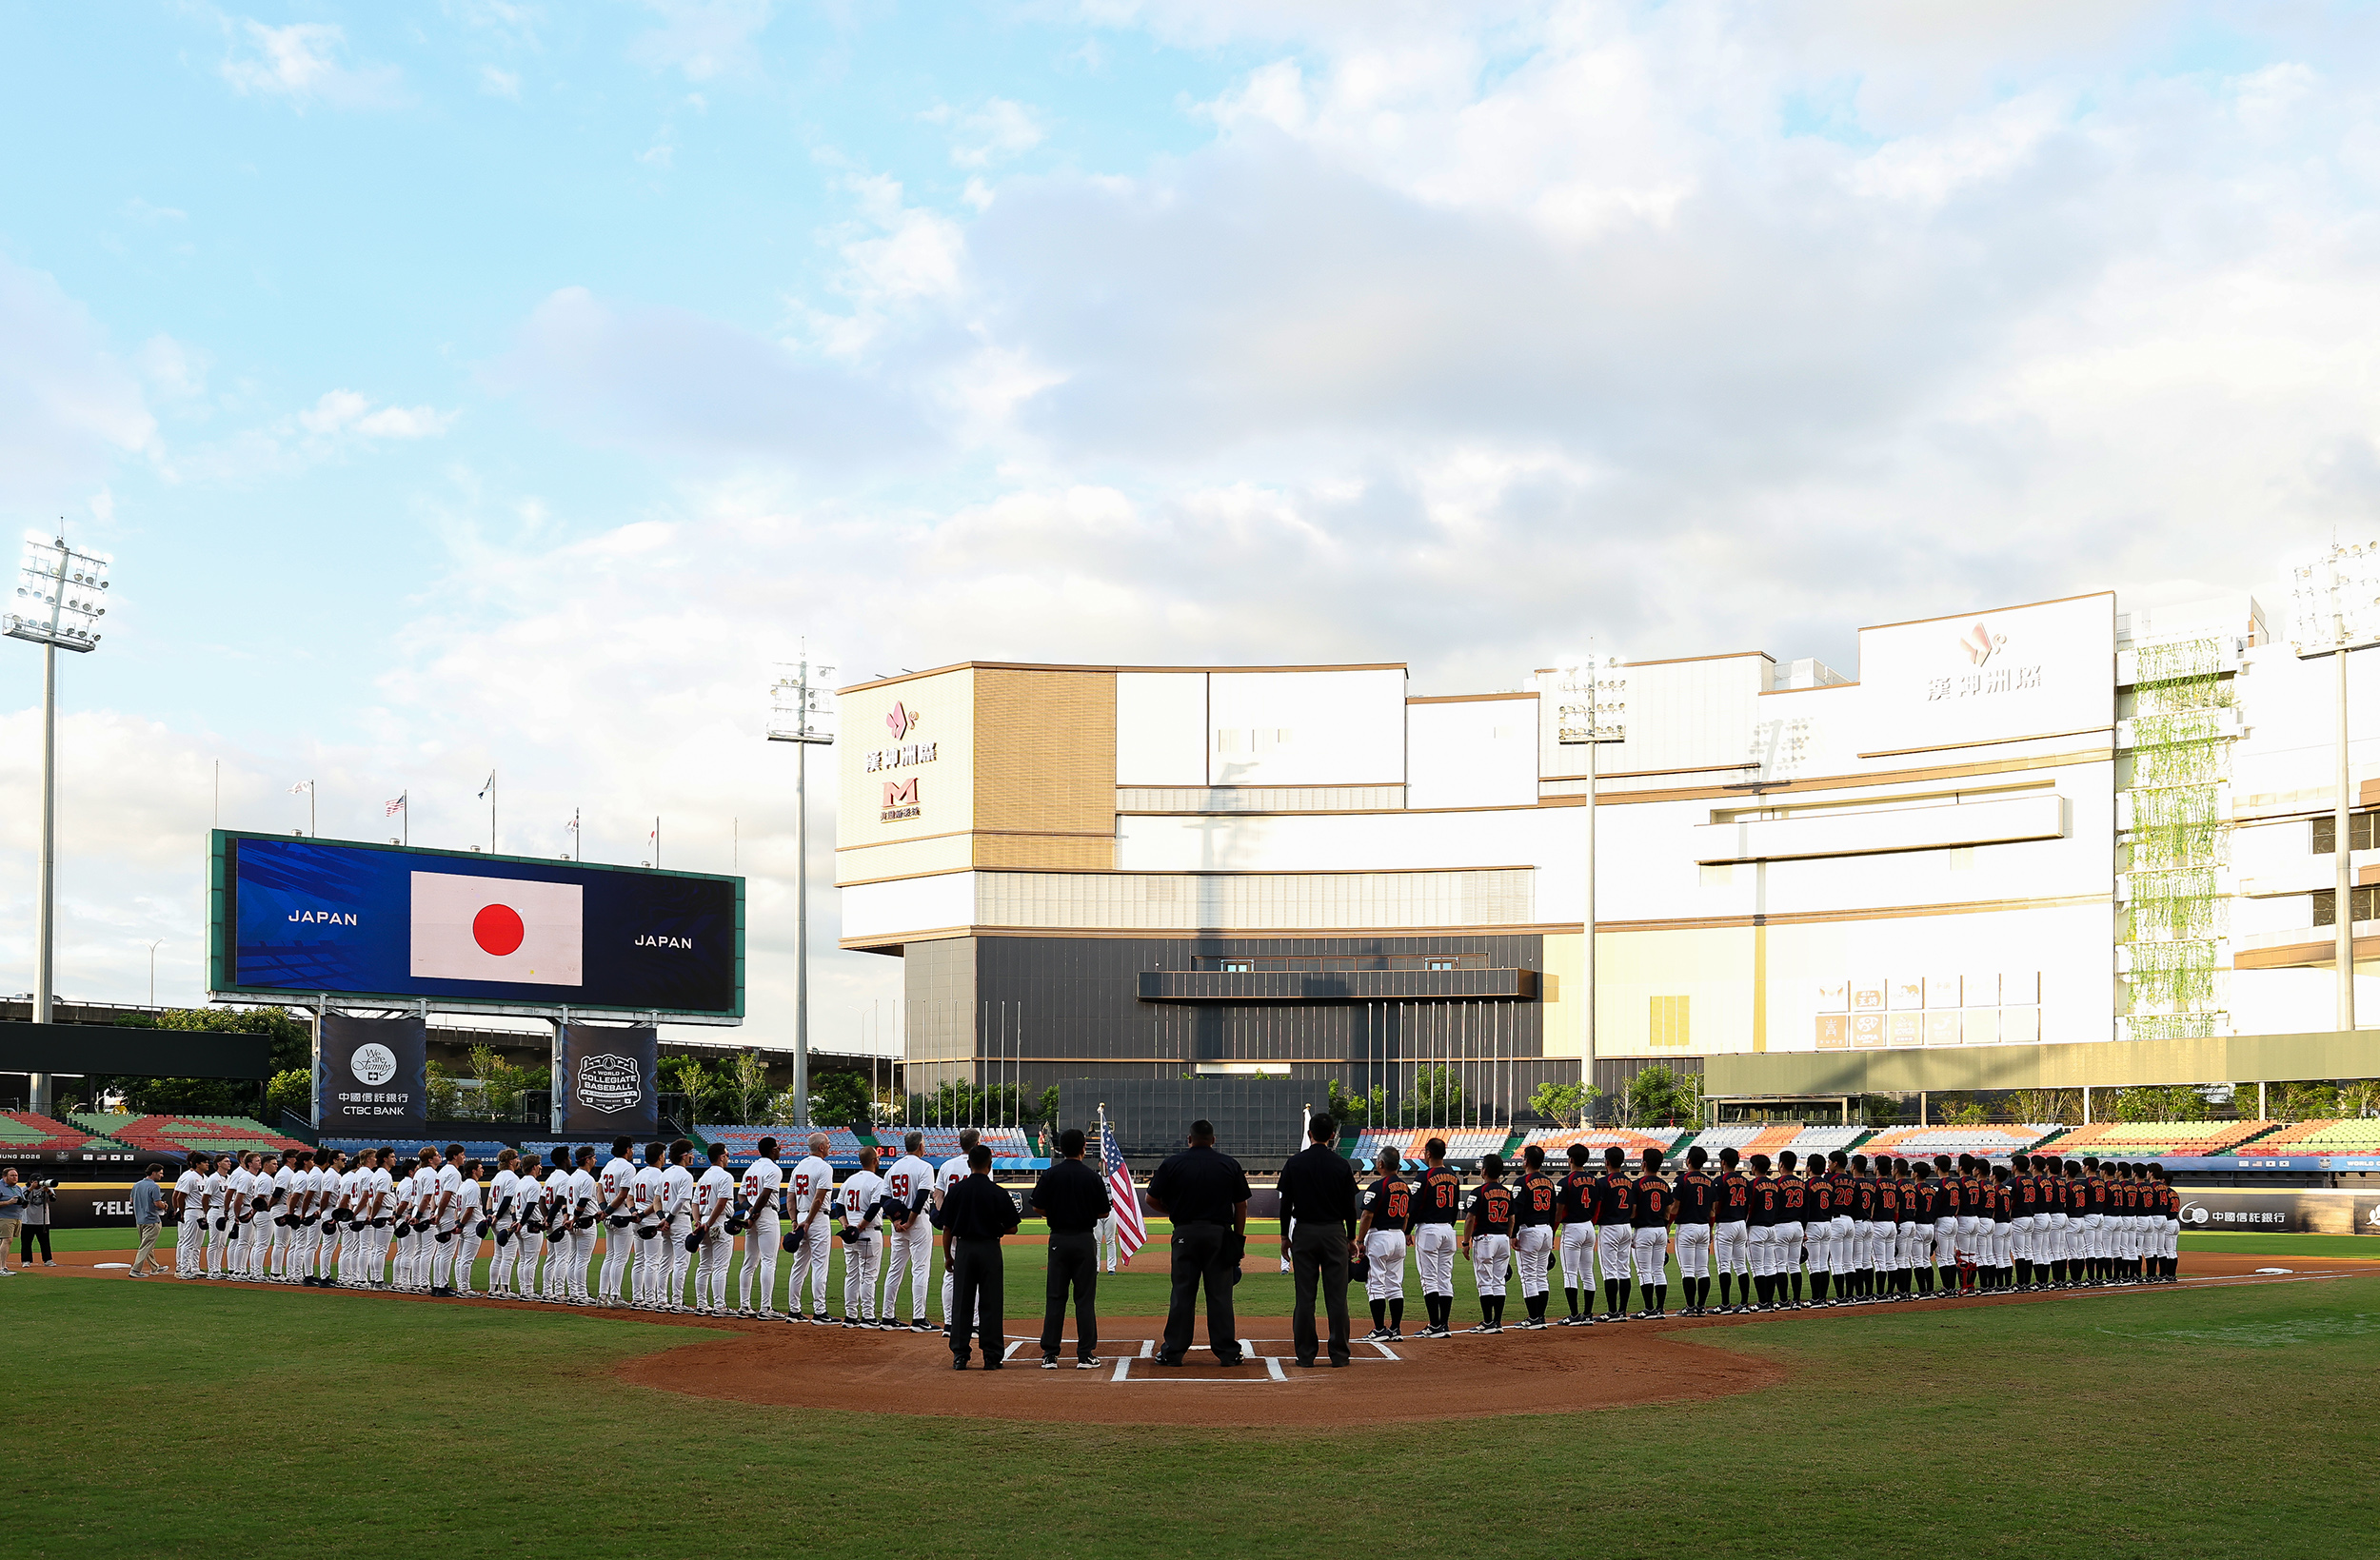
I break my in-game shooting strategy down into distinct chronological phases:
1.Pre-Game Ceremonies: Workflow varies by role. For media photographers, line-up shots during national anthems are mandatory, lazy photographers stay put, but diligent ones walk out to center field for a clean head-on wide angle. Official or team photographers should leverage ultra-wide or super-telephoto lenses to capture grand stadium atmosphere and intense player facial close-ups.
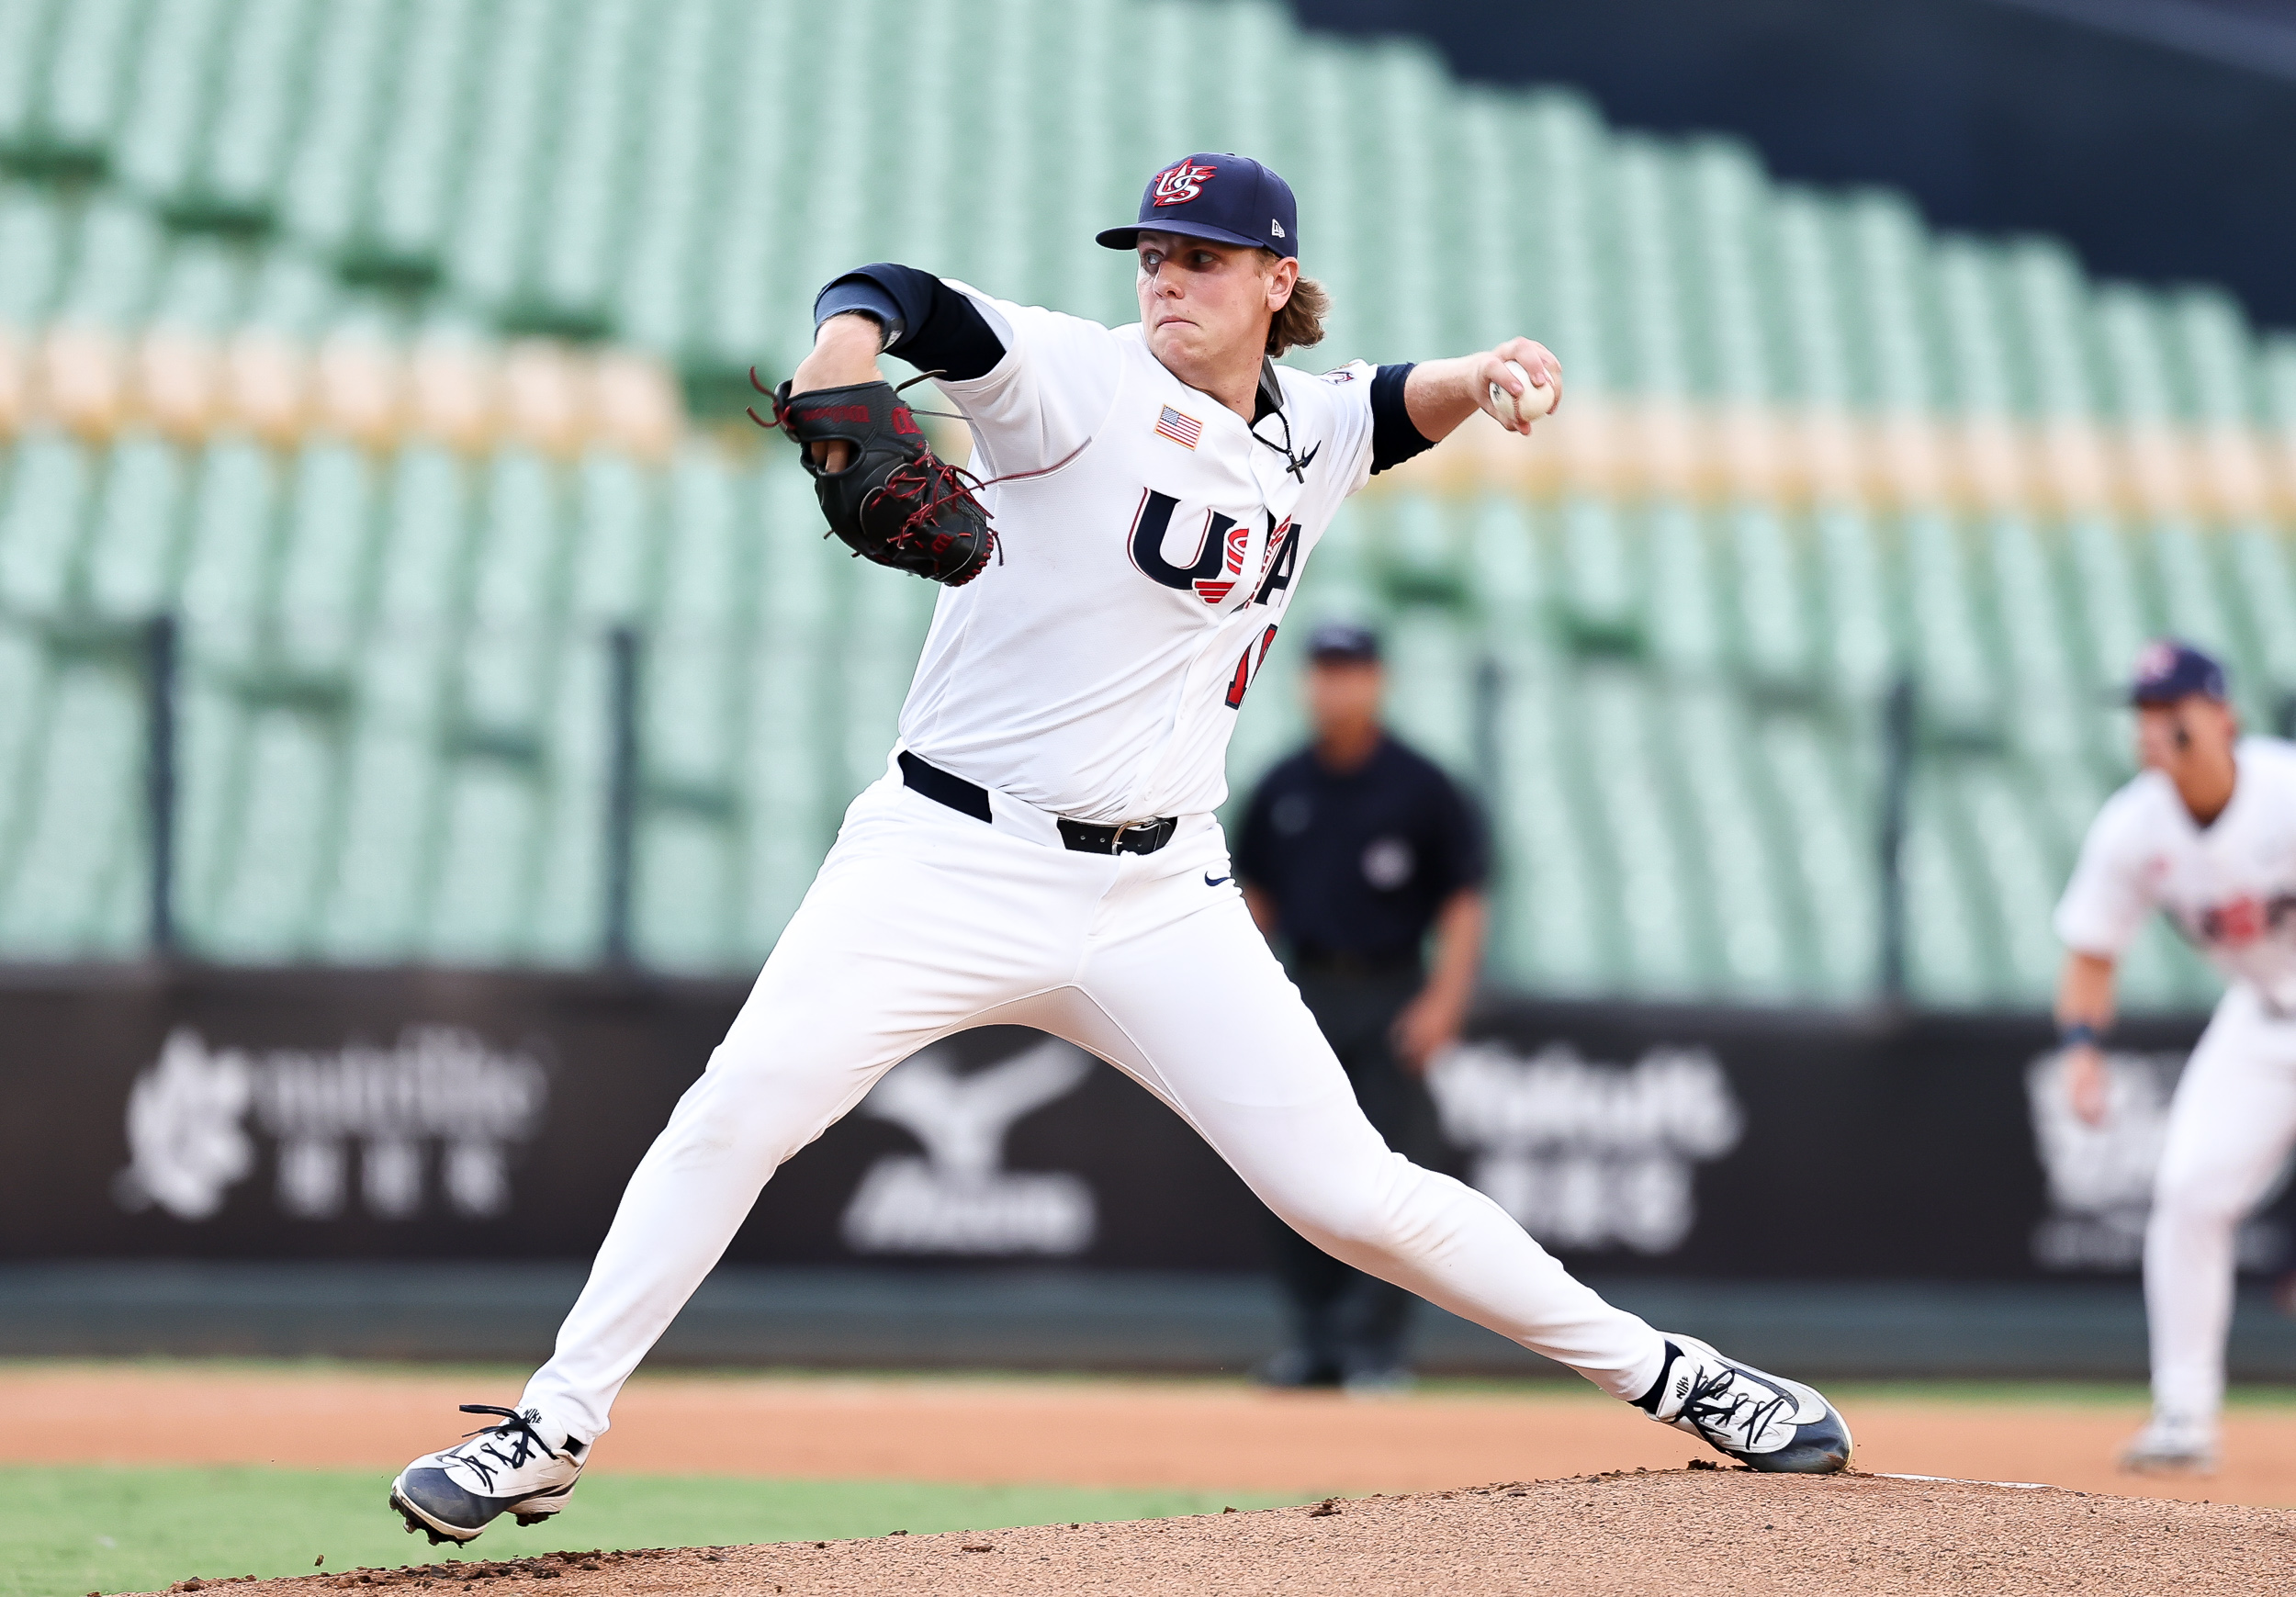
2.Innings 1–2 (Multi-Angle Starting Pitchers): As the game starts, focus on starting pitchers finding their rhythm. Prioritize head-on angles: 3rd base side for right-handed starting pitchers, 1st base side for left-handed starting pitchers. If stadium access permits, shoot directly behind home plate. Simultaneously, monitor defensive plays, contextual stadium environmental shots, and key player milestones or return-from-injury narratives.
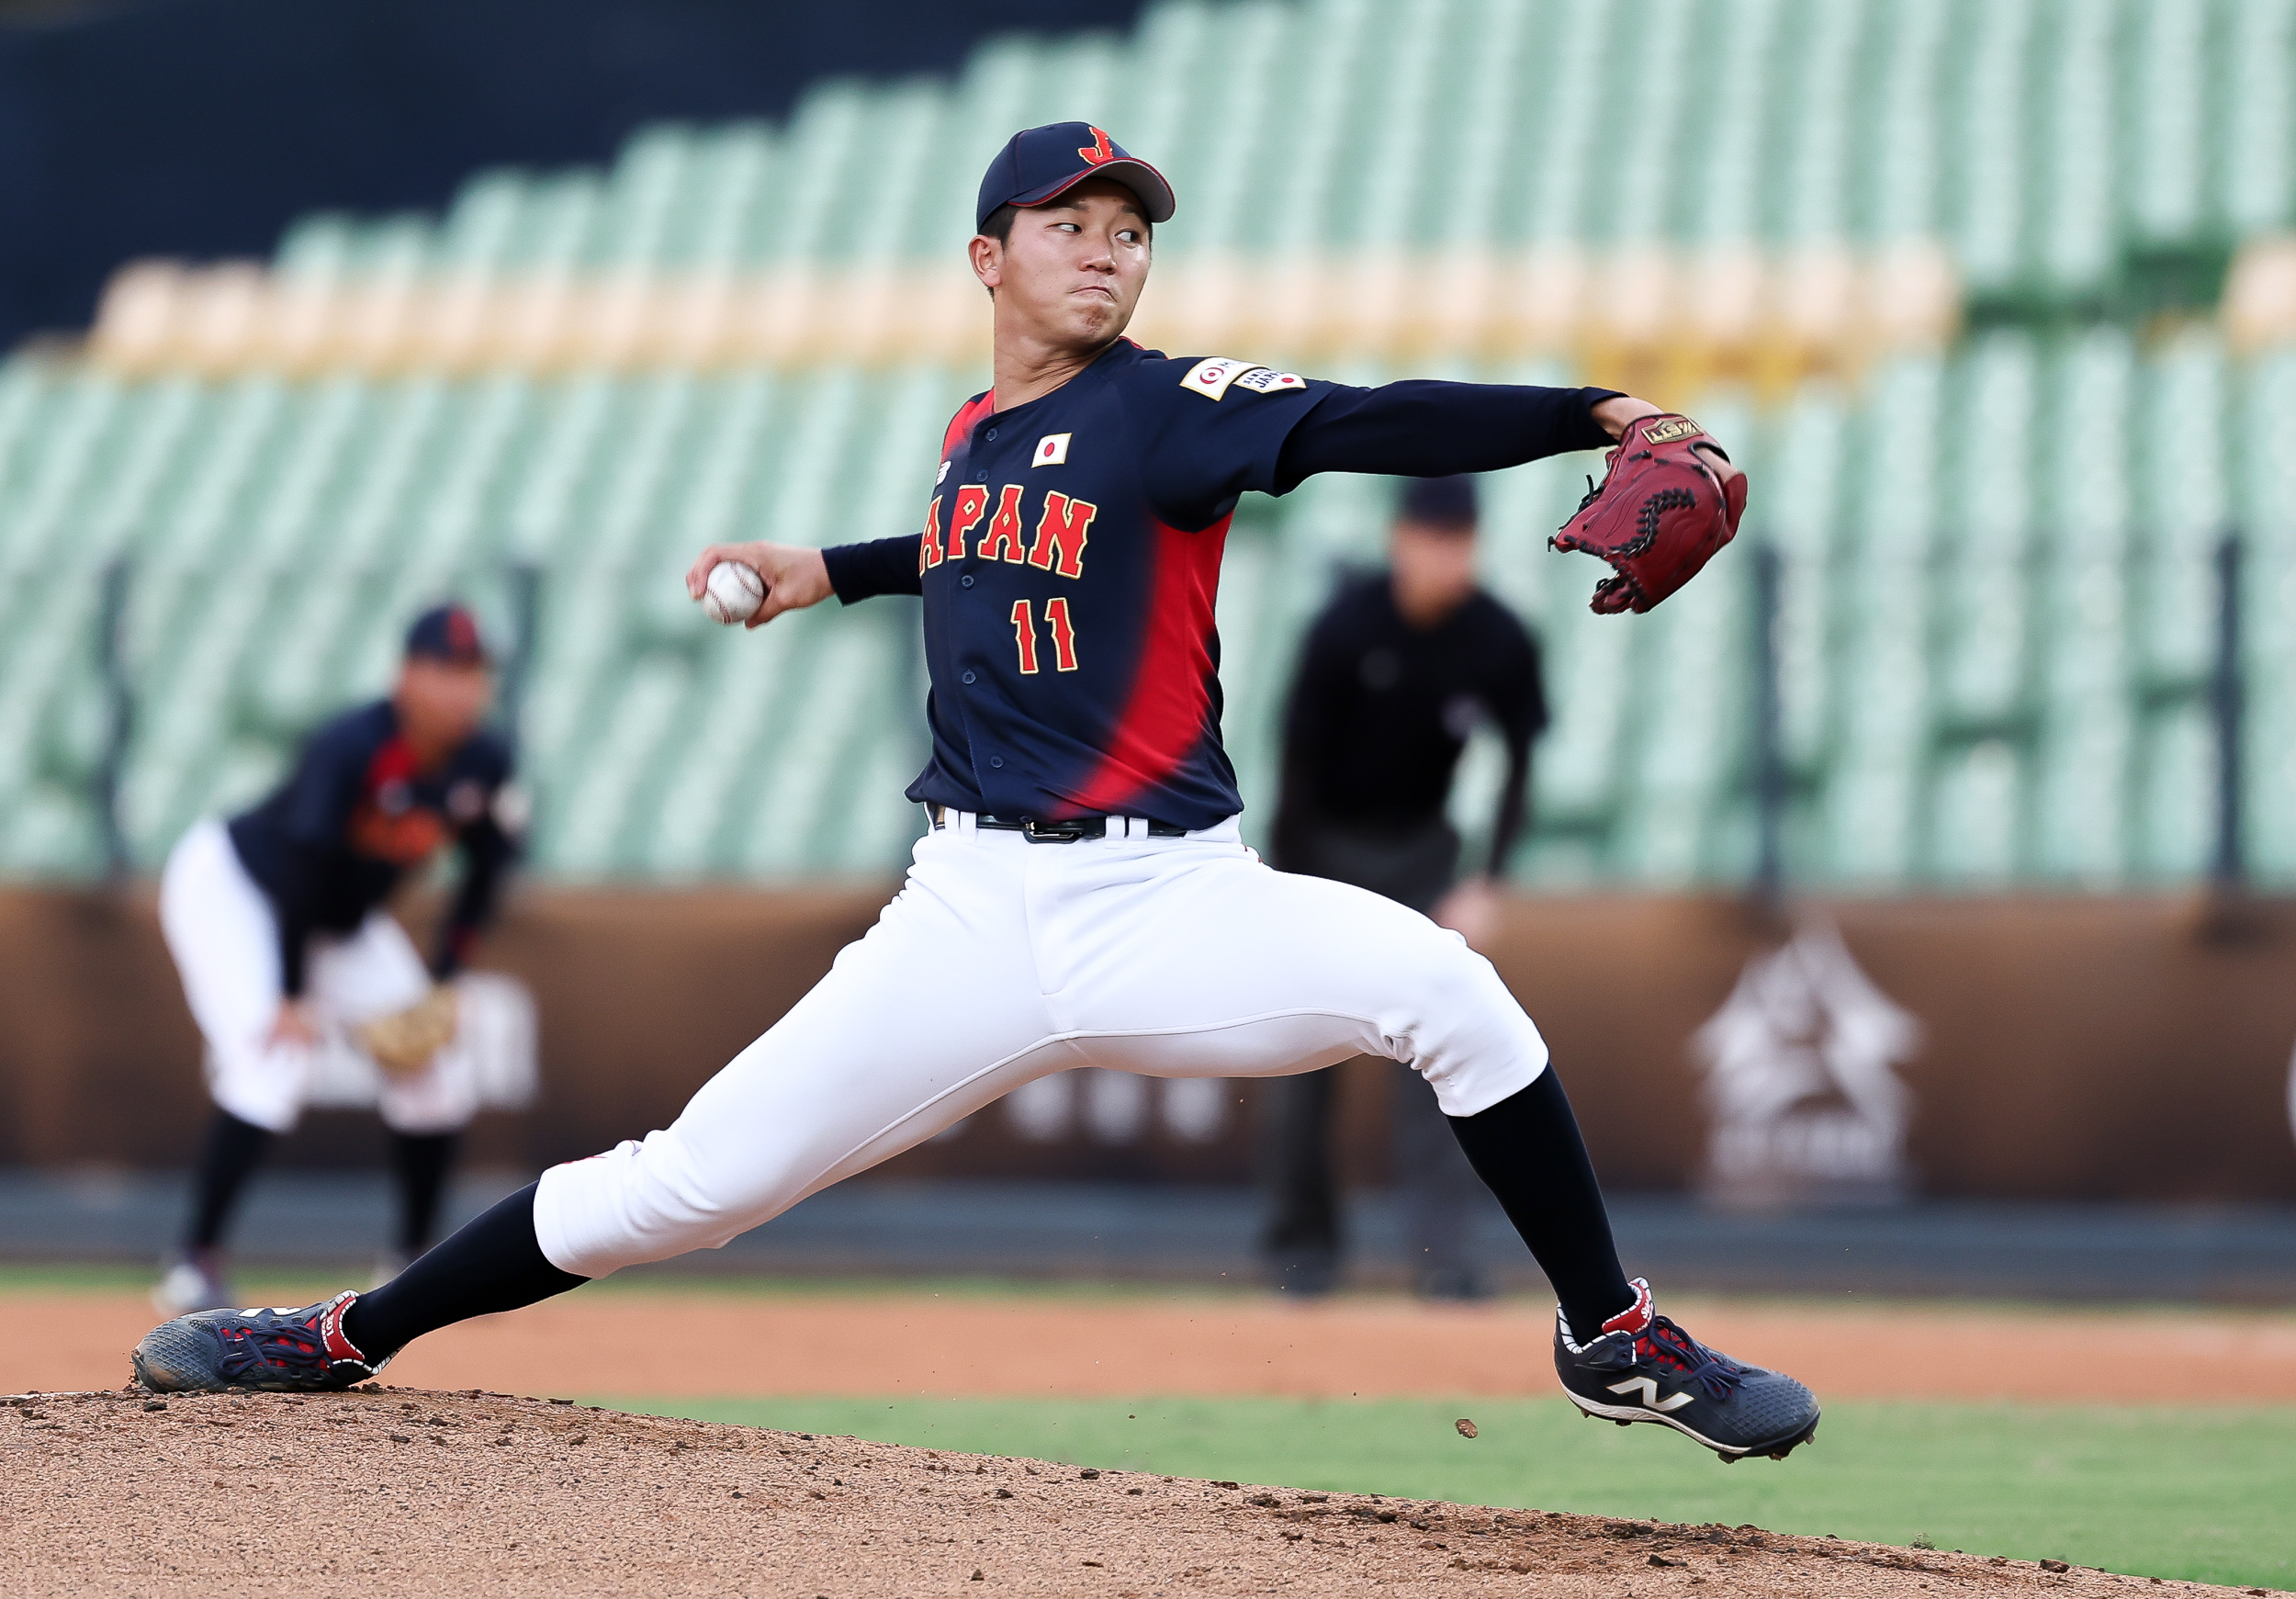
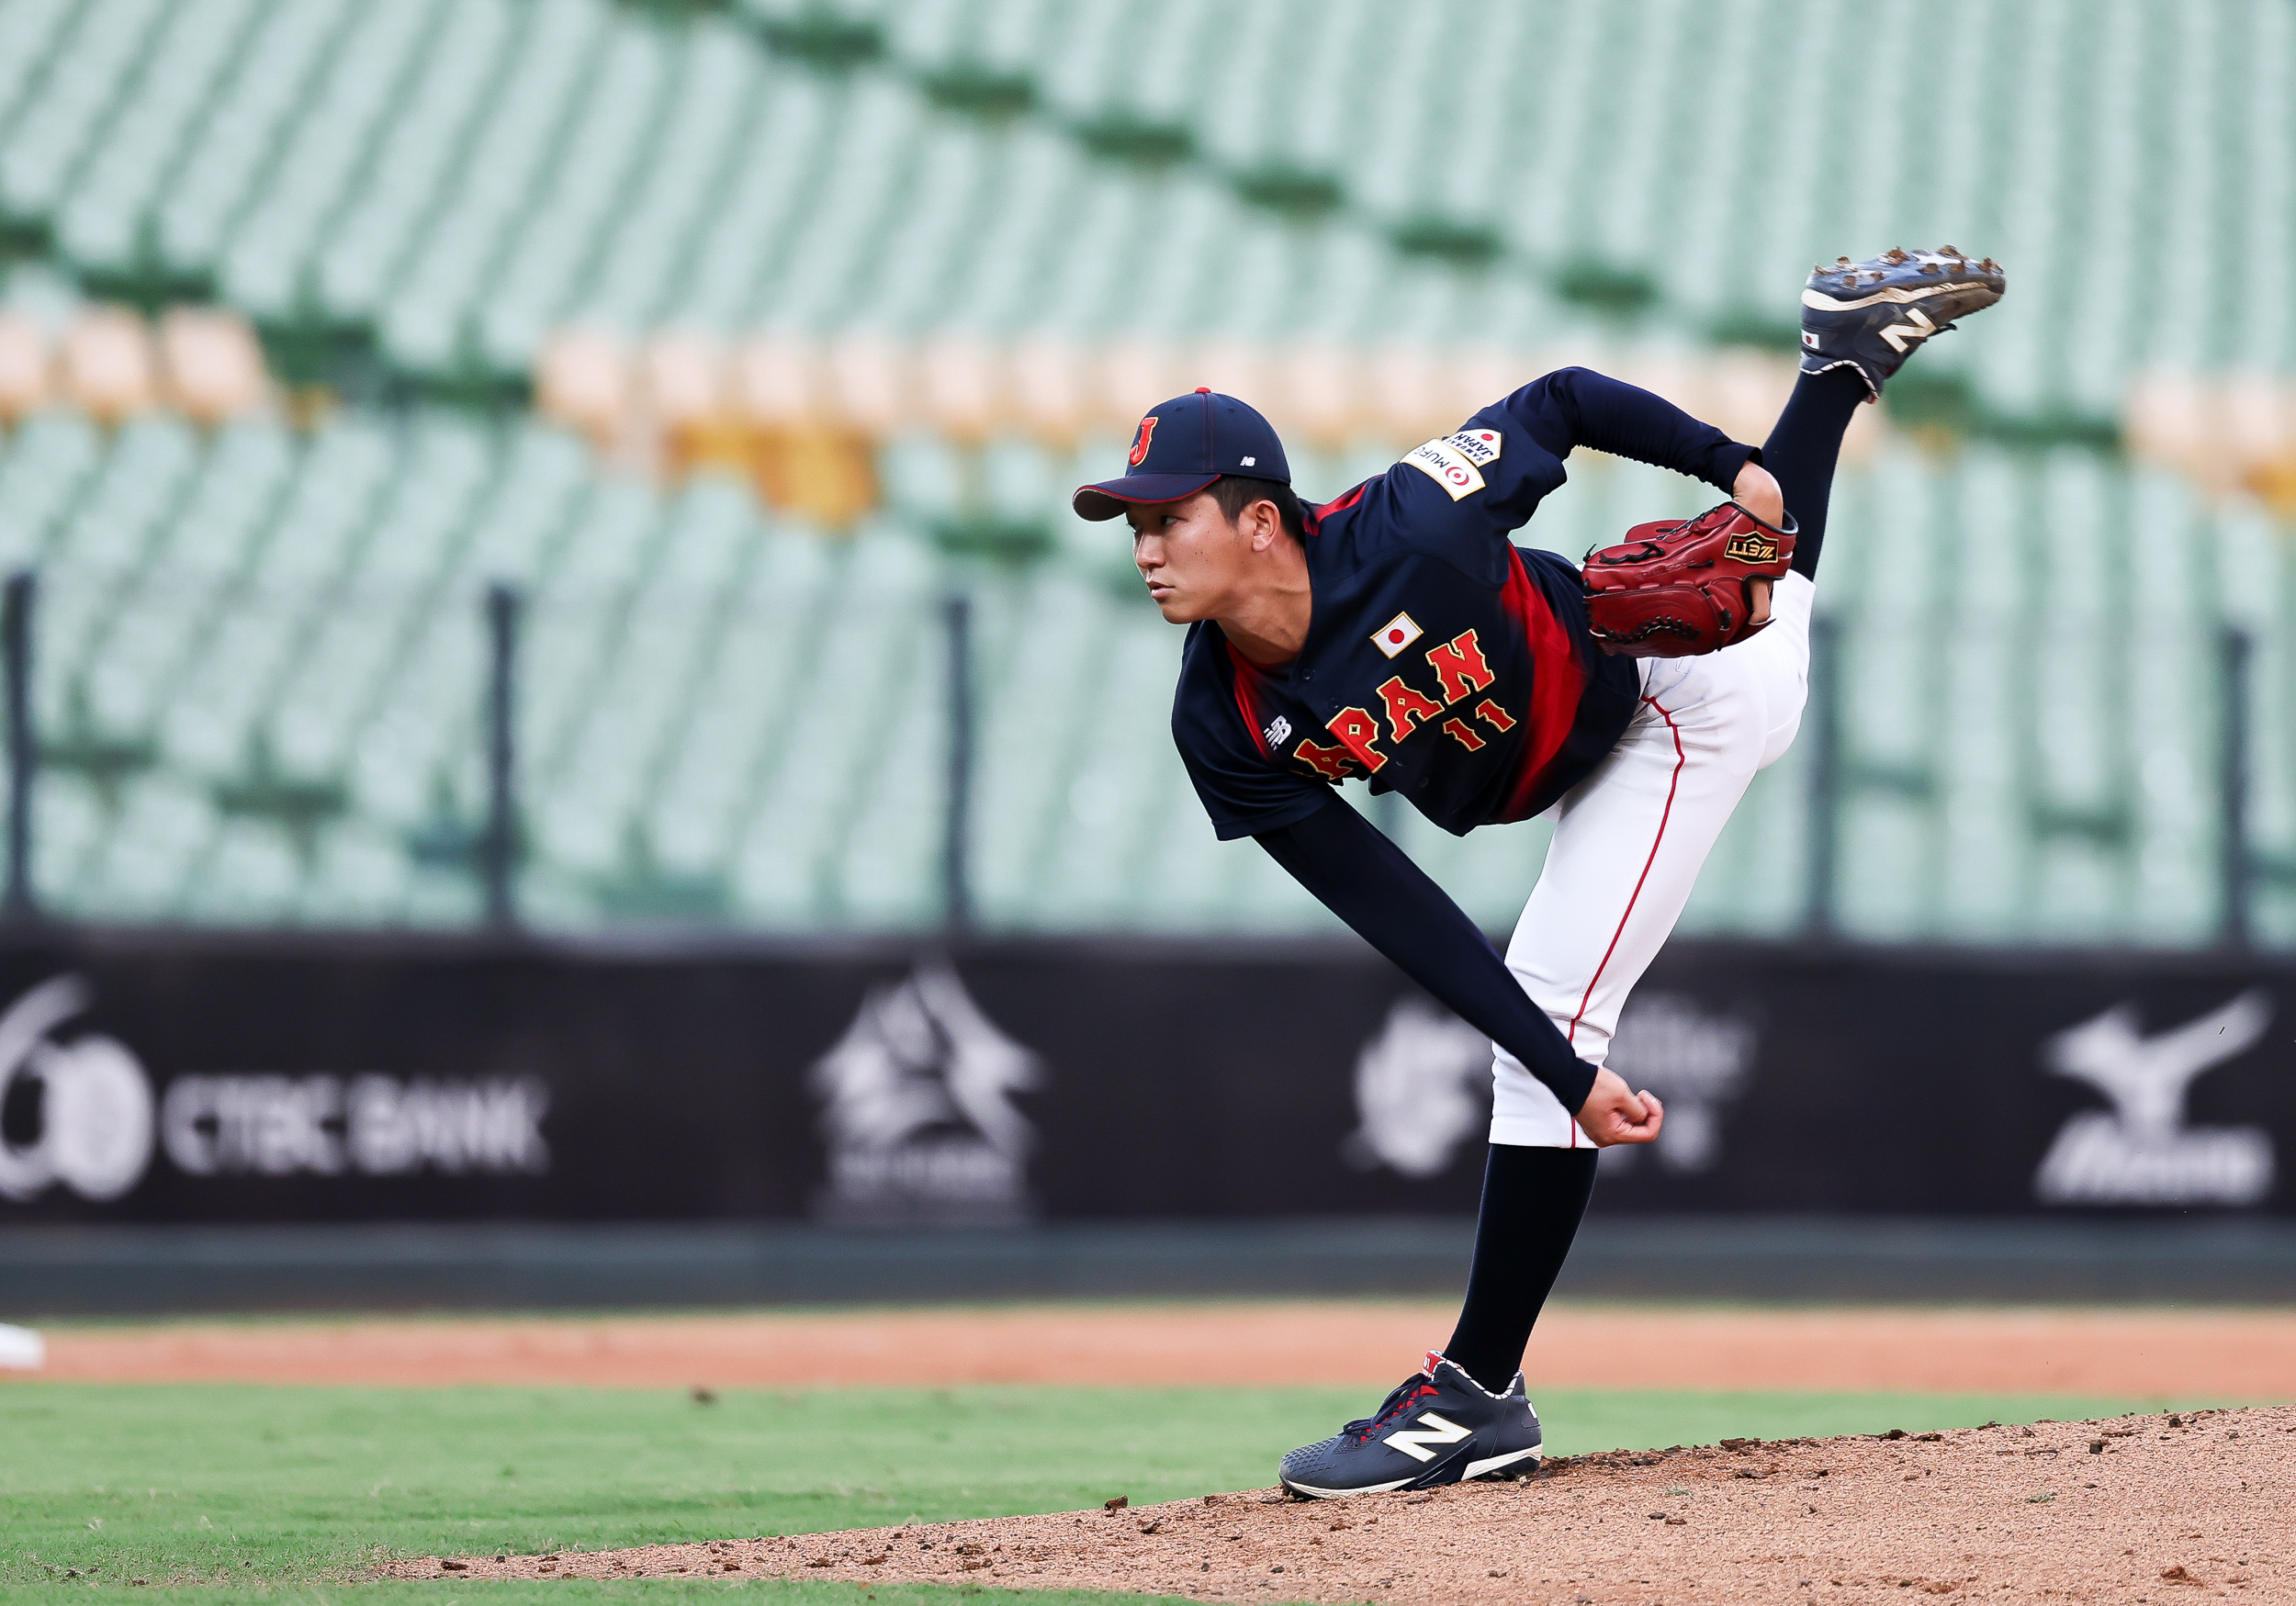
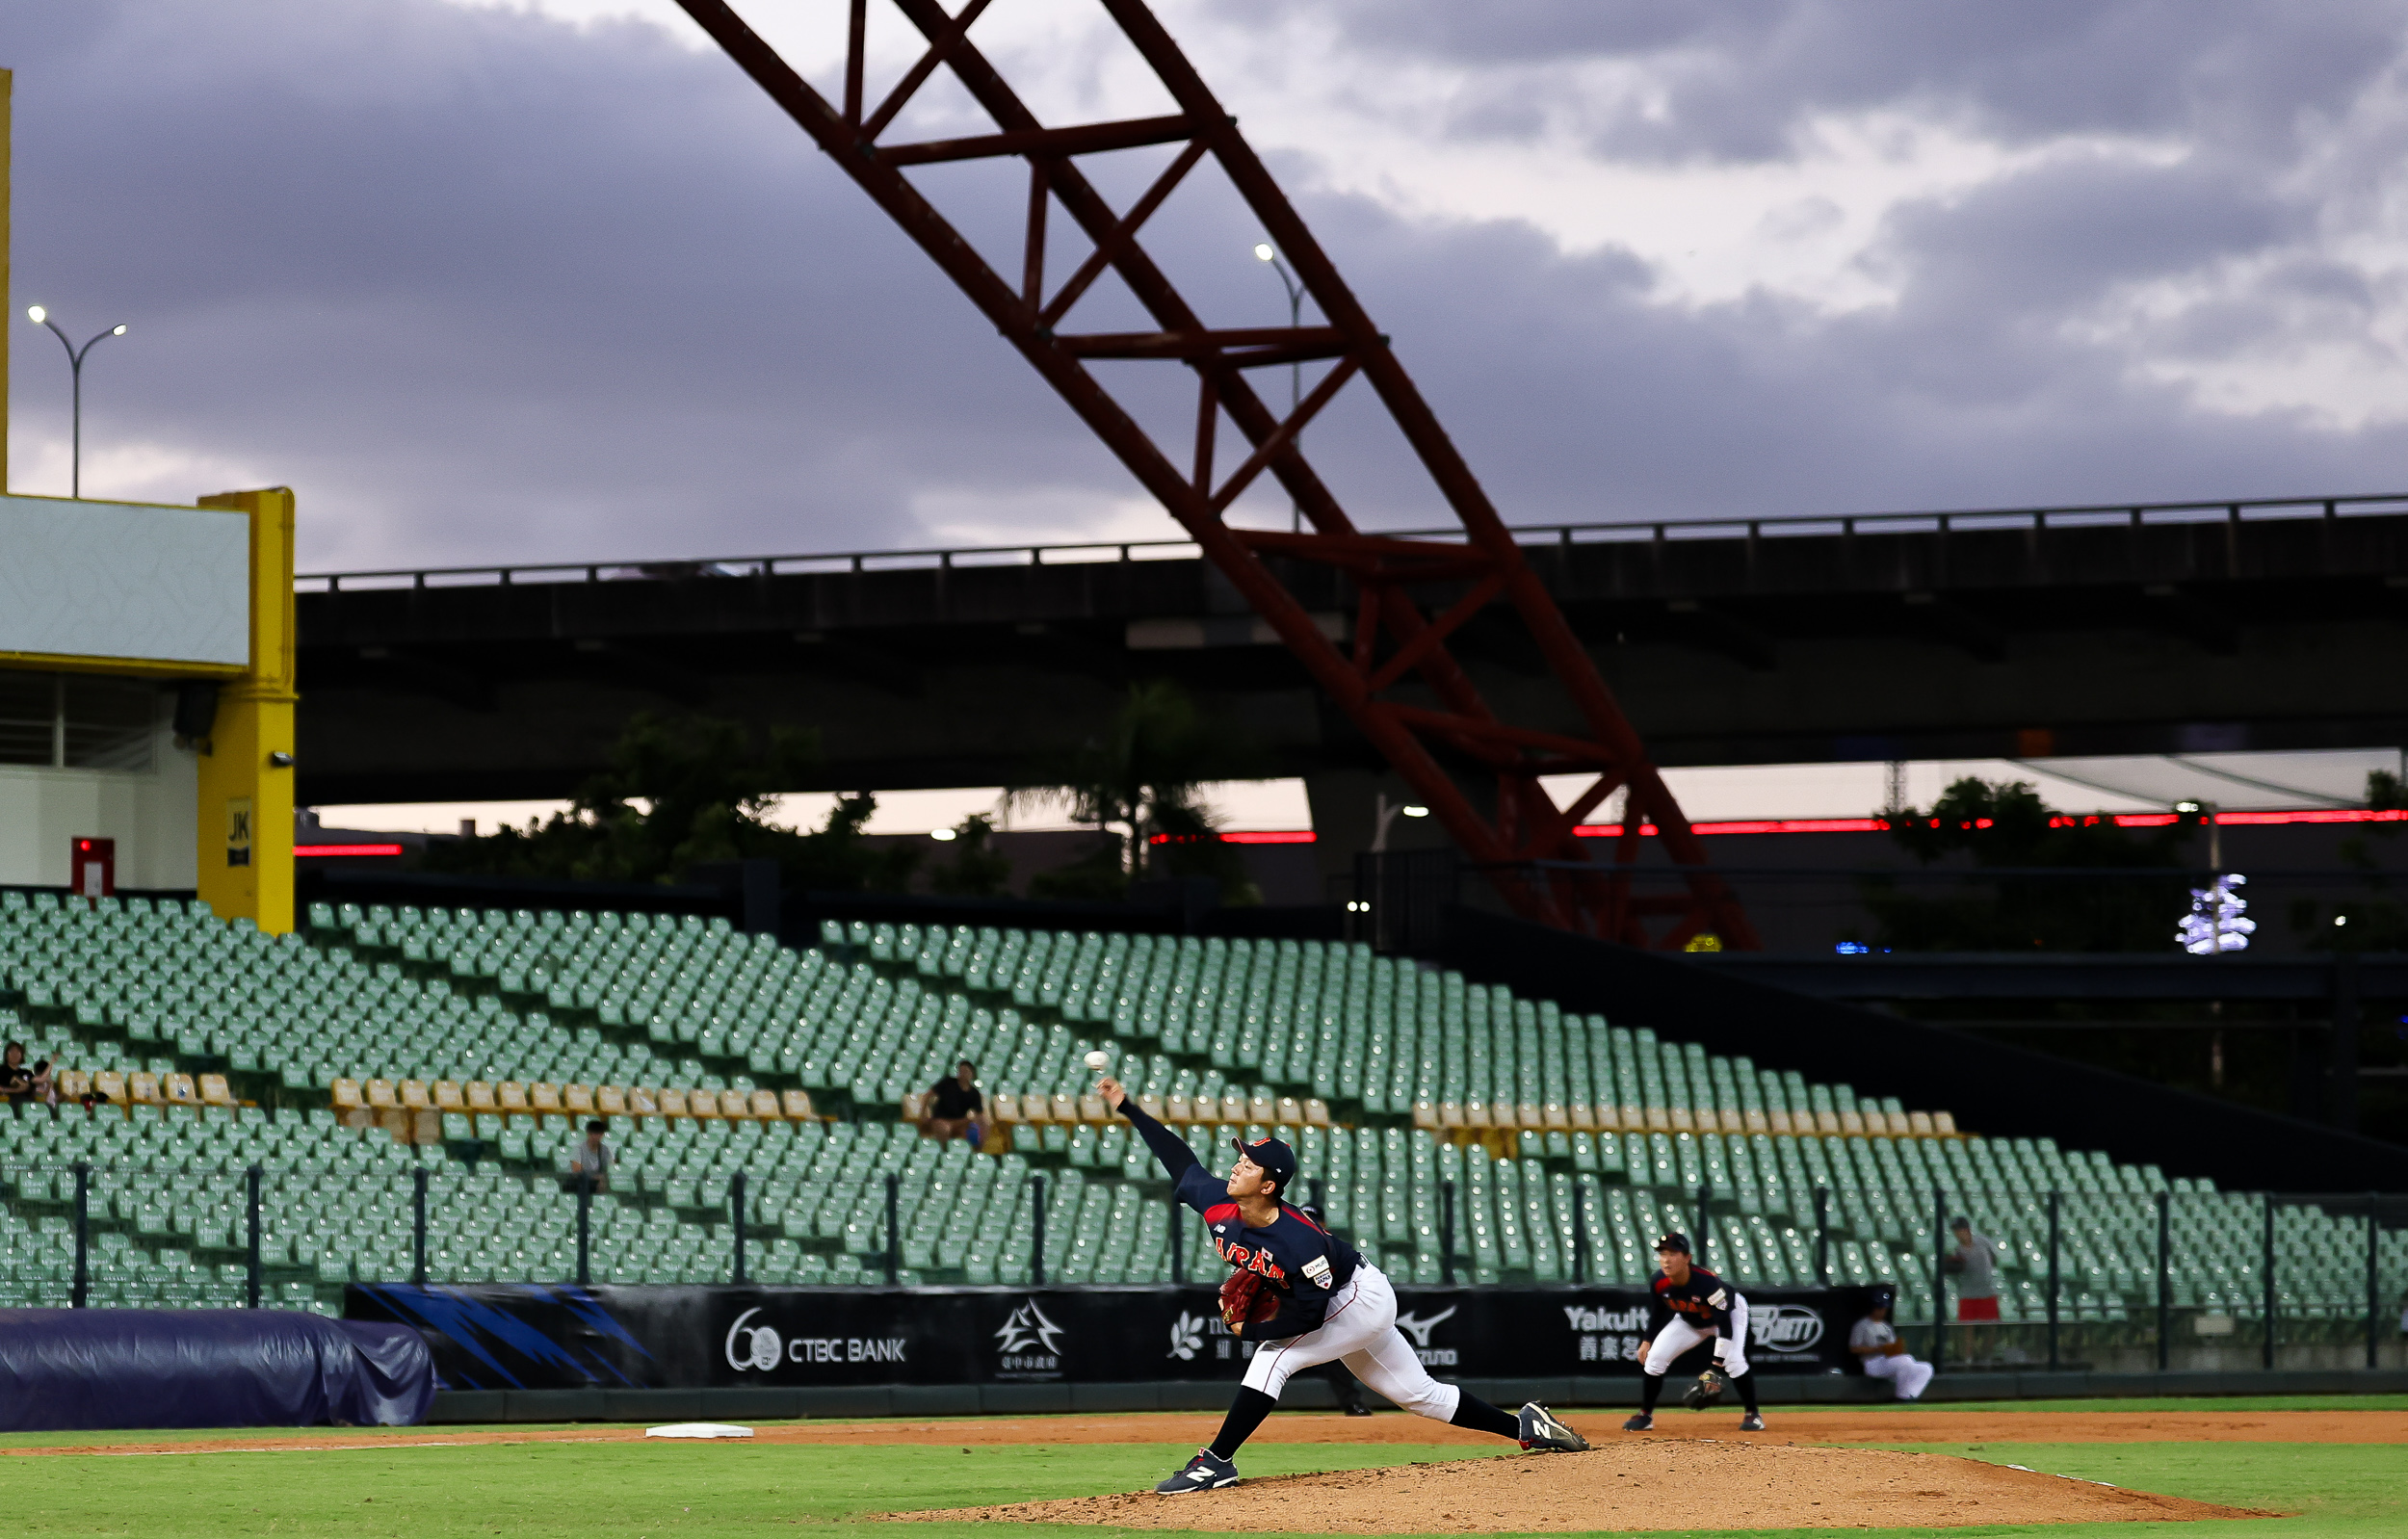
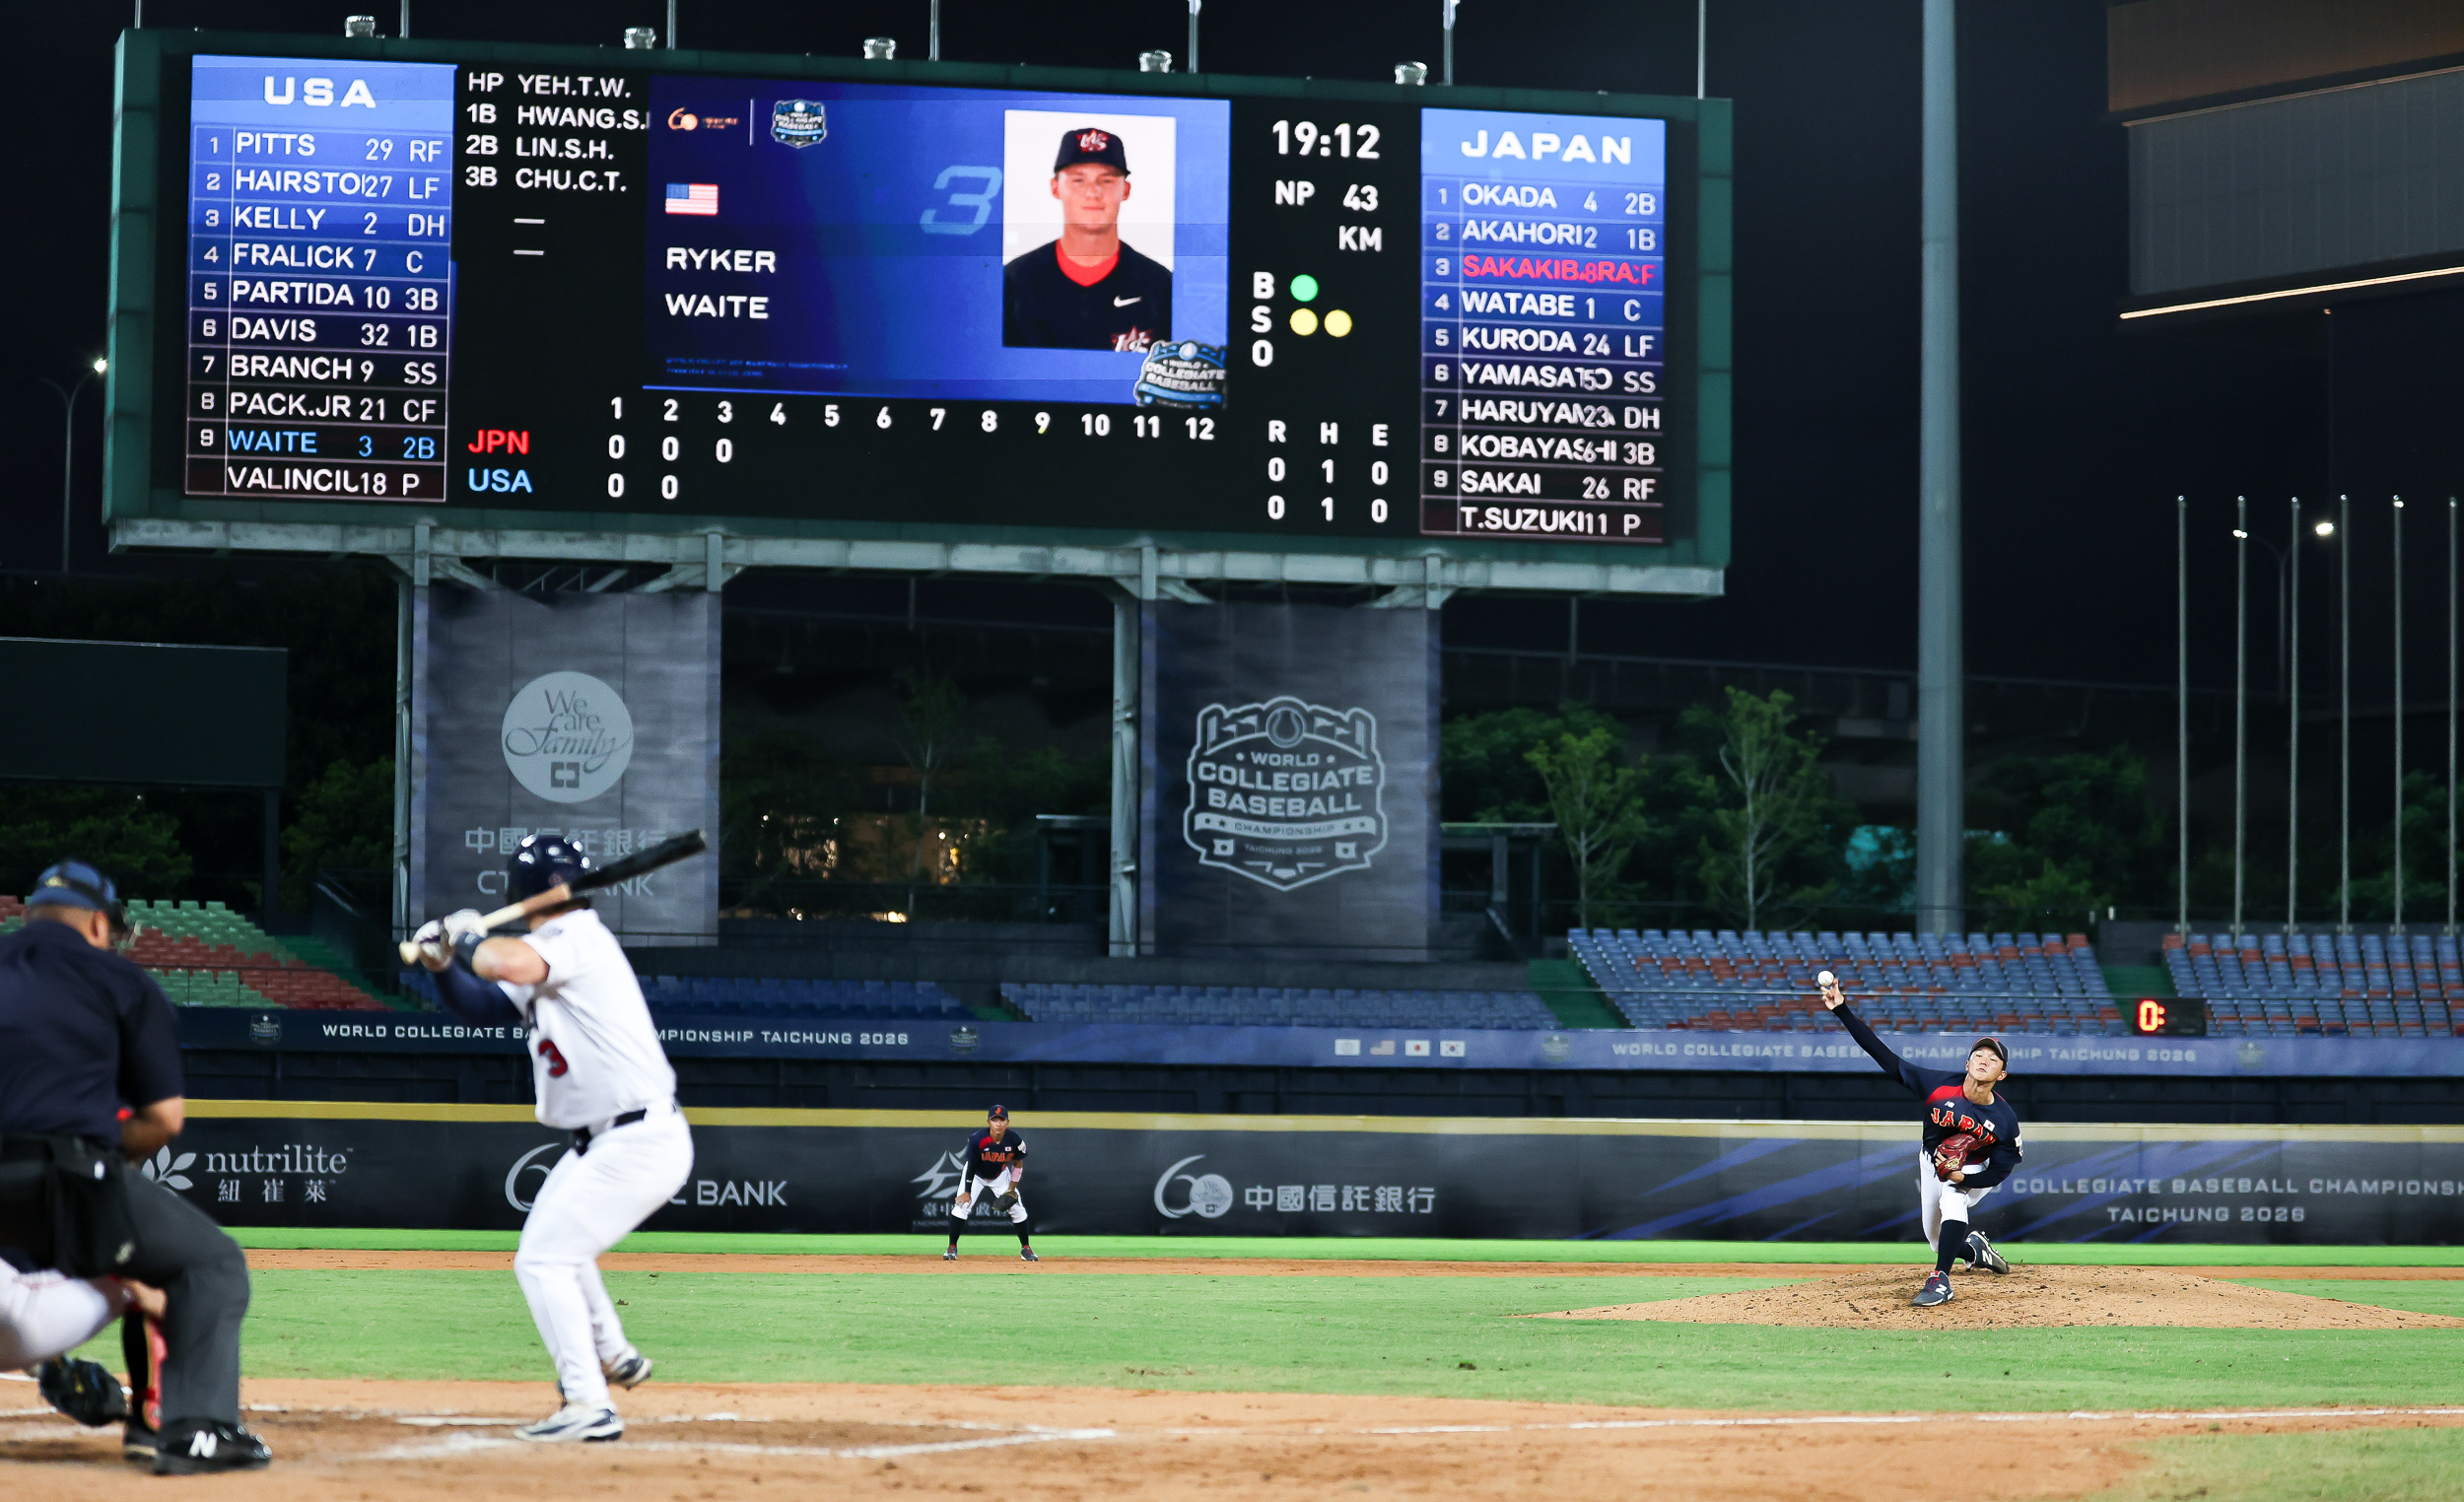
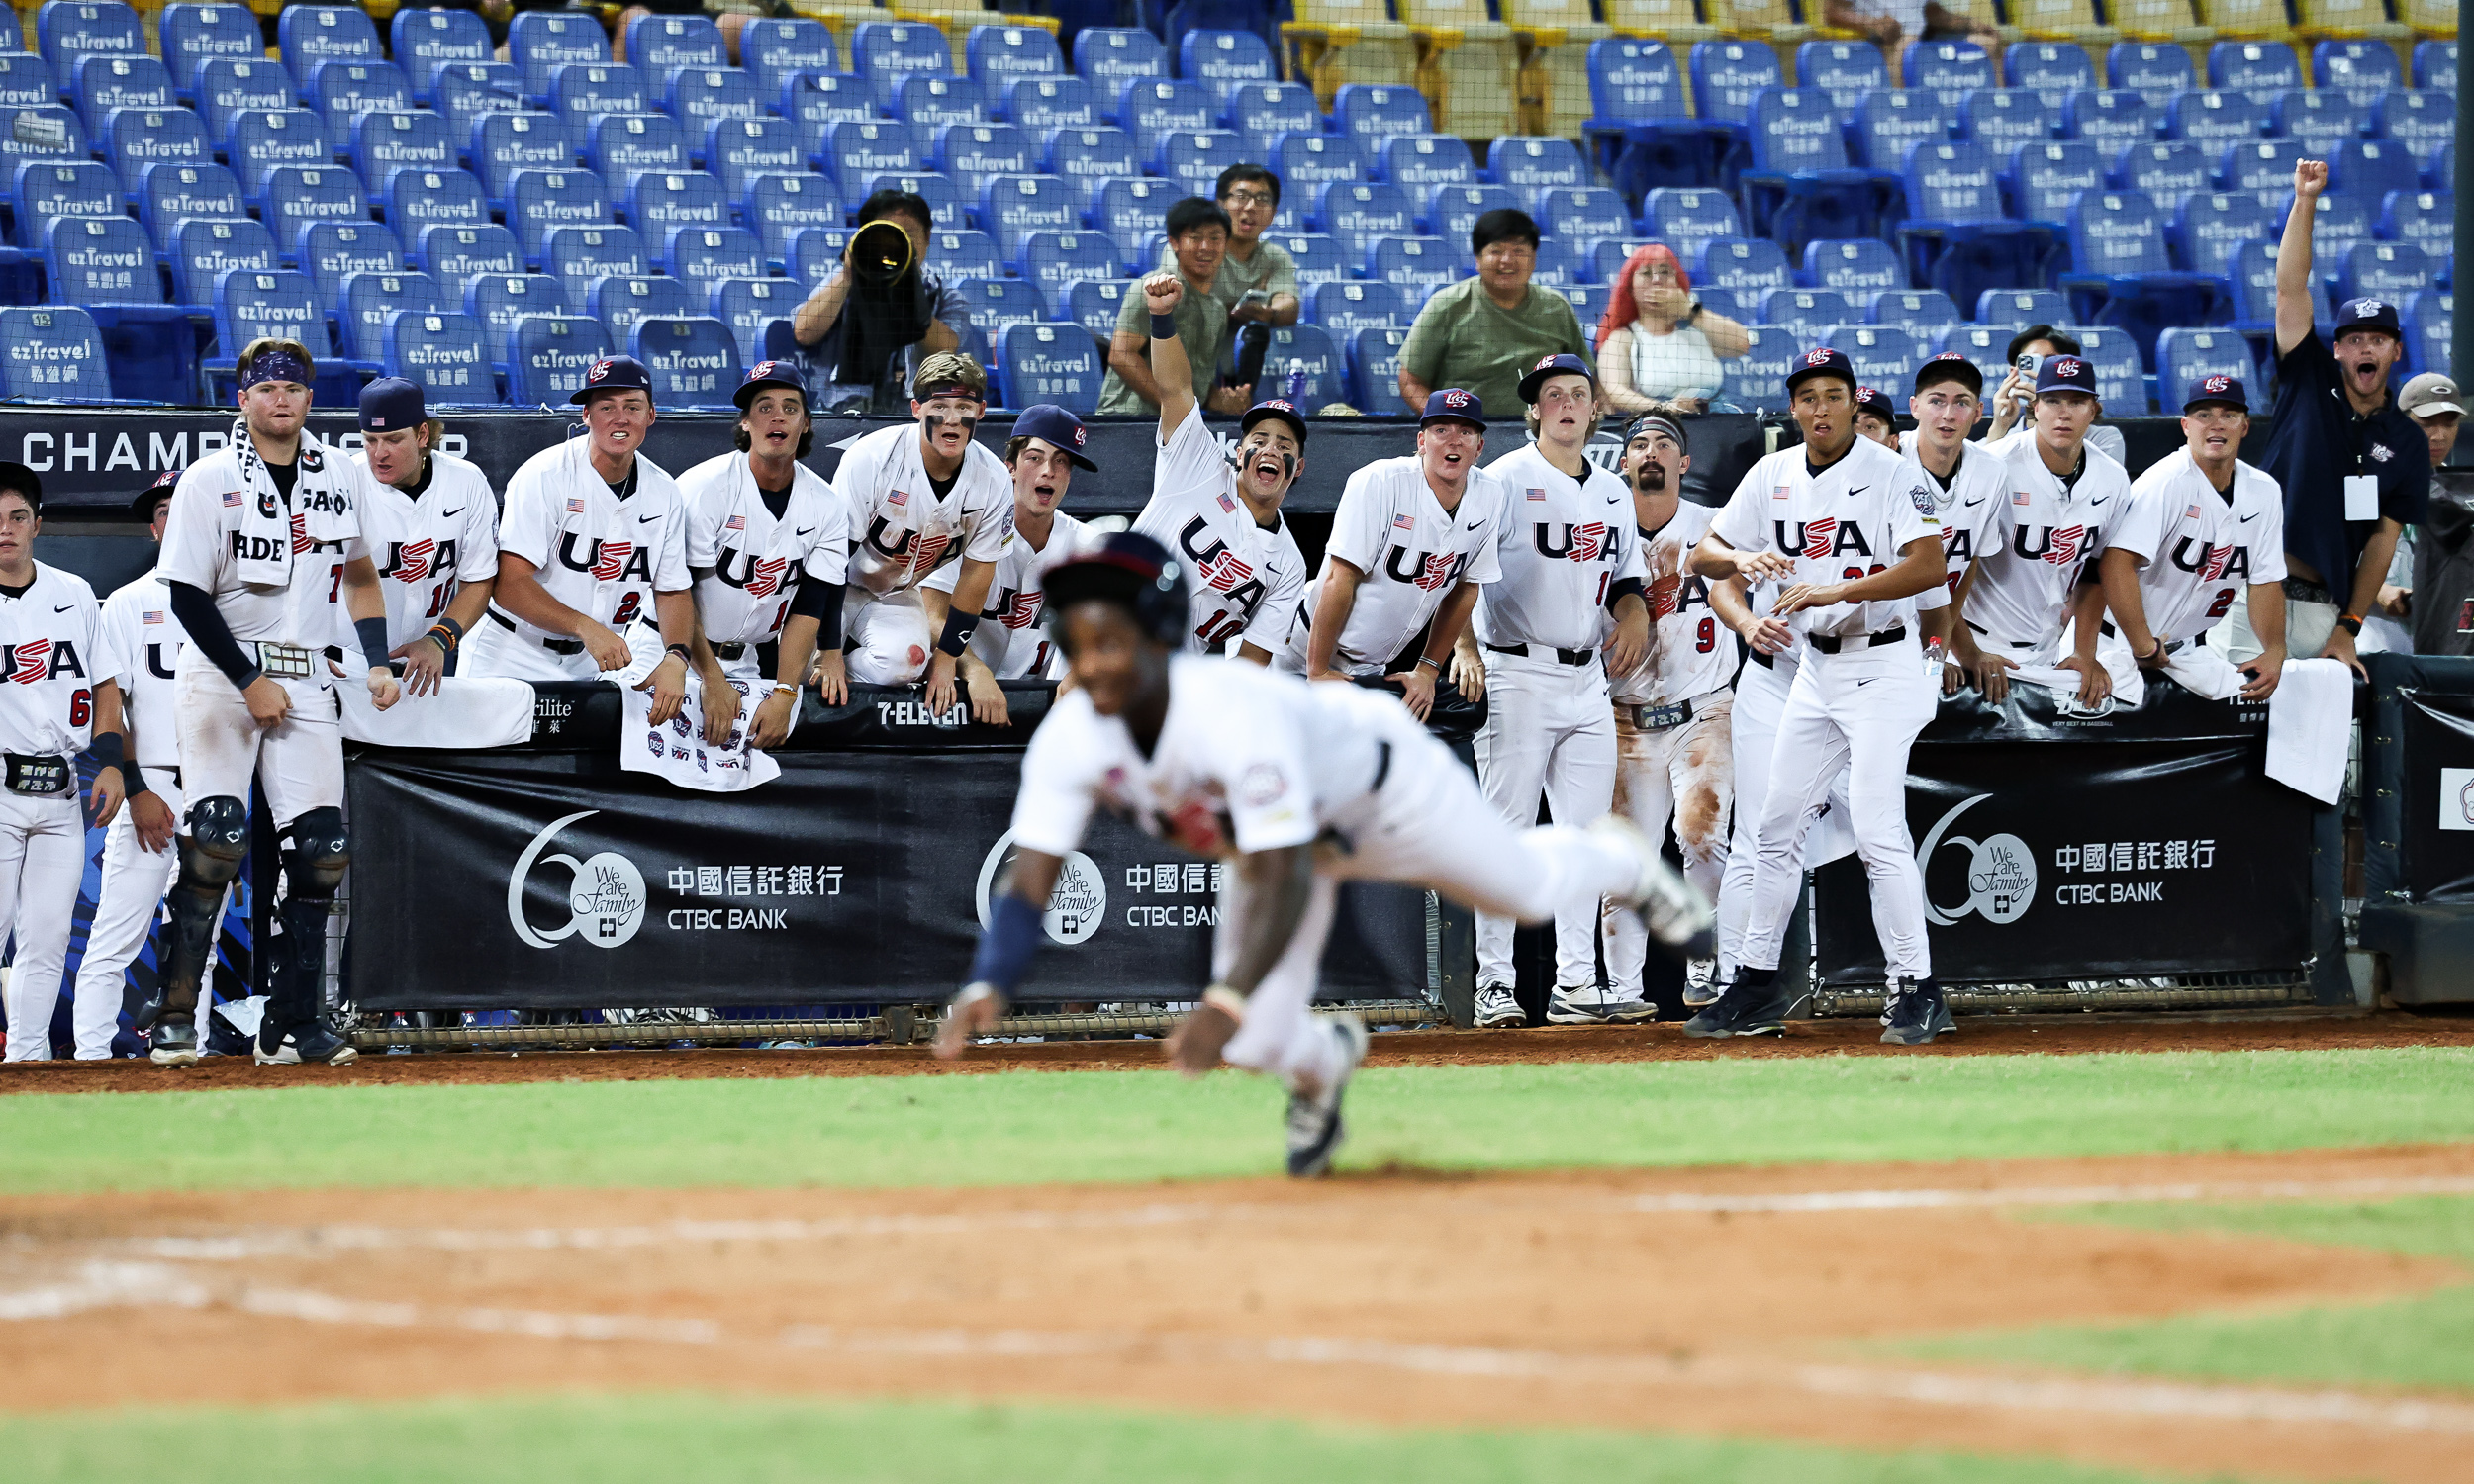
3.Innings 3–9 (Core Game Coverage & Scoring Plays): Move to fixed positions in the 1st or 3rd base photo wells. Focus switches heavily to offensive action, interspersed with defensive highlights and dugout interactions
Photo Positioning Choice:
|
Positioning Location |
Coverage Capabilities & Angle Advantages |
|
1st Base Photo Well |
• Defensive infeld throws (3B/2B/SS throwing to 1B) |
|
3rd Base Photo Well |
• Left-handed batters’ facial expressions during swings |
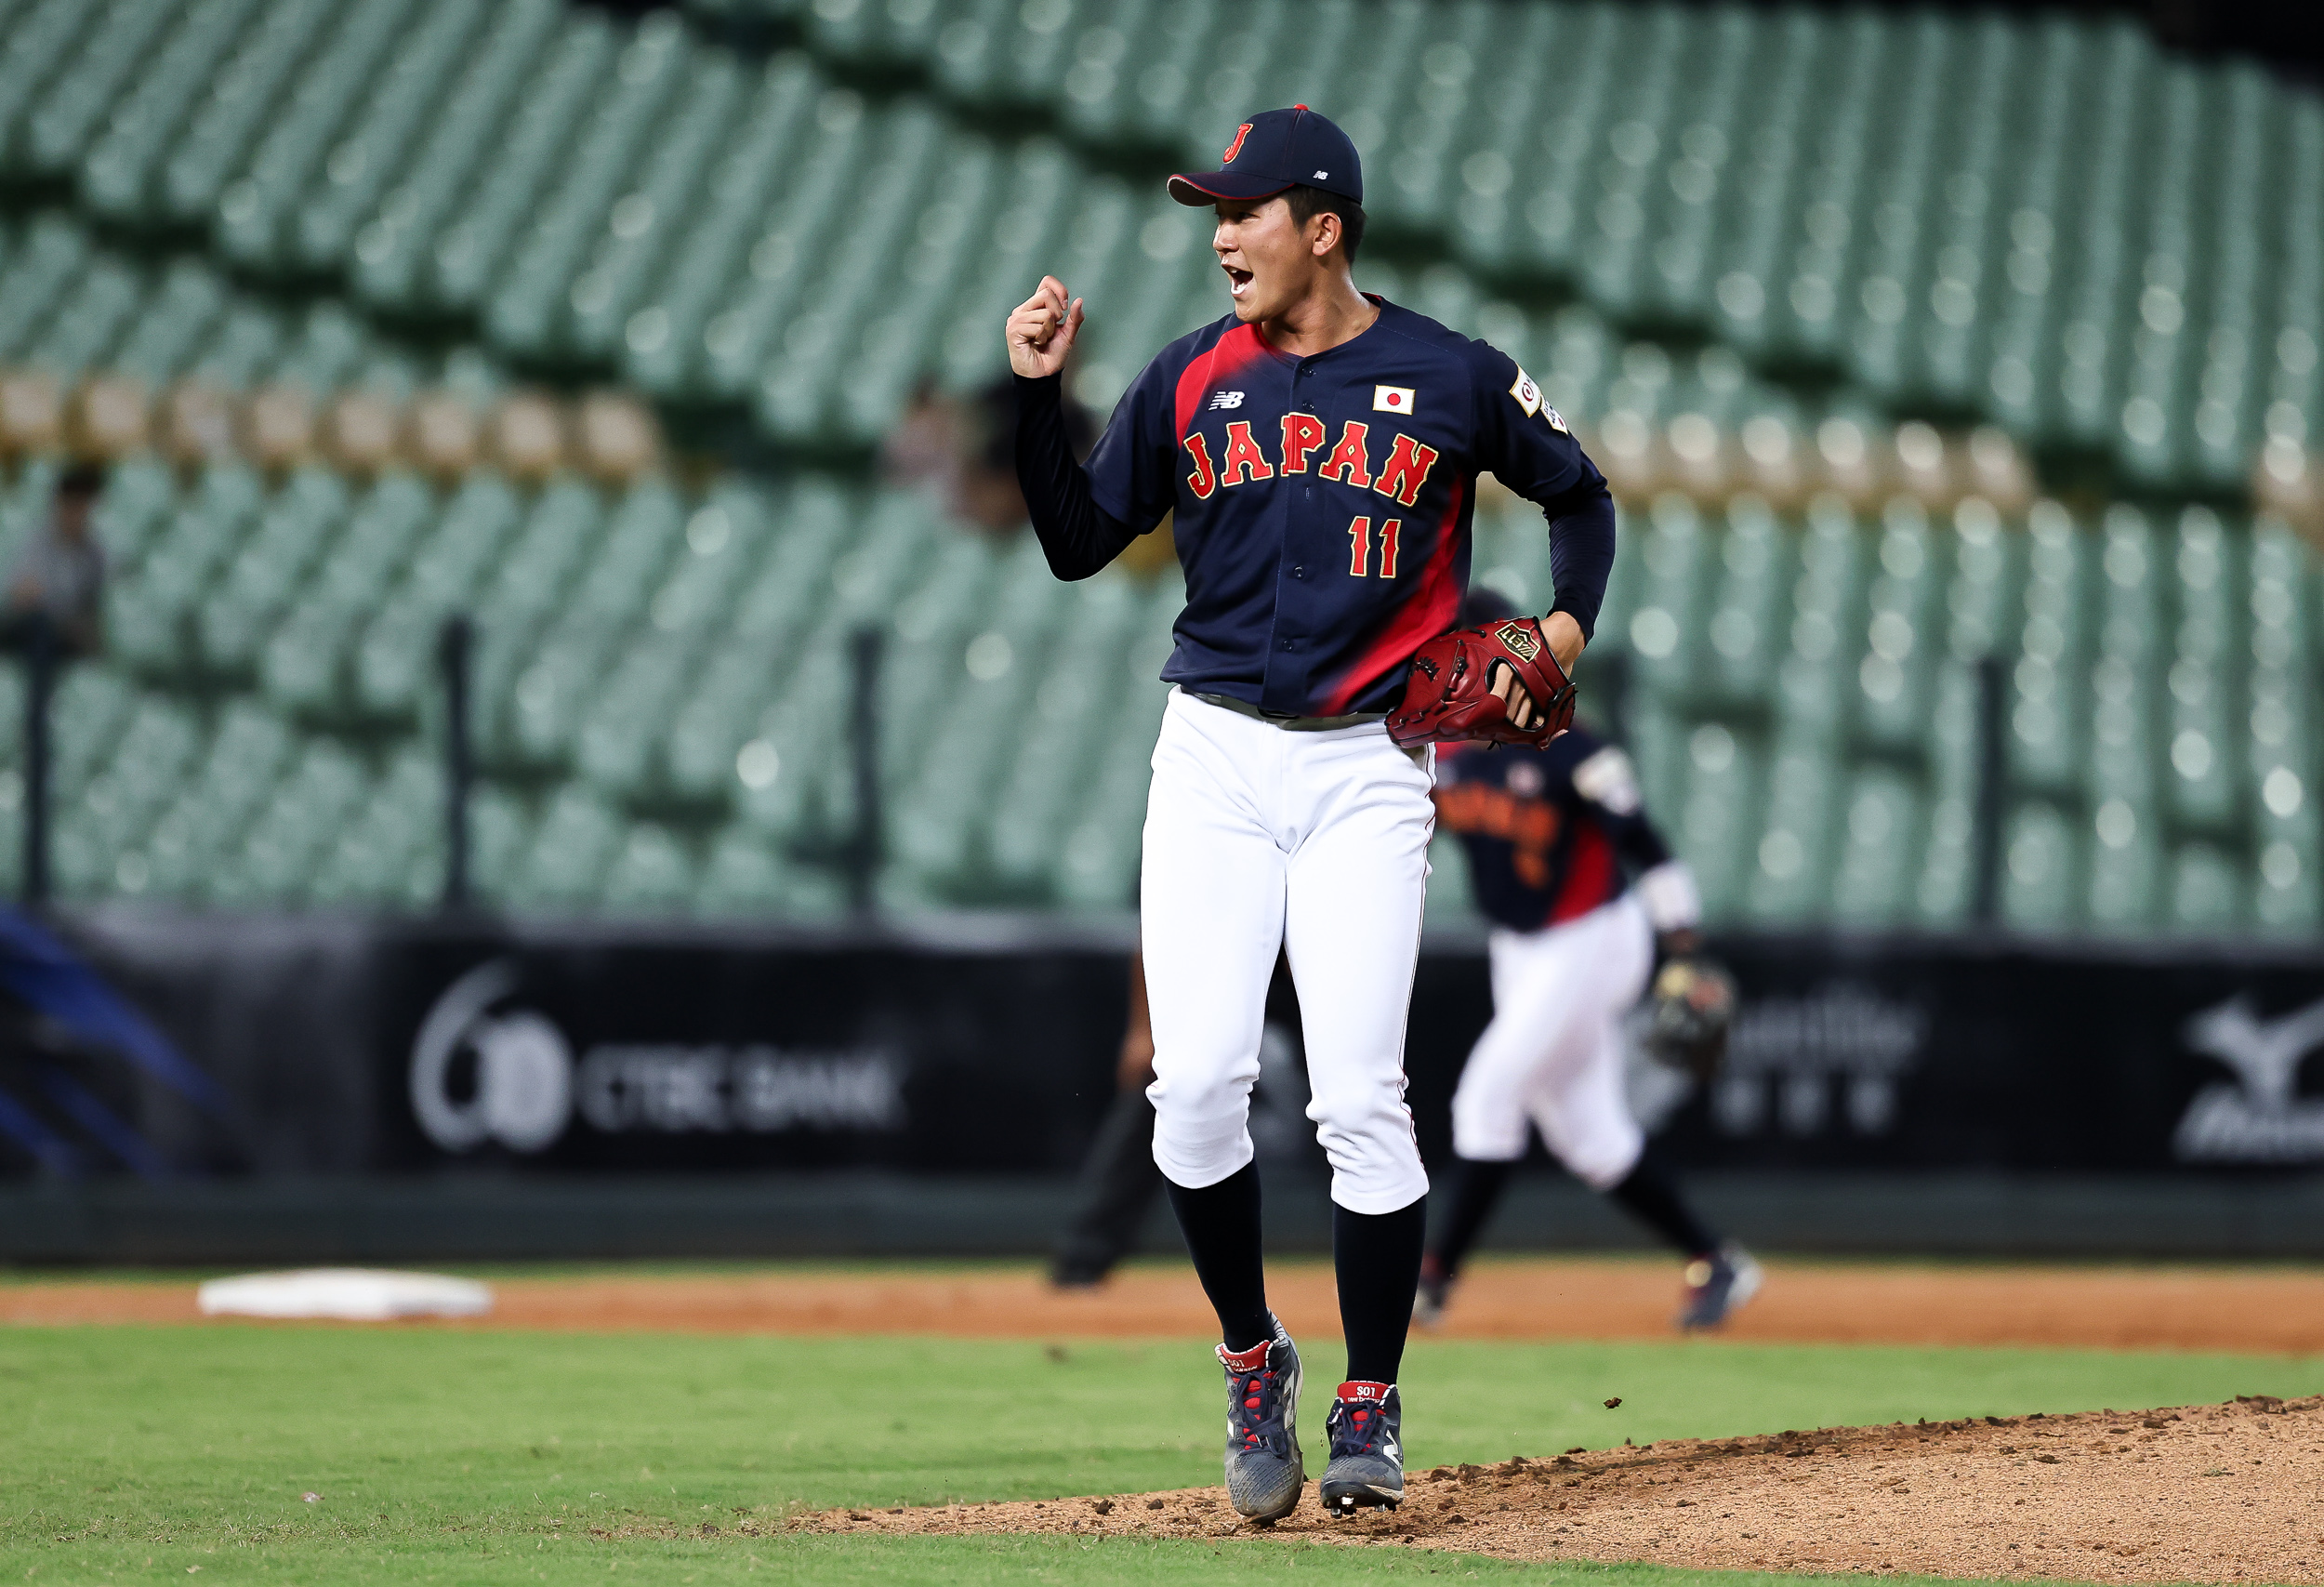
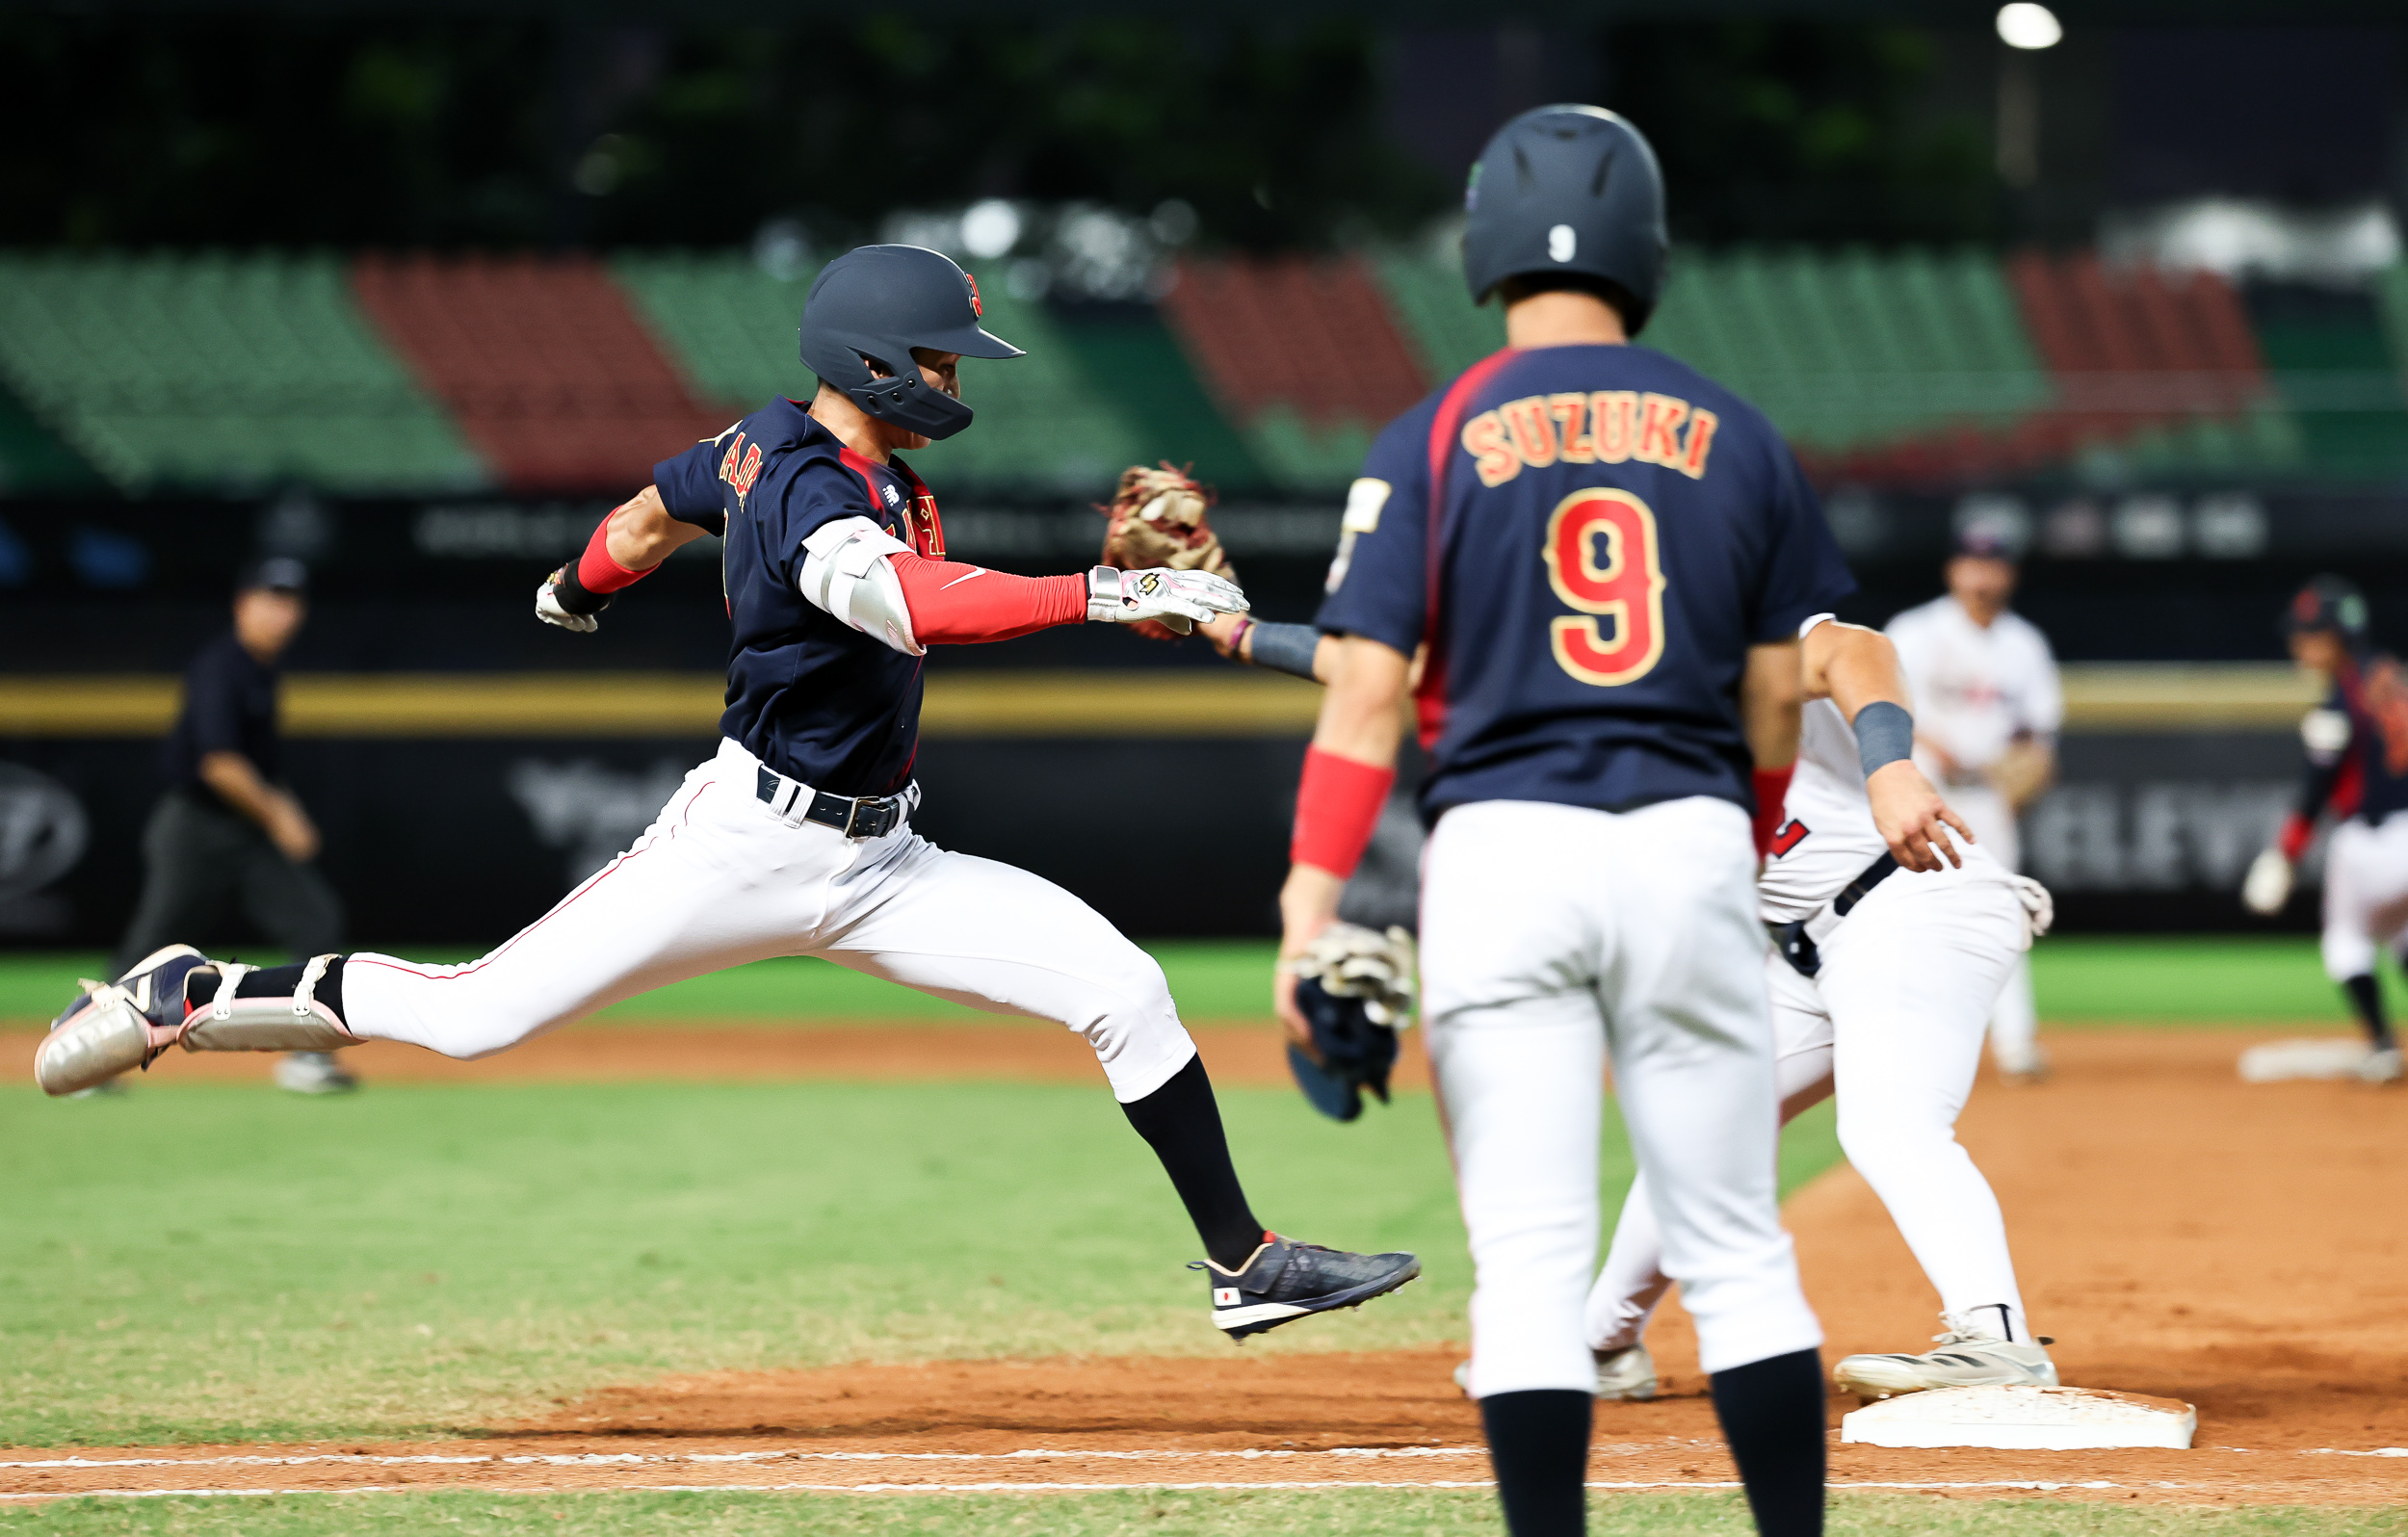
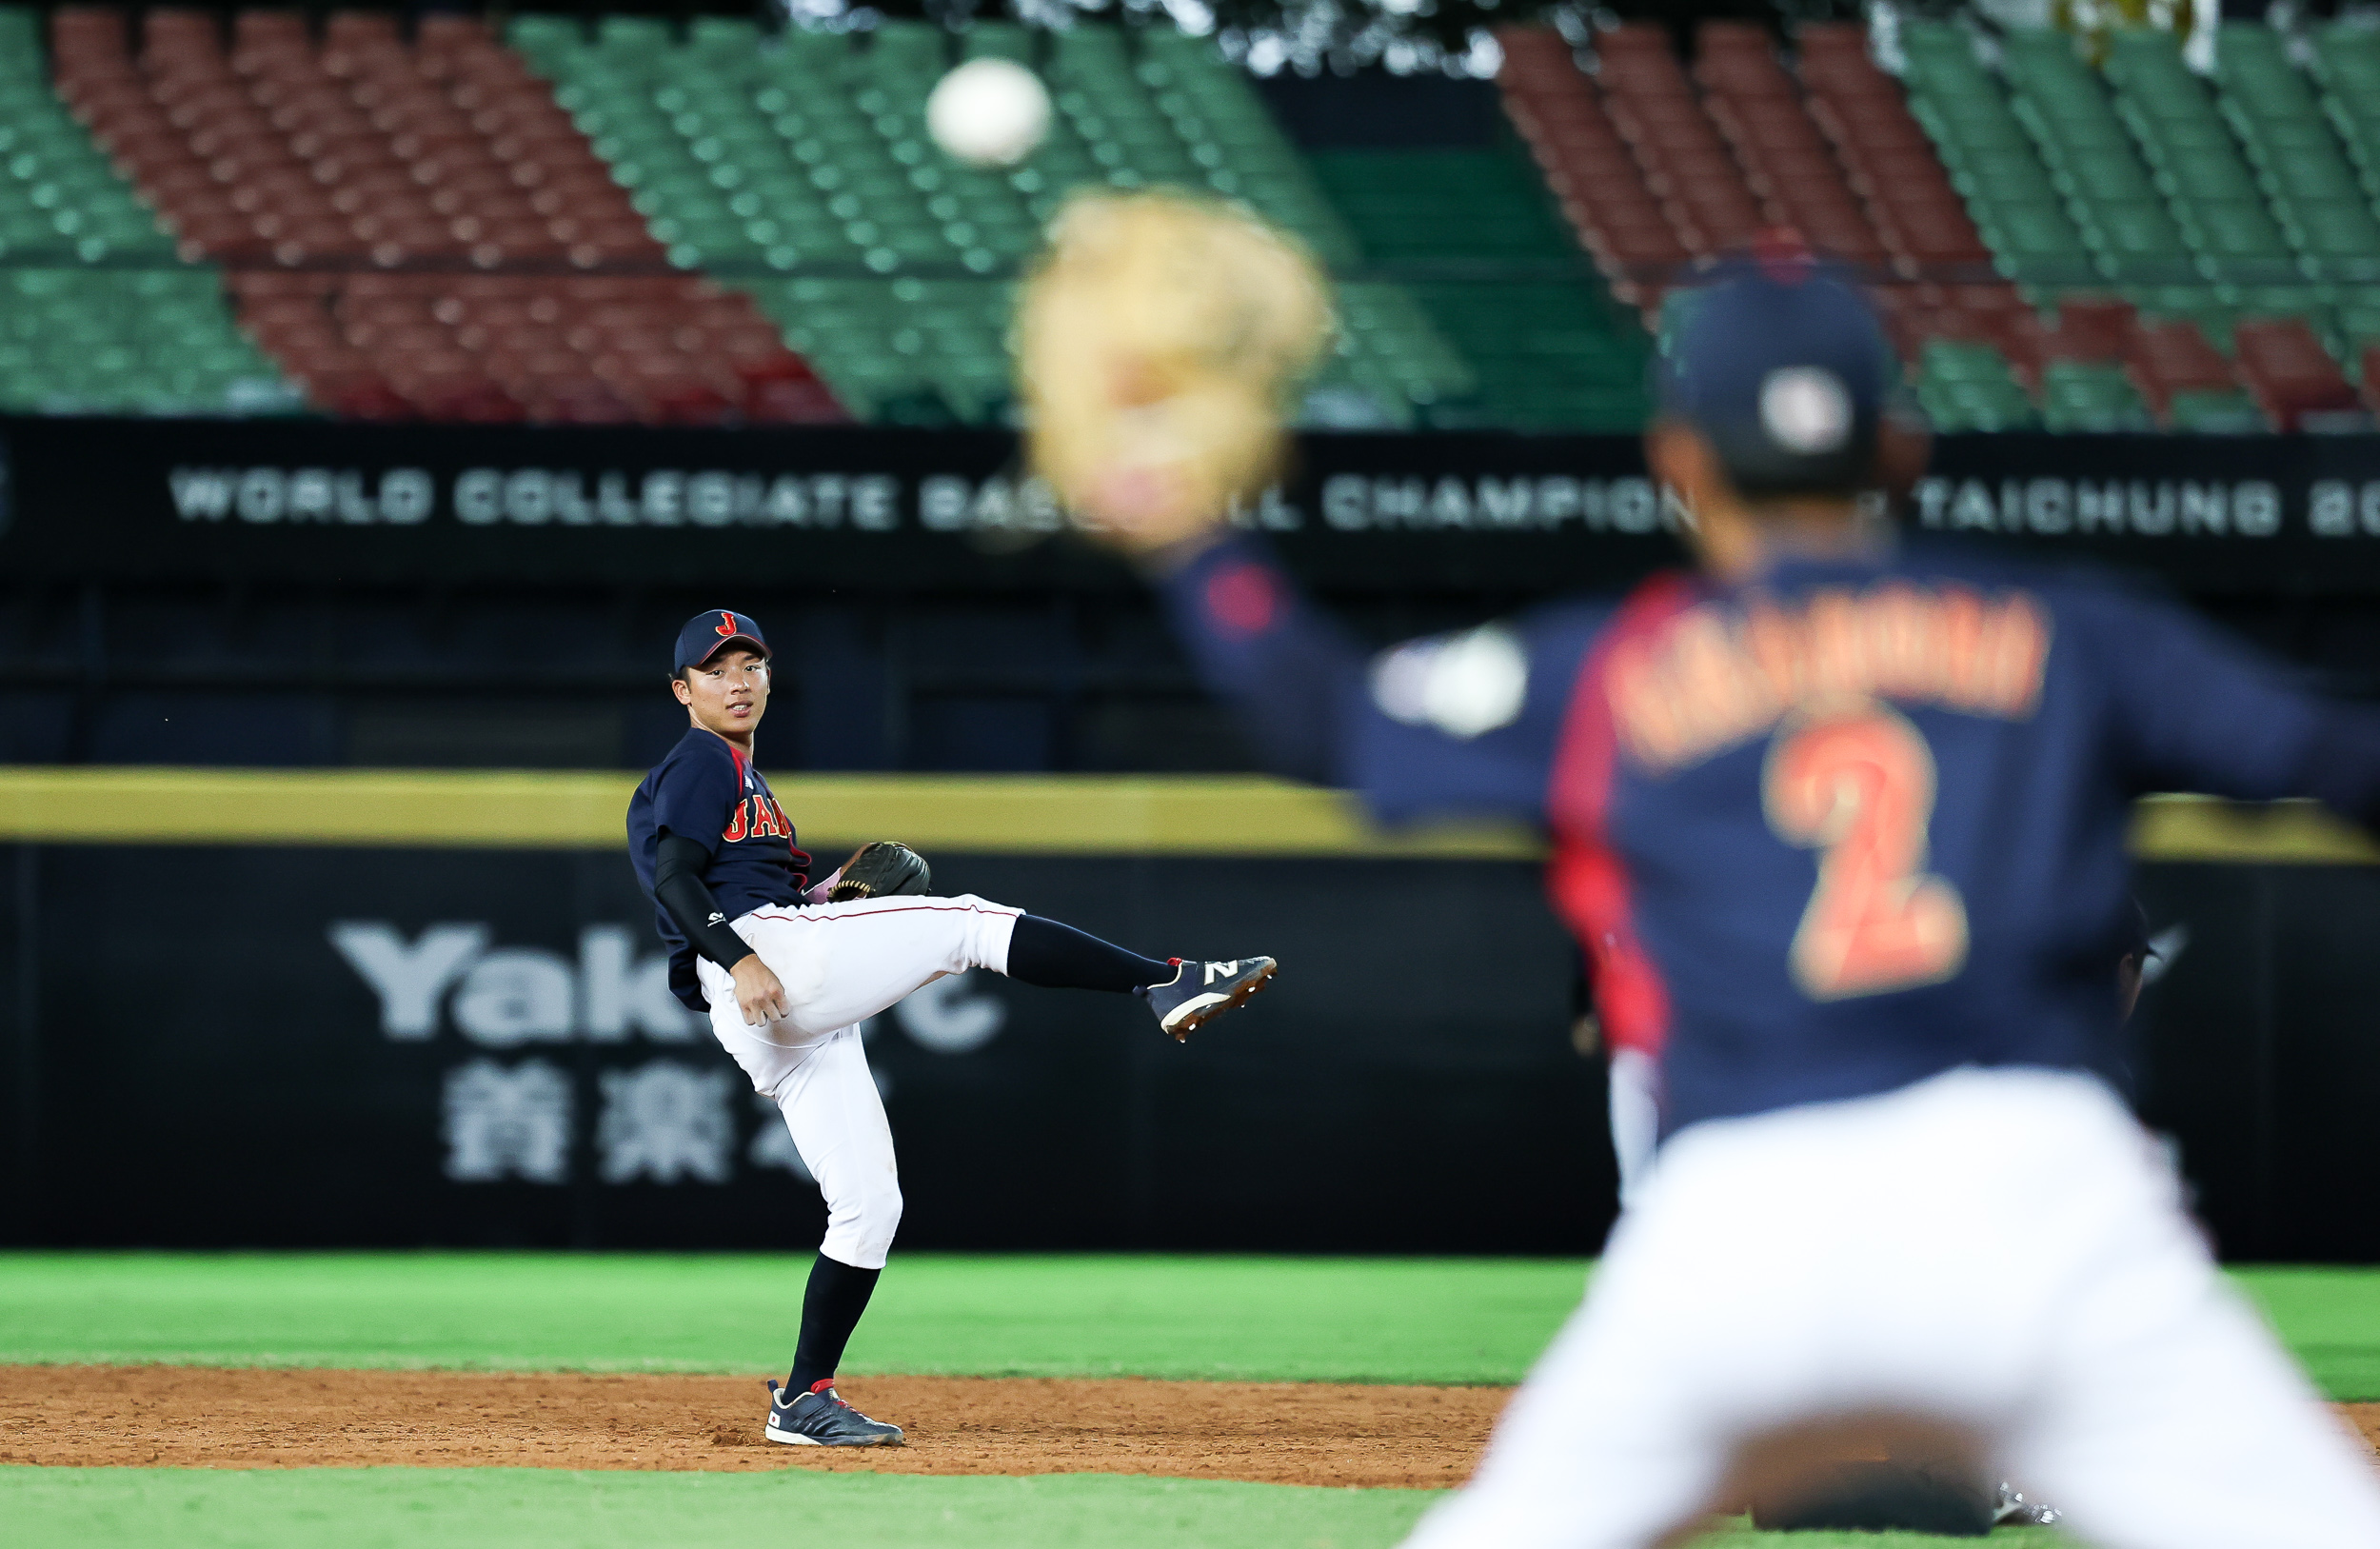
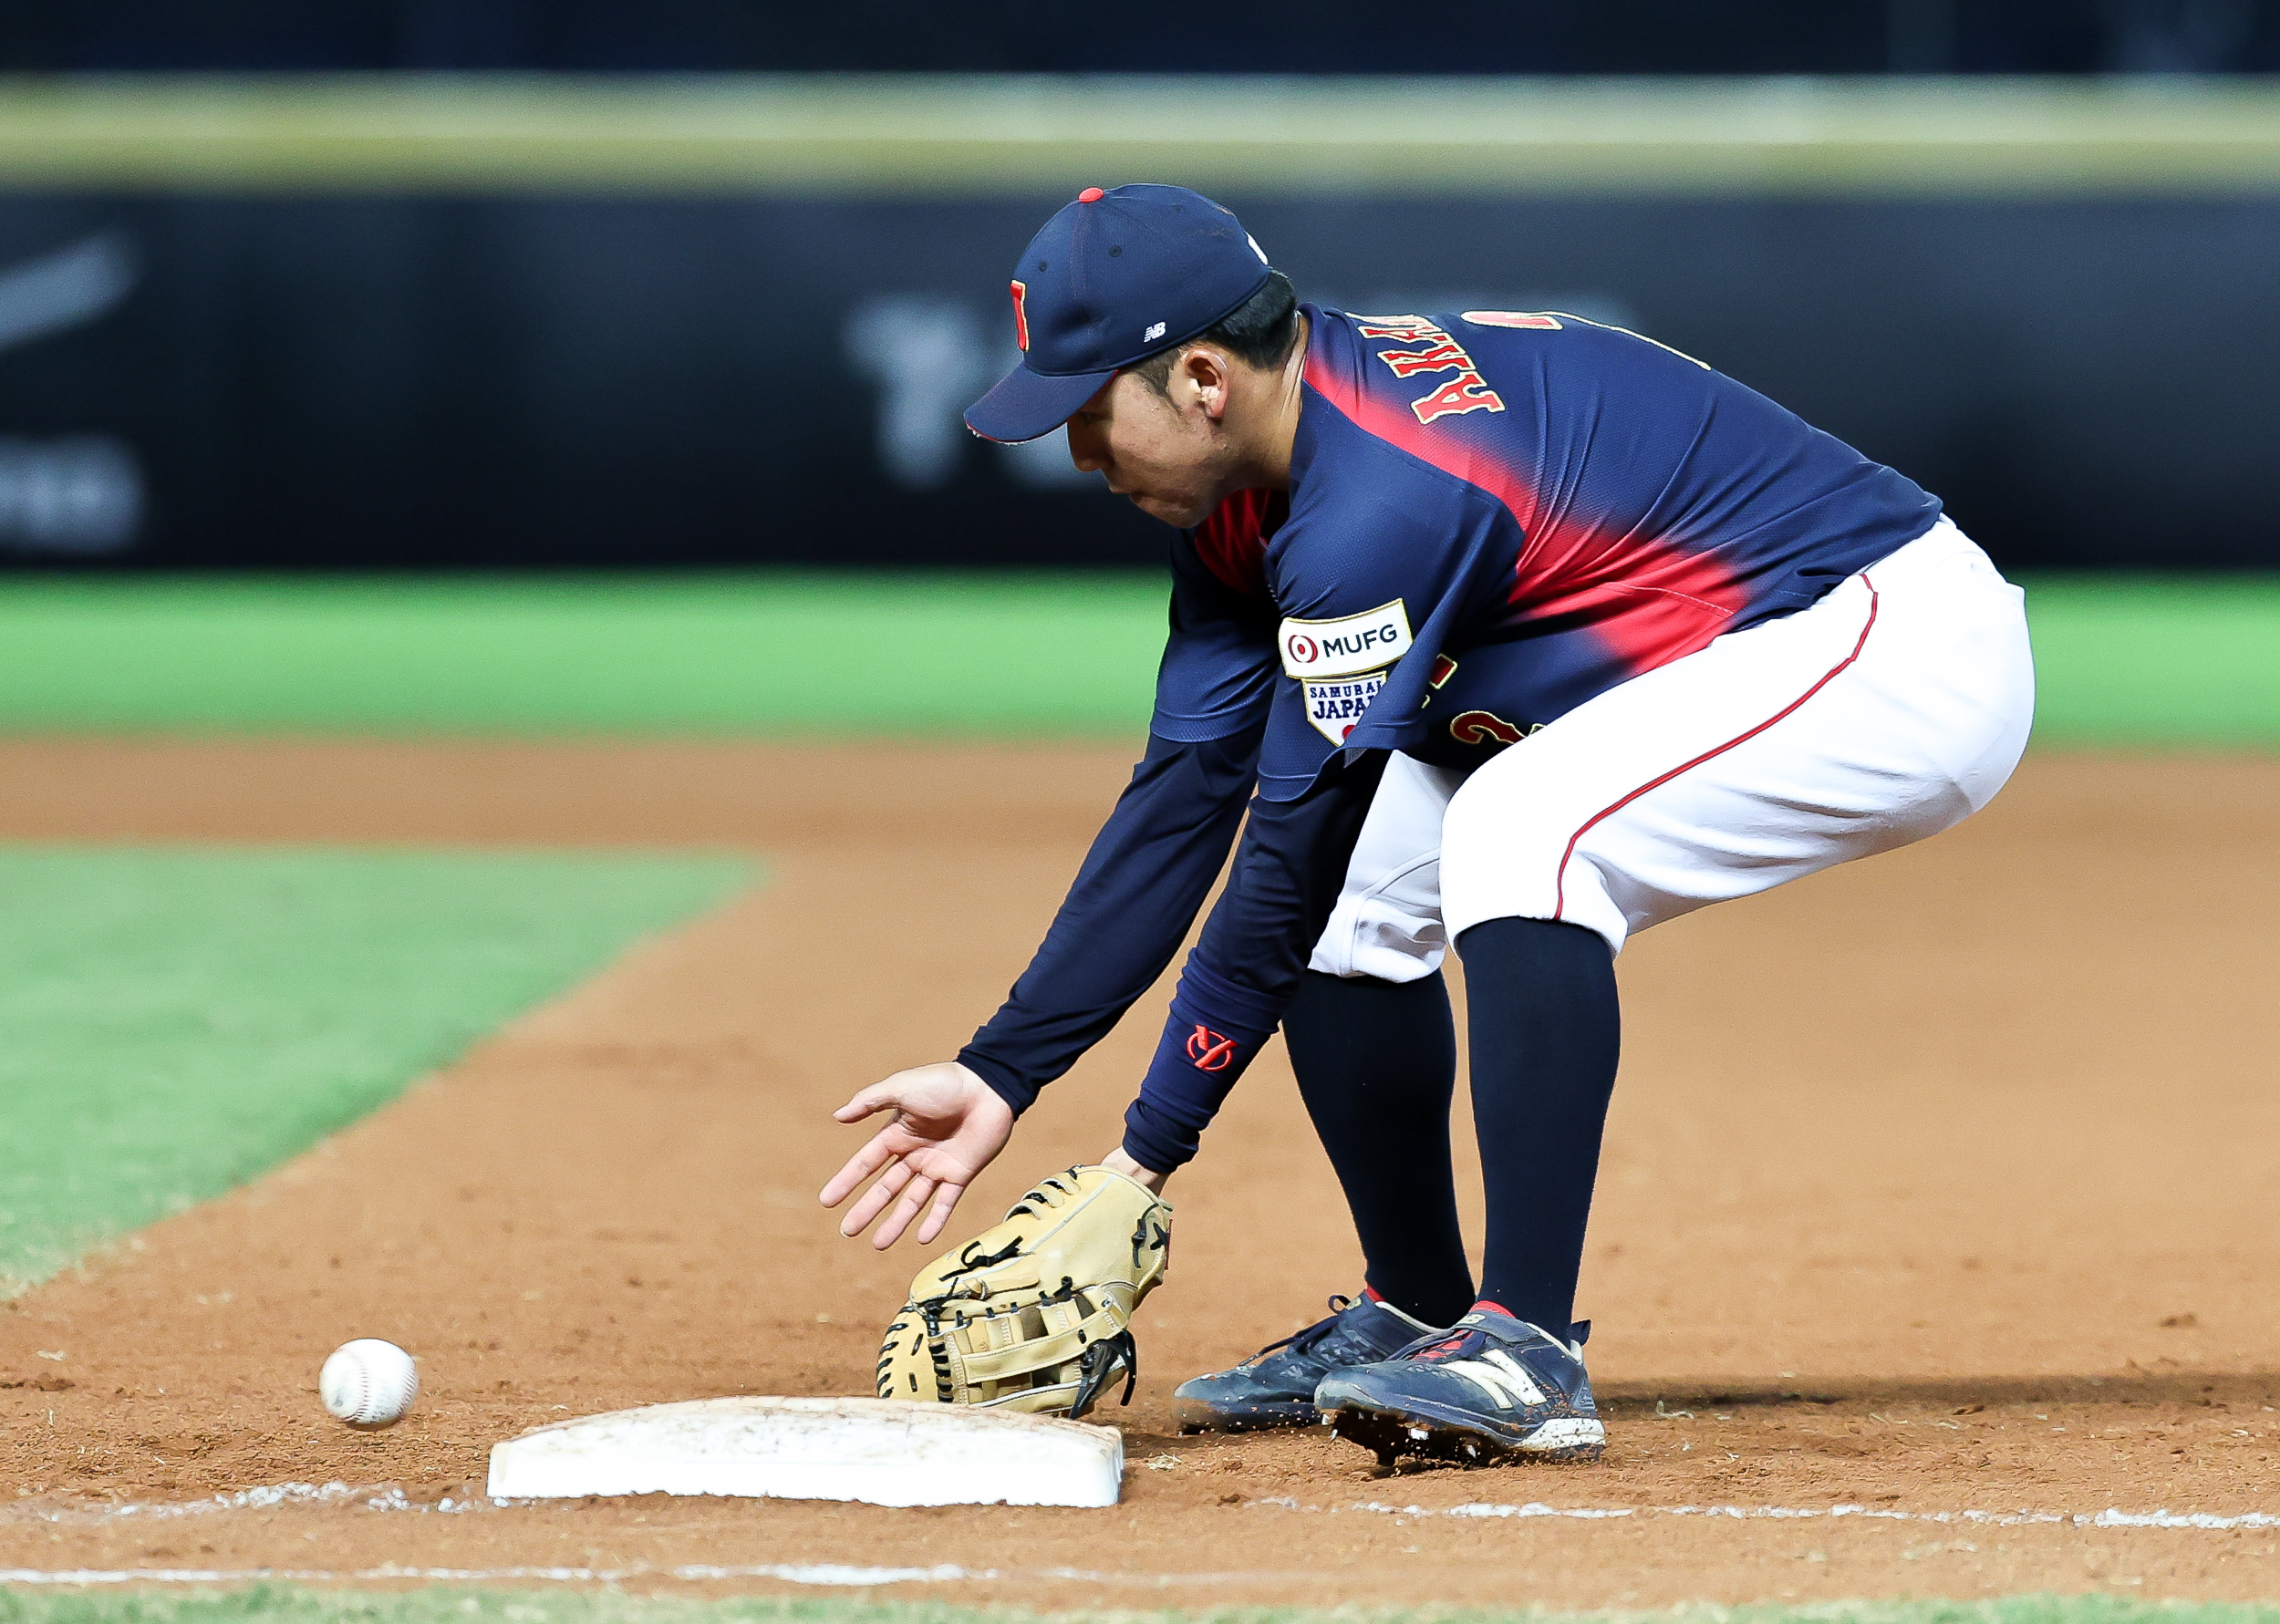
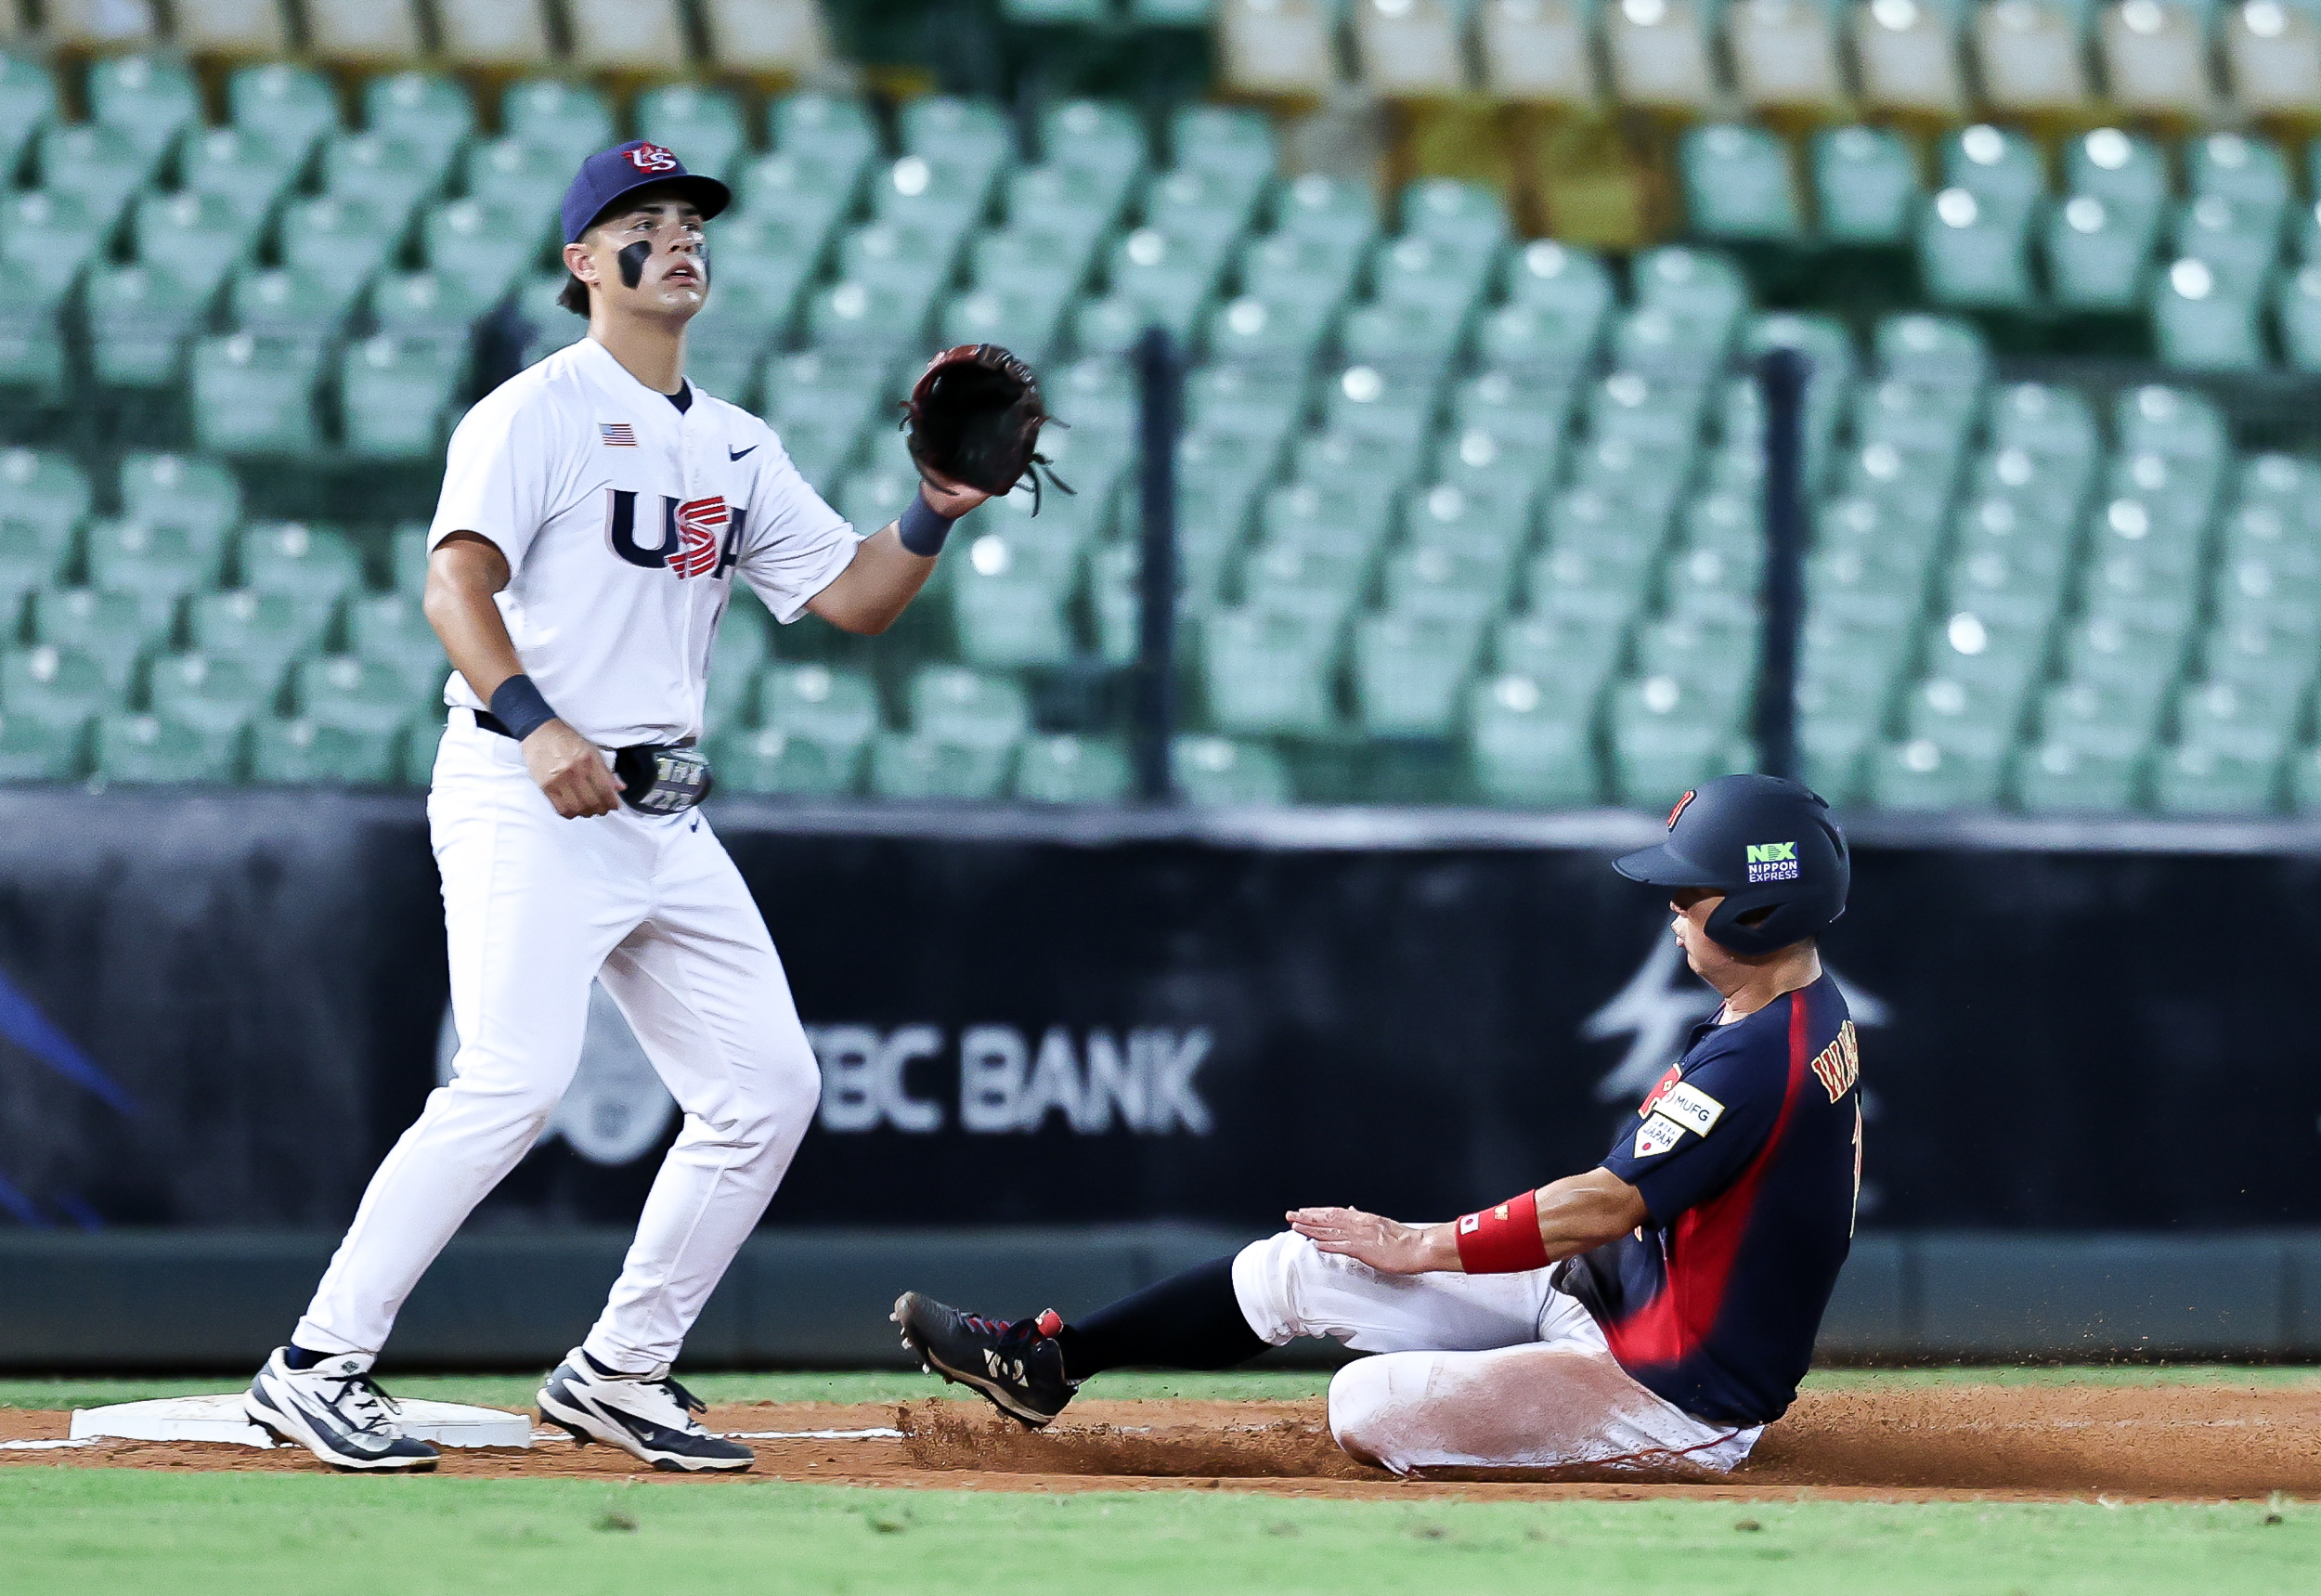
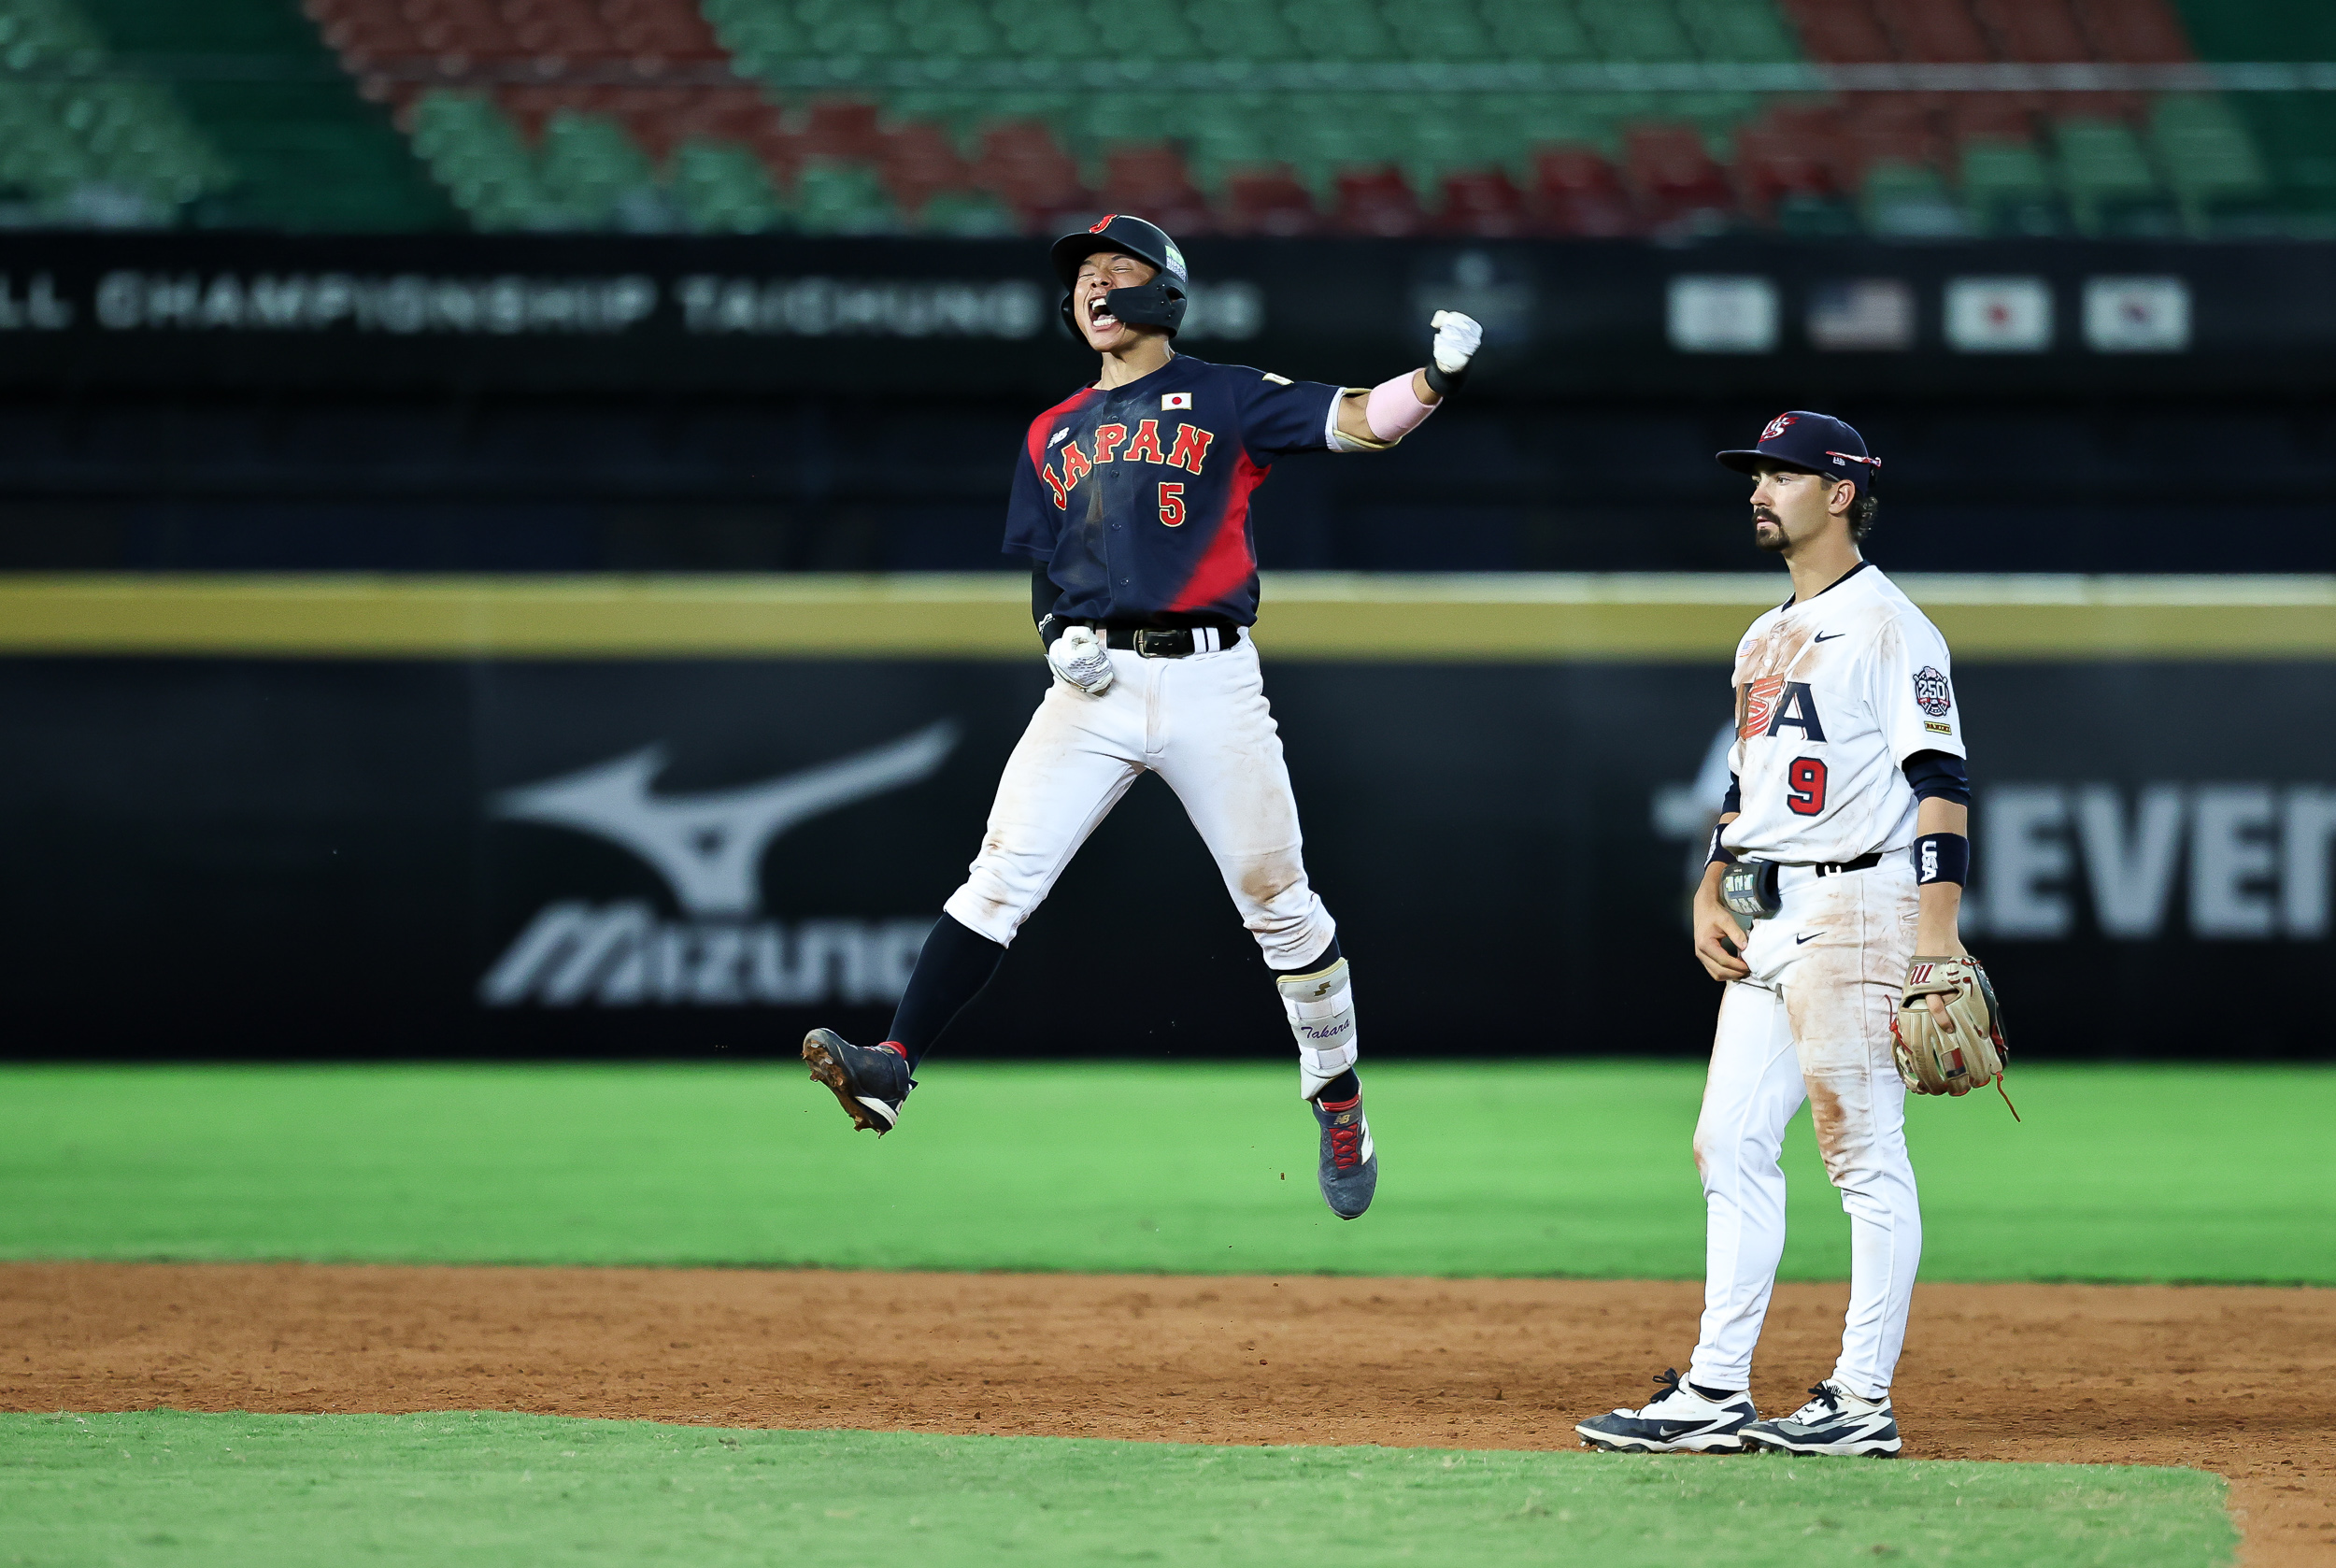
4.Extra Innings (The Decisive Instant): Photos before game winning shot can be wait; complete focus on capturing the game-decisive breakthrough (a walk-off hit or defensive error). Focus must be laser-sharp as the tide turns in a split second.
In this championship match between the evenly matched USA and Japan teams, extra innings meant a single hit or error would end the game. I deployed a dual-body camera setup to seamlessly cover all distances:
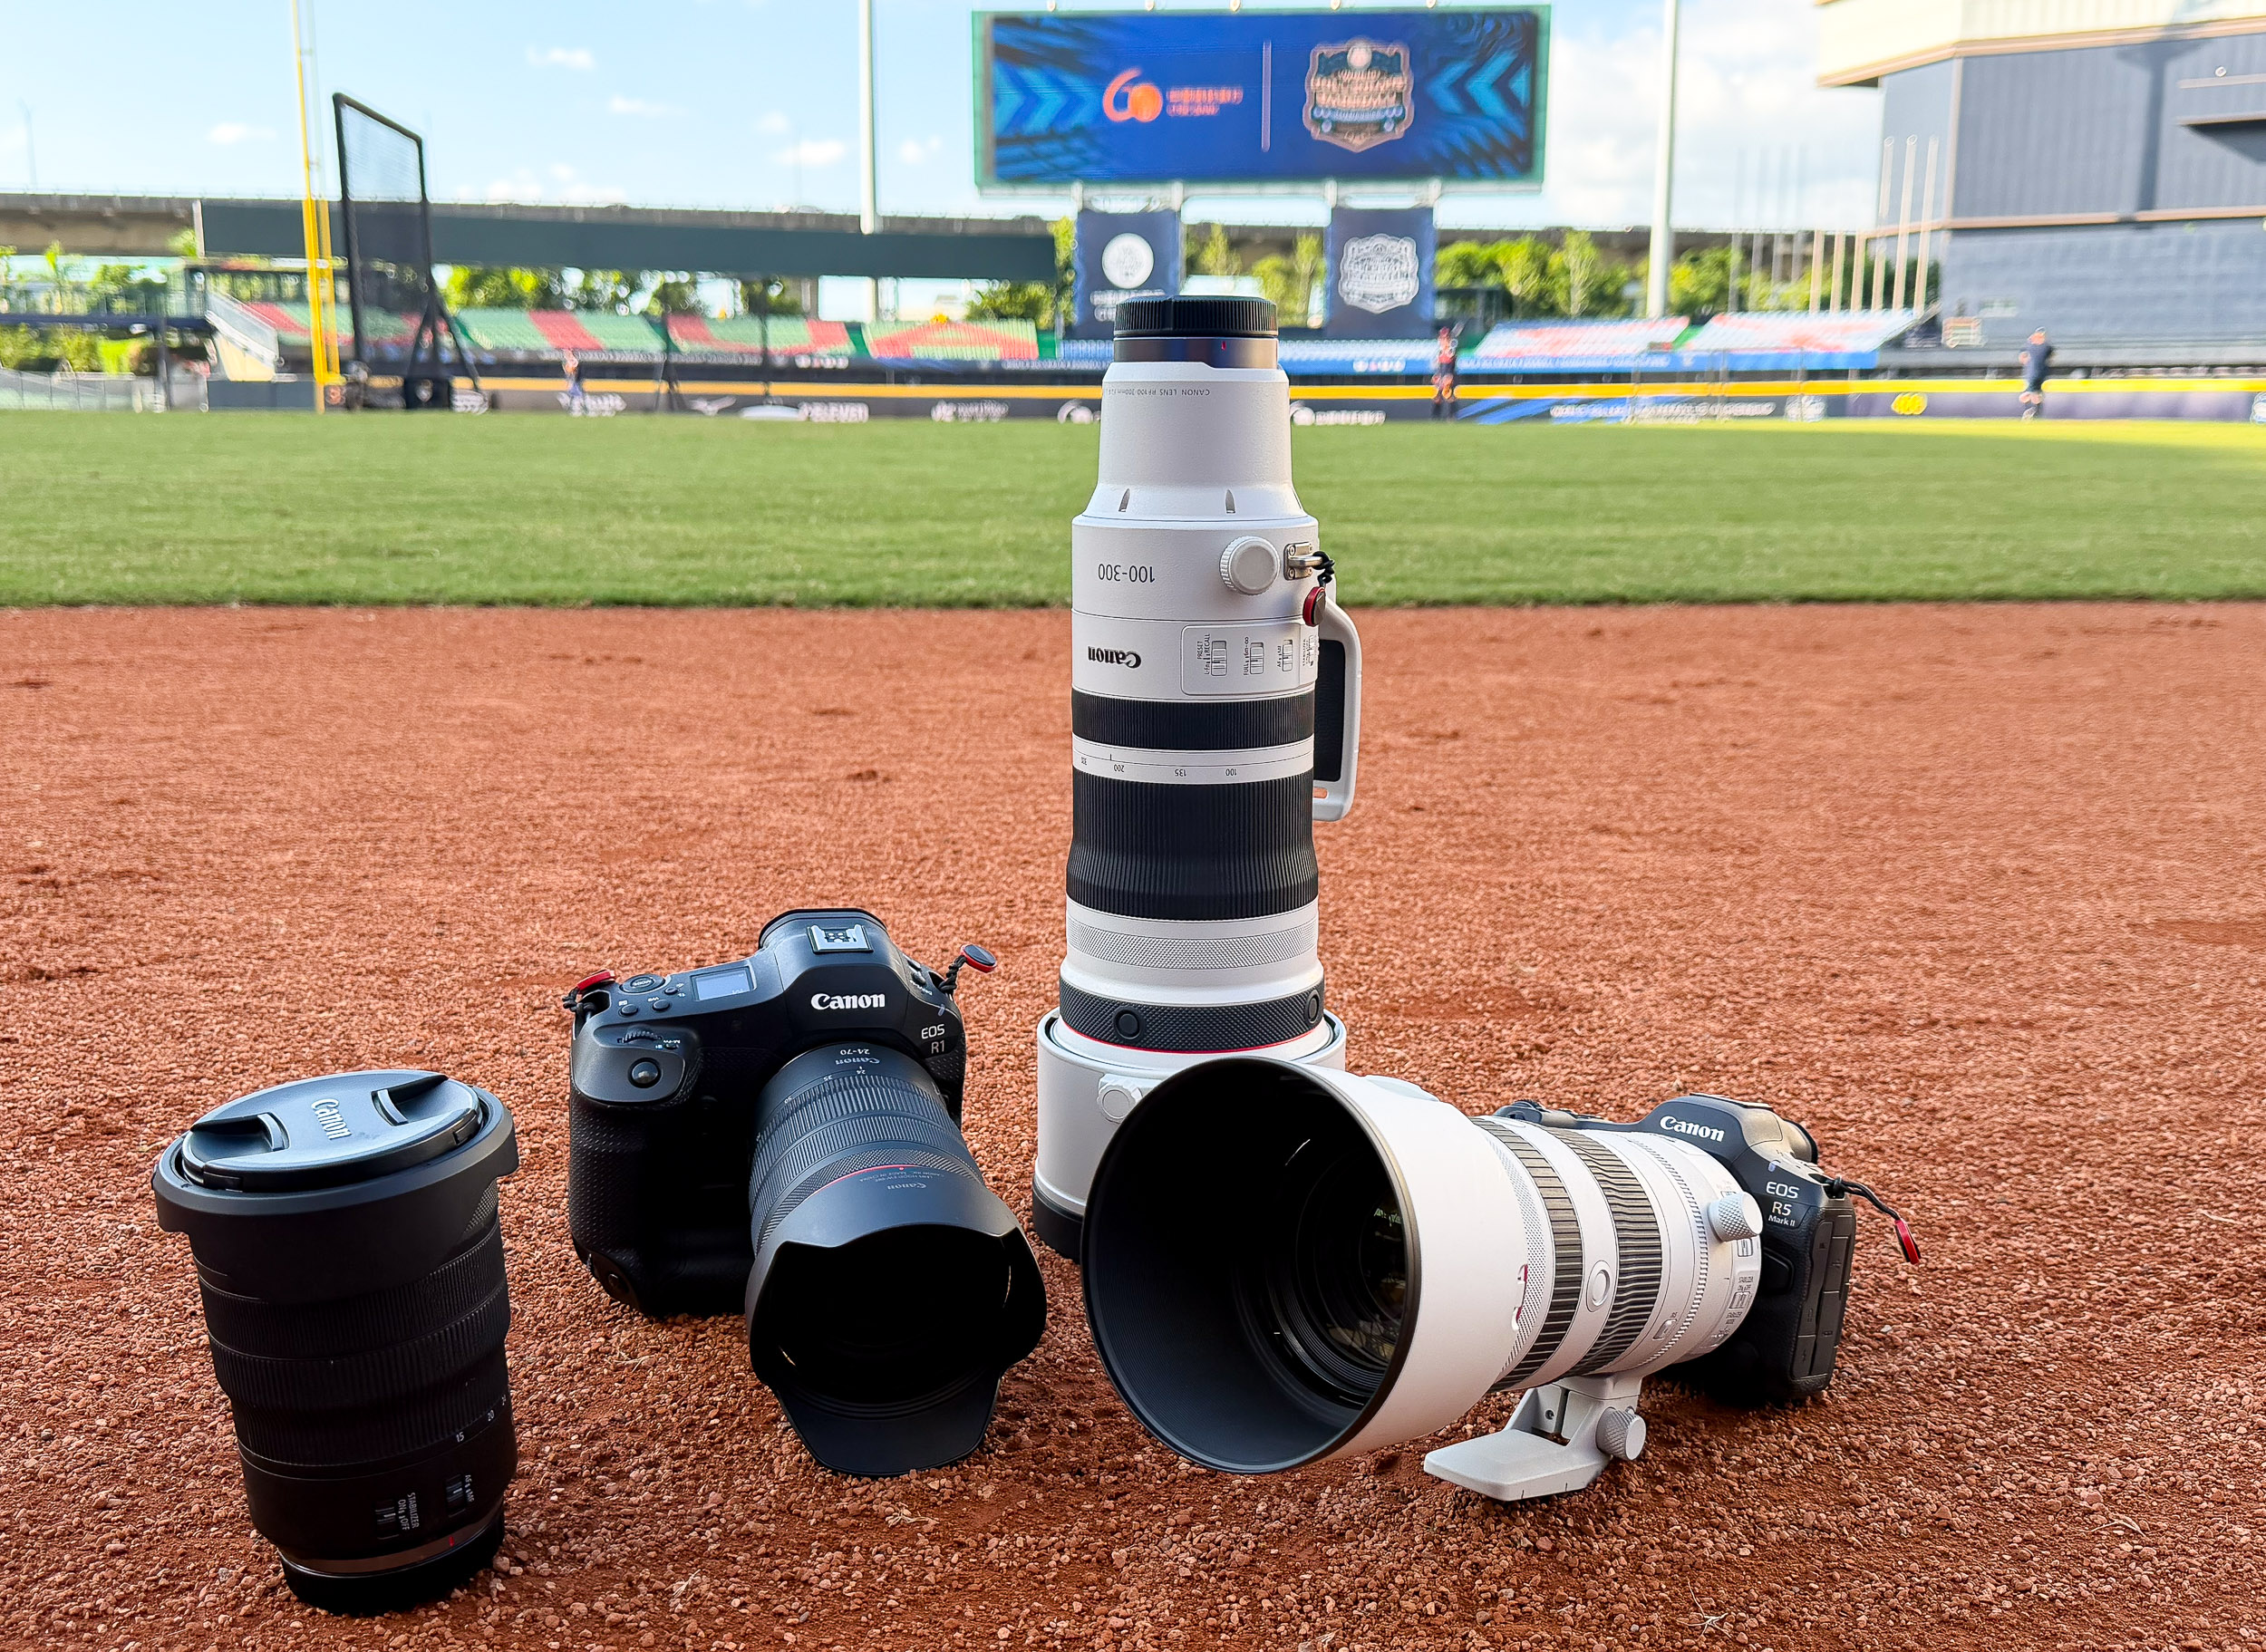
- Primary Body: Canon EOS R1 + RF 100-300mm f/2.8L IS USM (Allows tight action framing while leaving enough headroom for full-body celebration shots).
- Secondary Body: Canon EOS R5 Mark II + RF 15-35mm f/2.8L IS USM (Enables ultra-close immersion into intense player victory screams and team huddles).
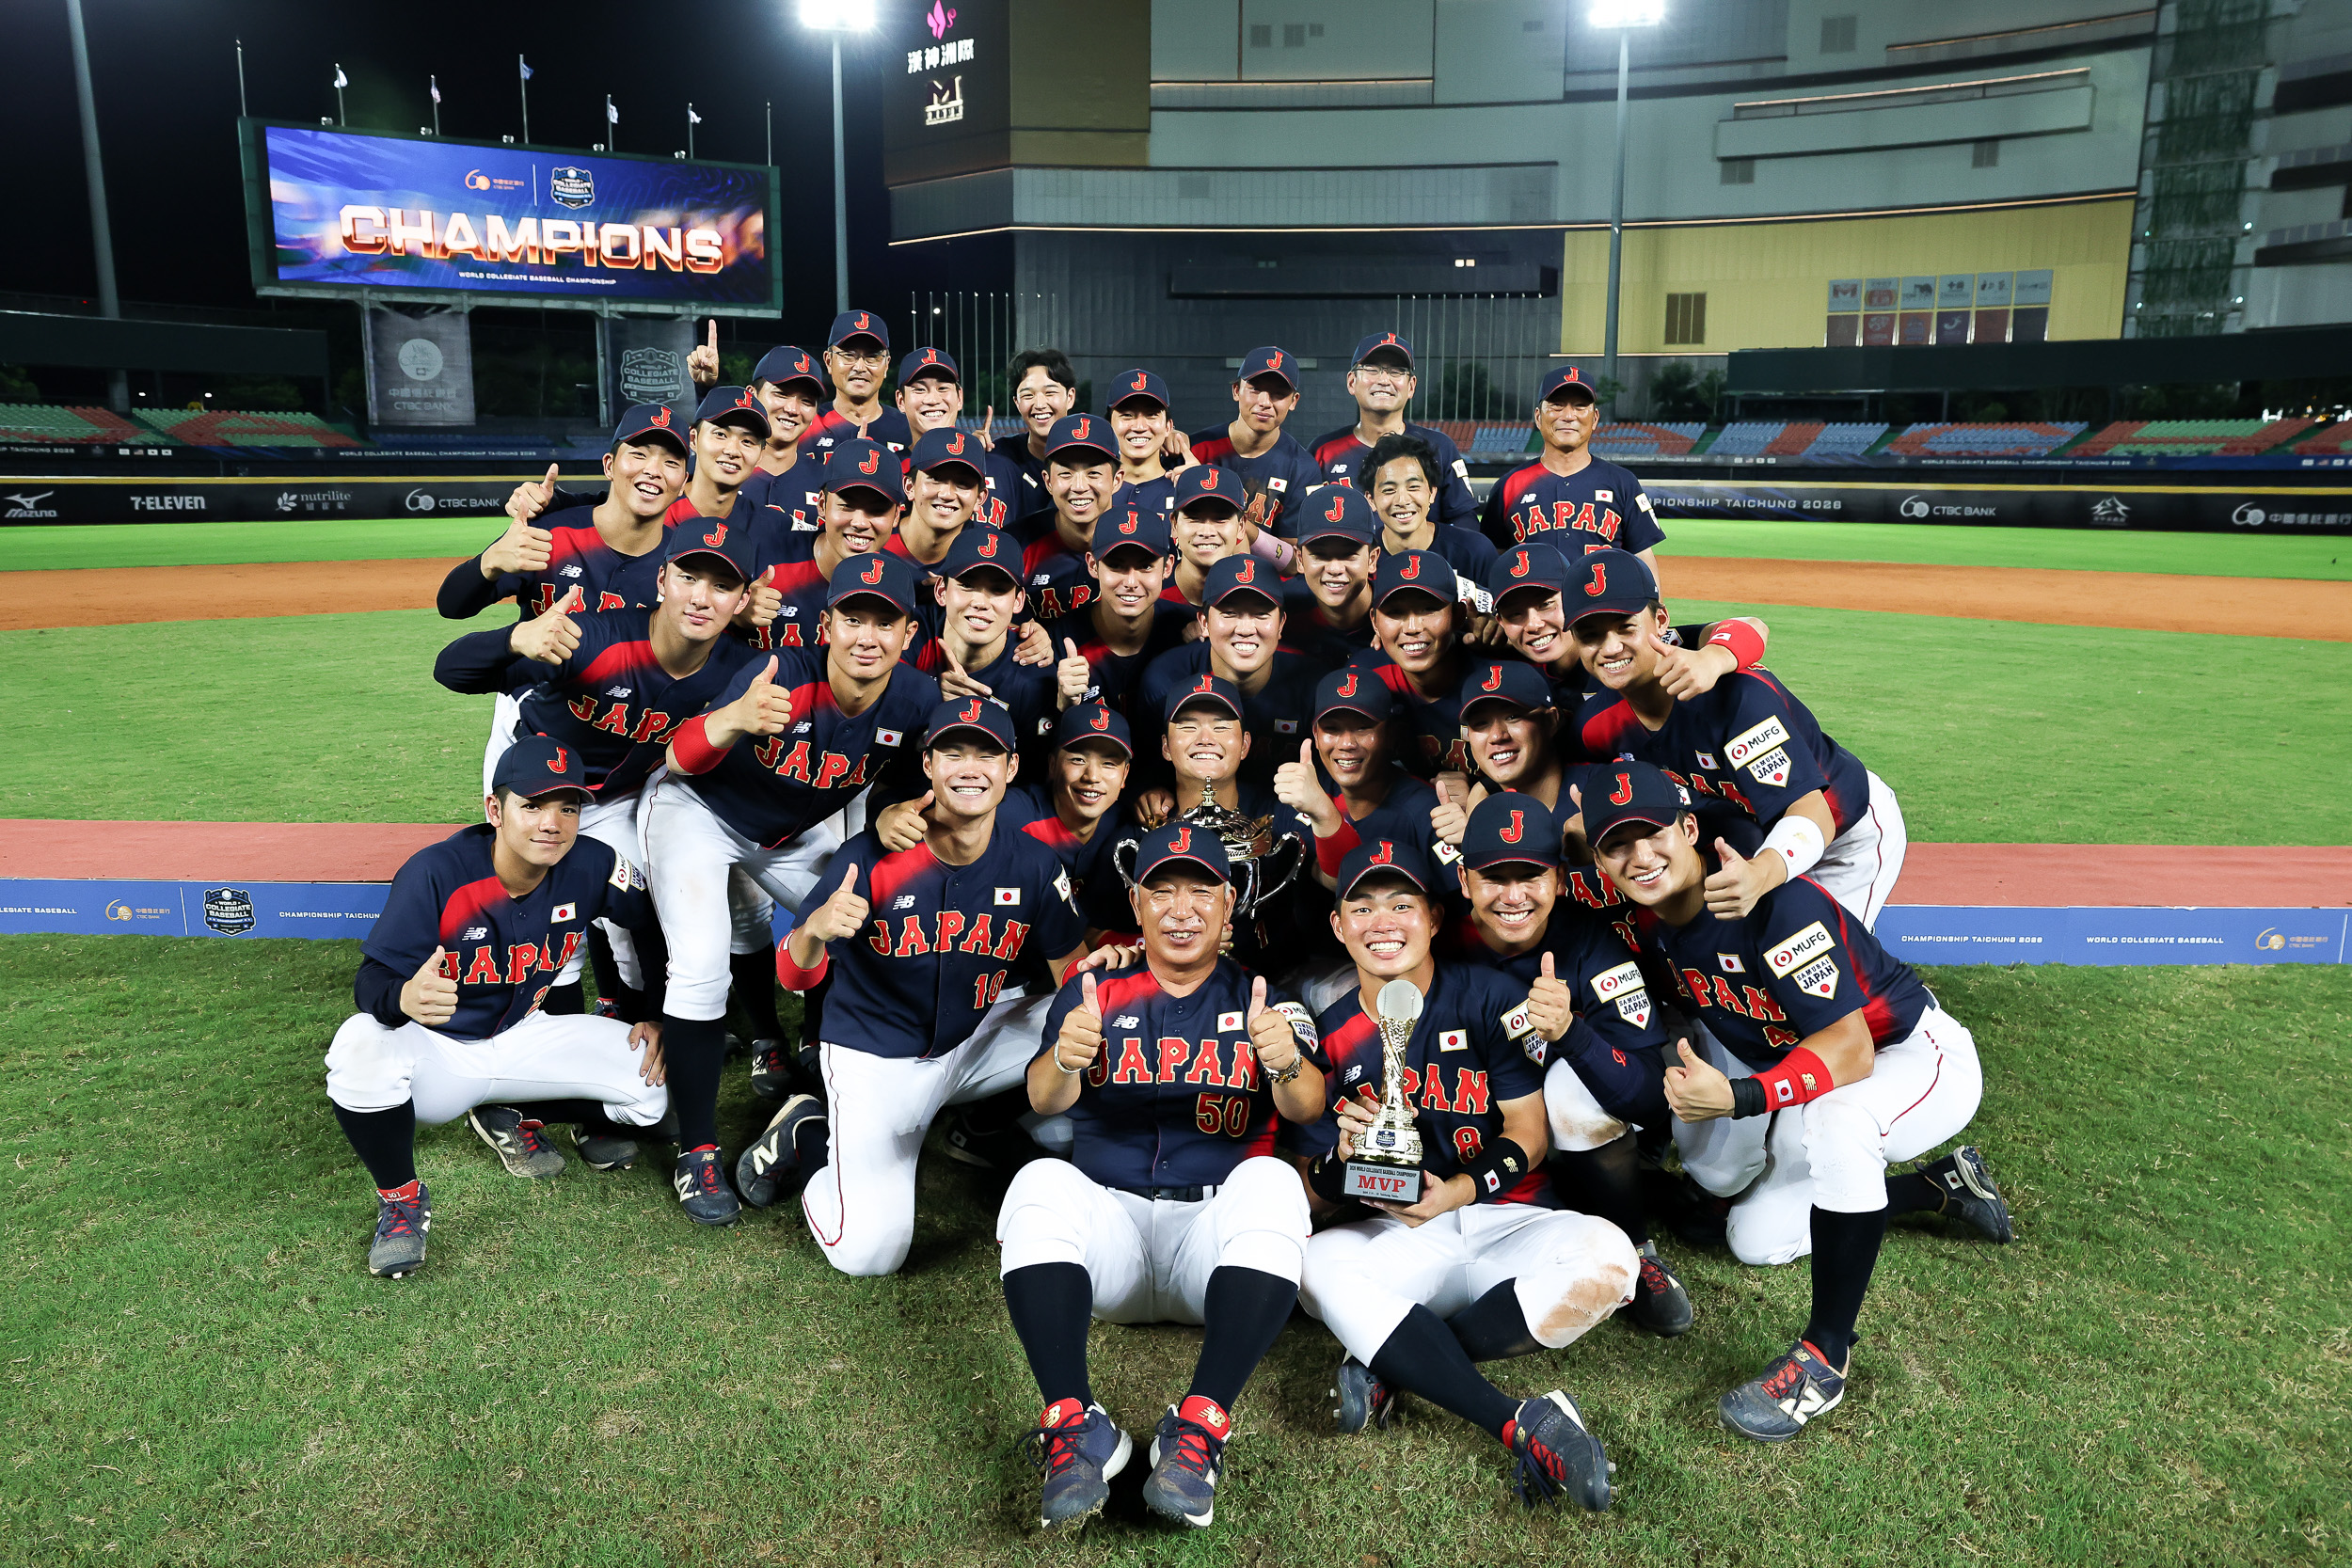
5.Post-Game Coverage
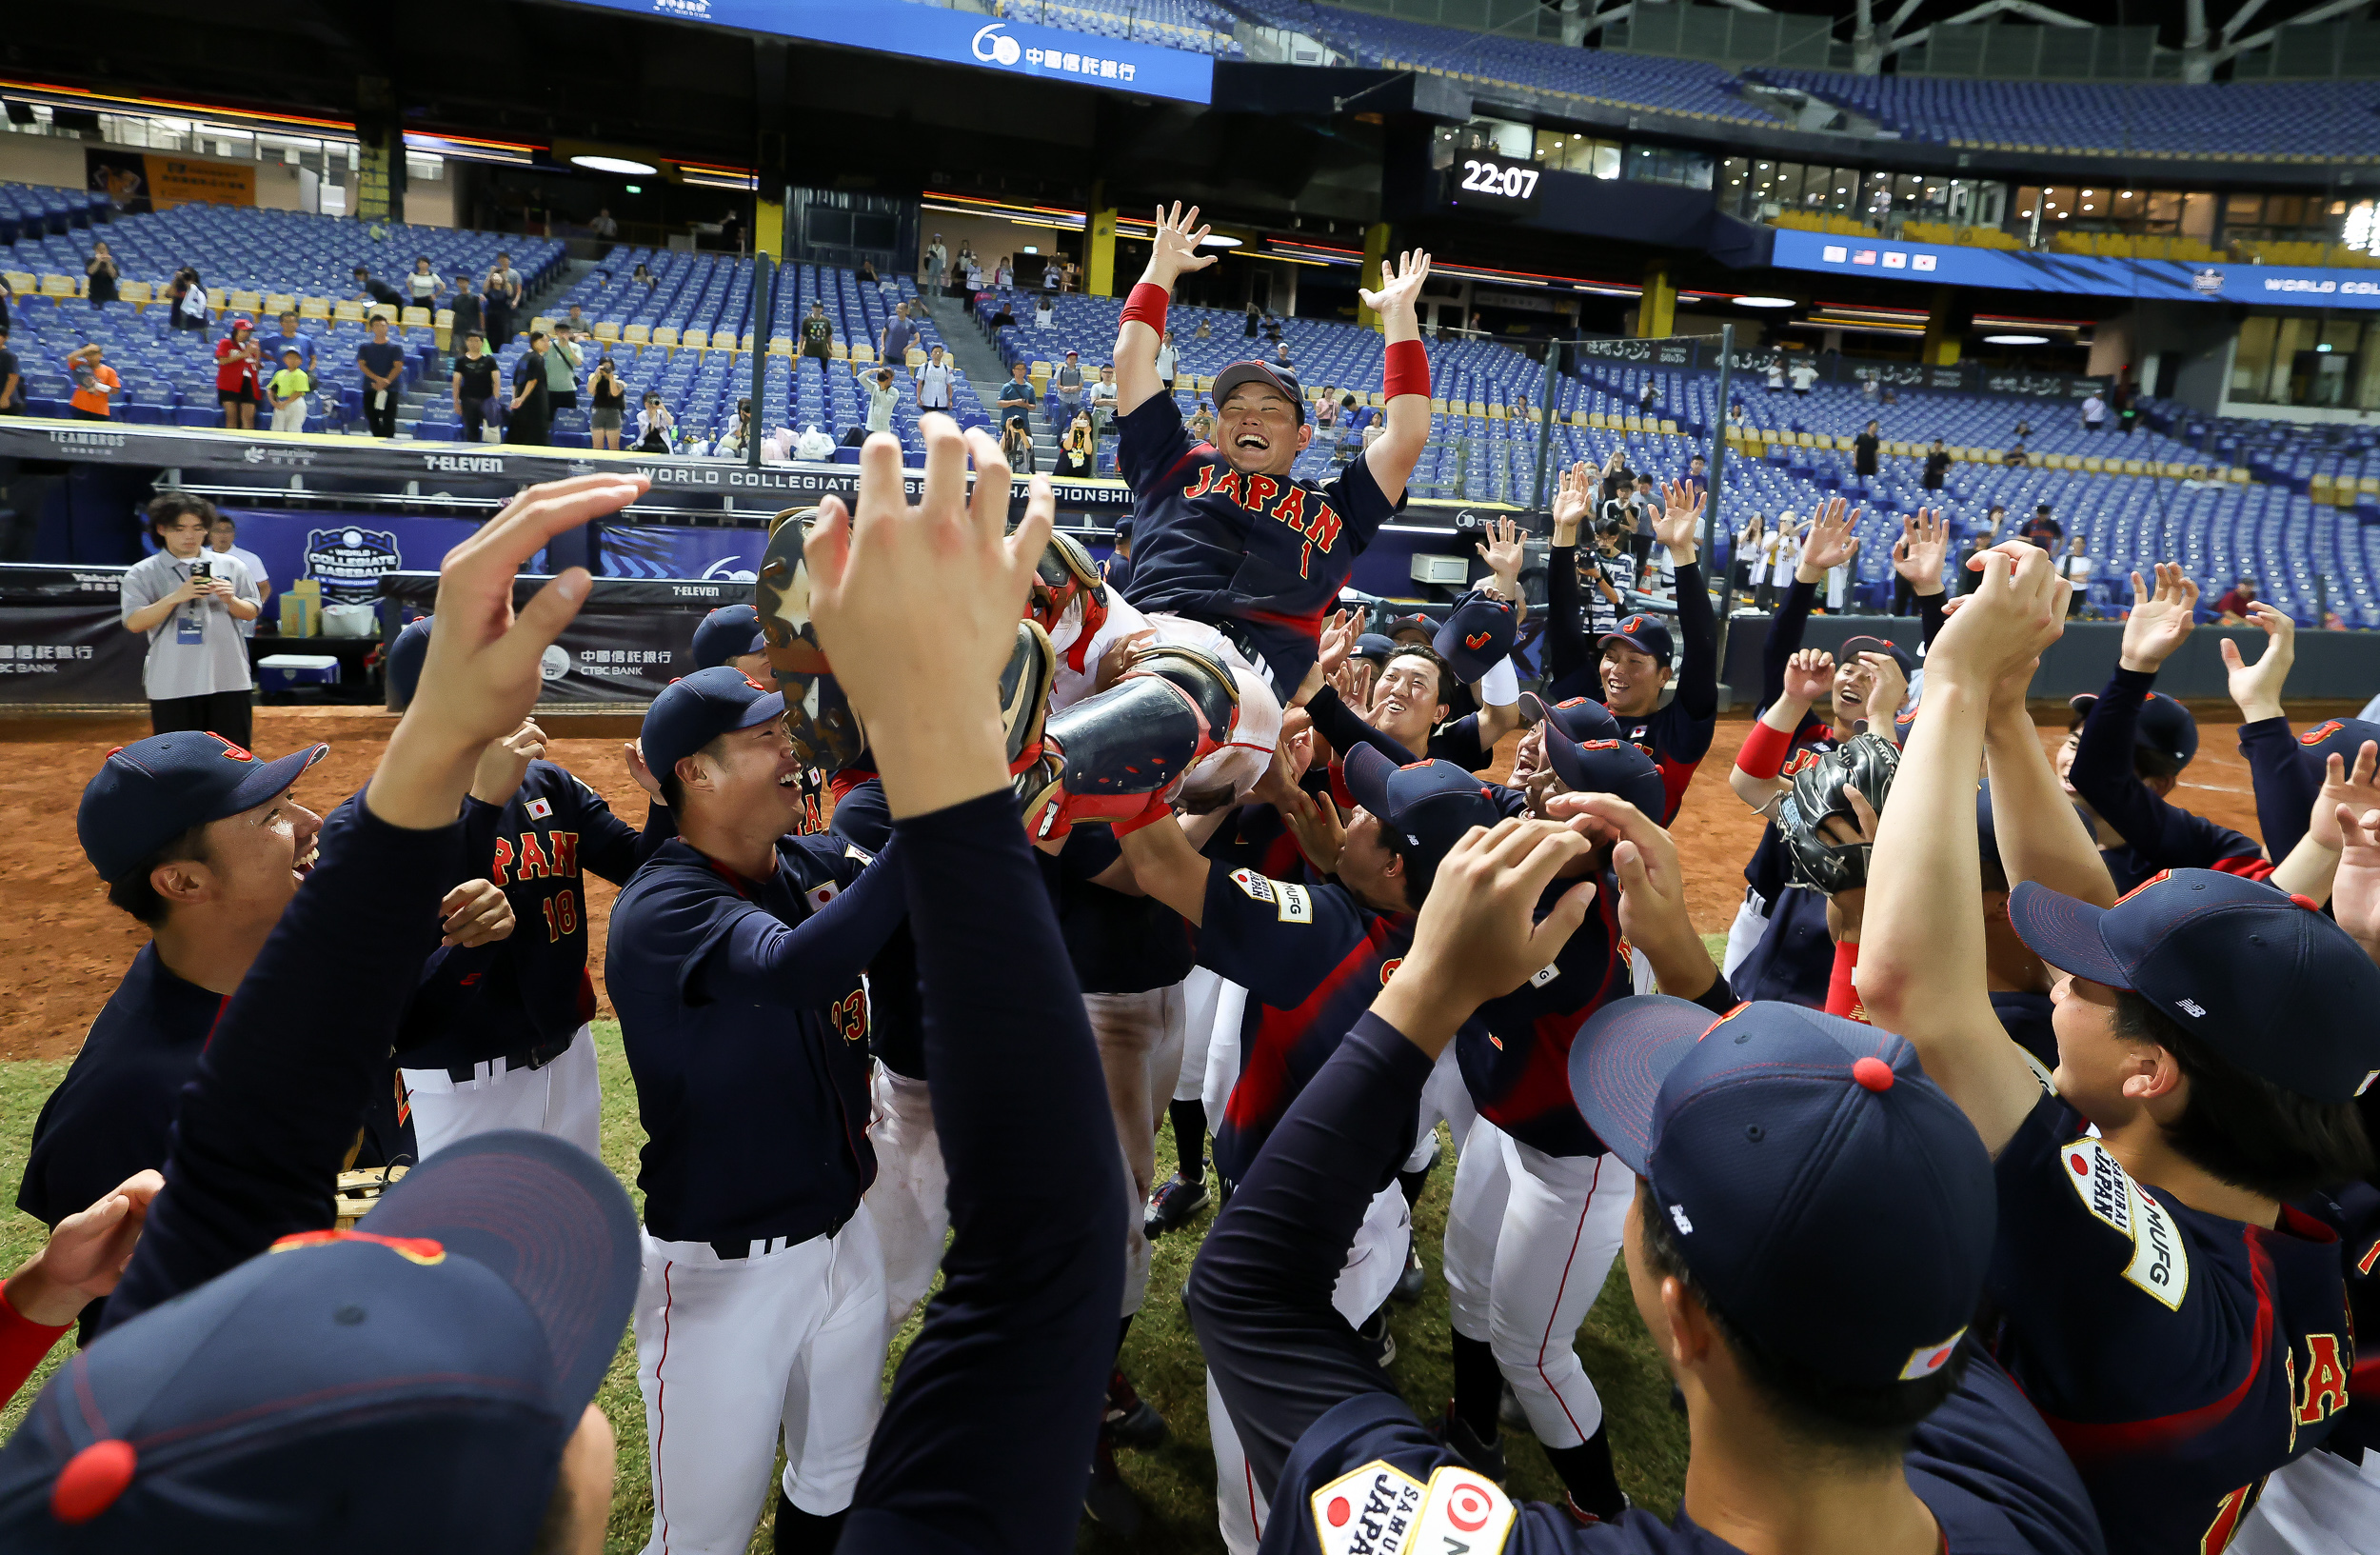
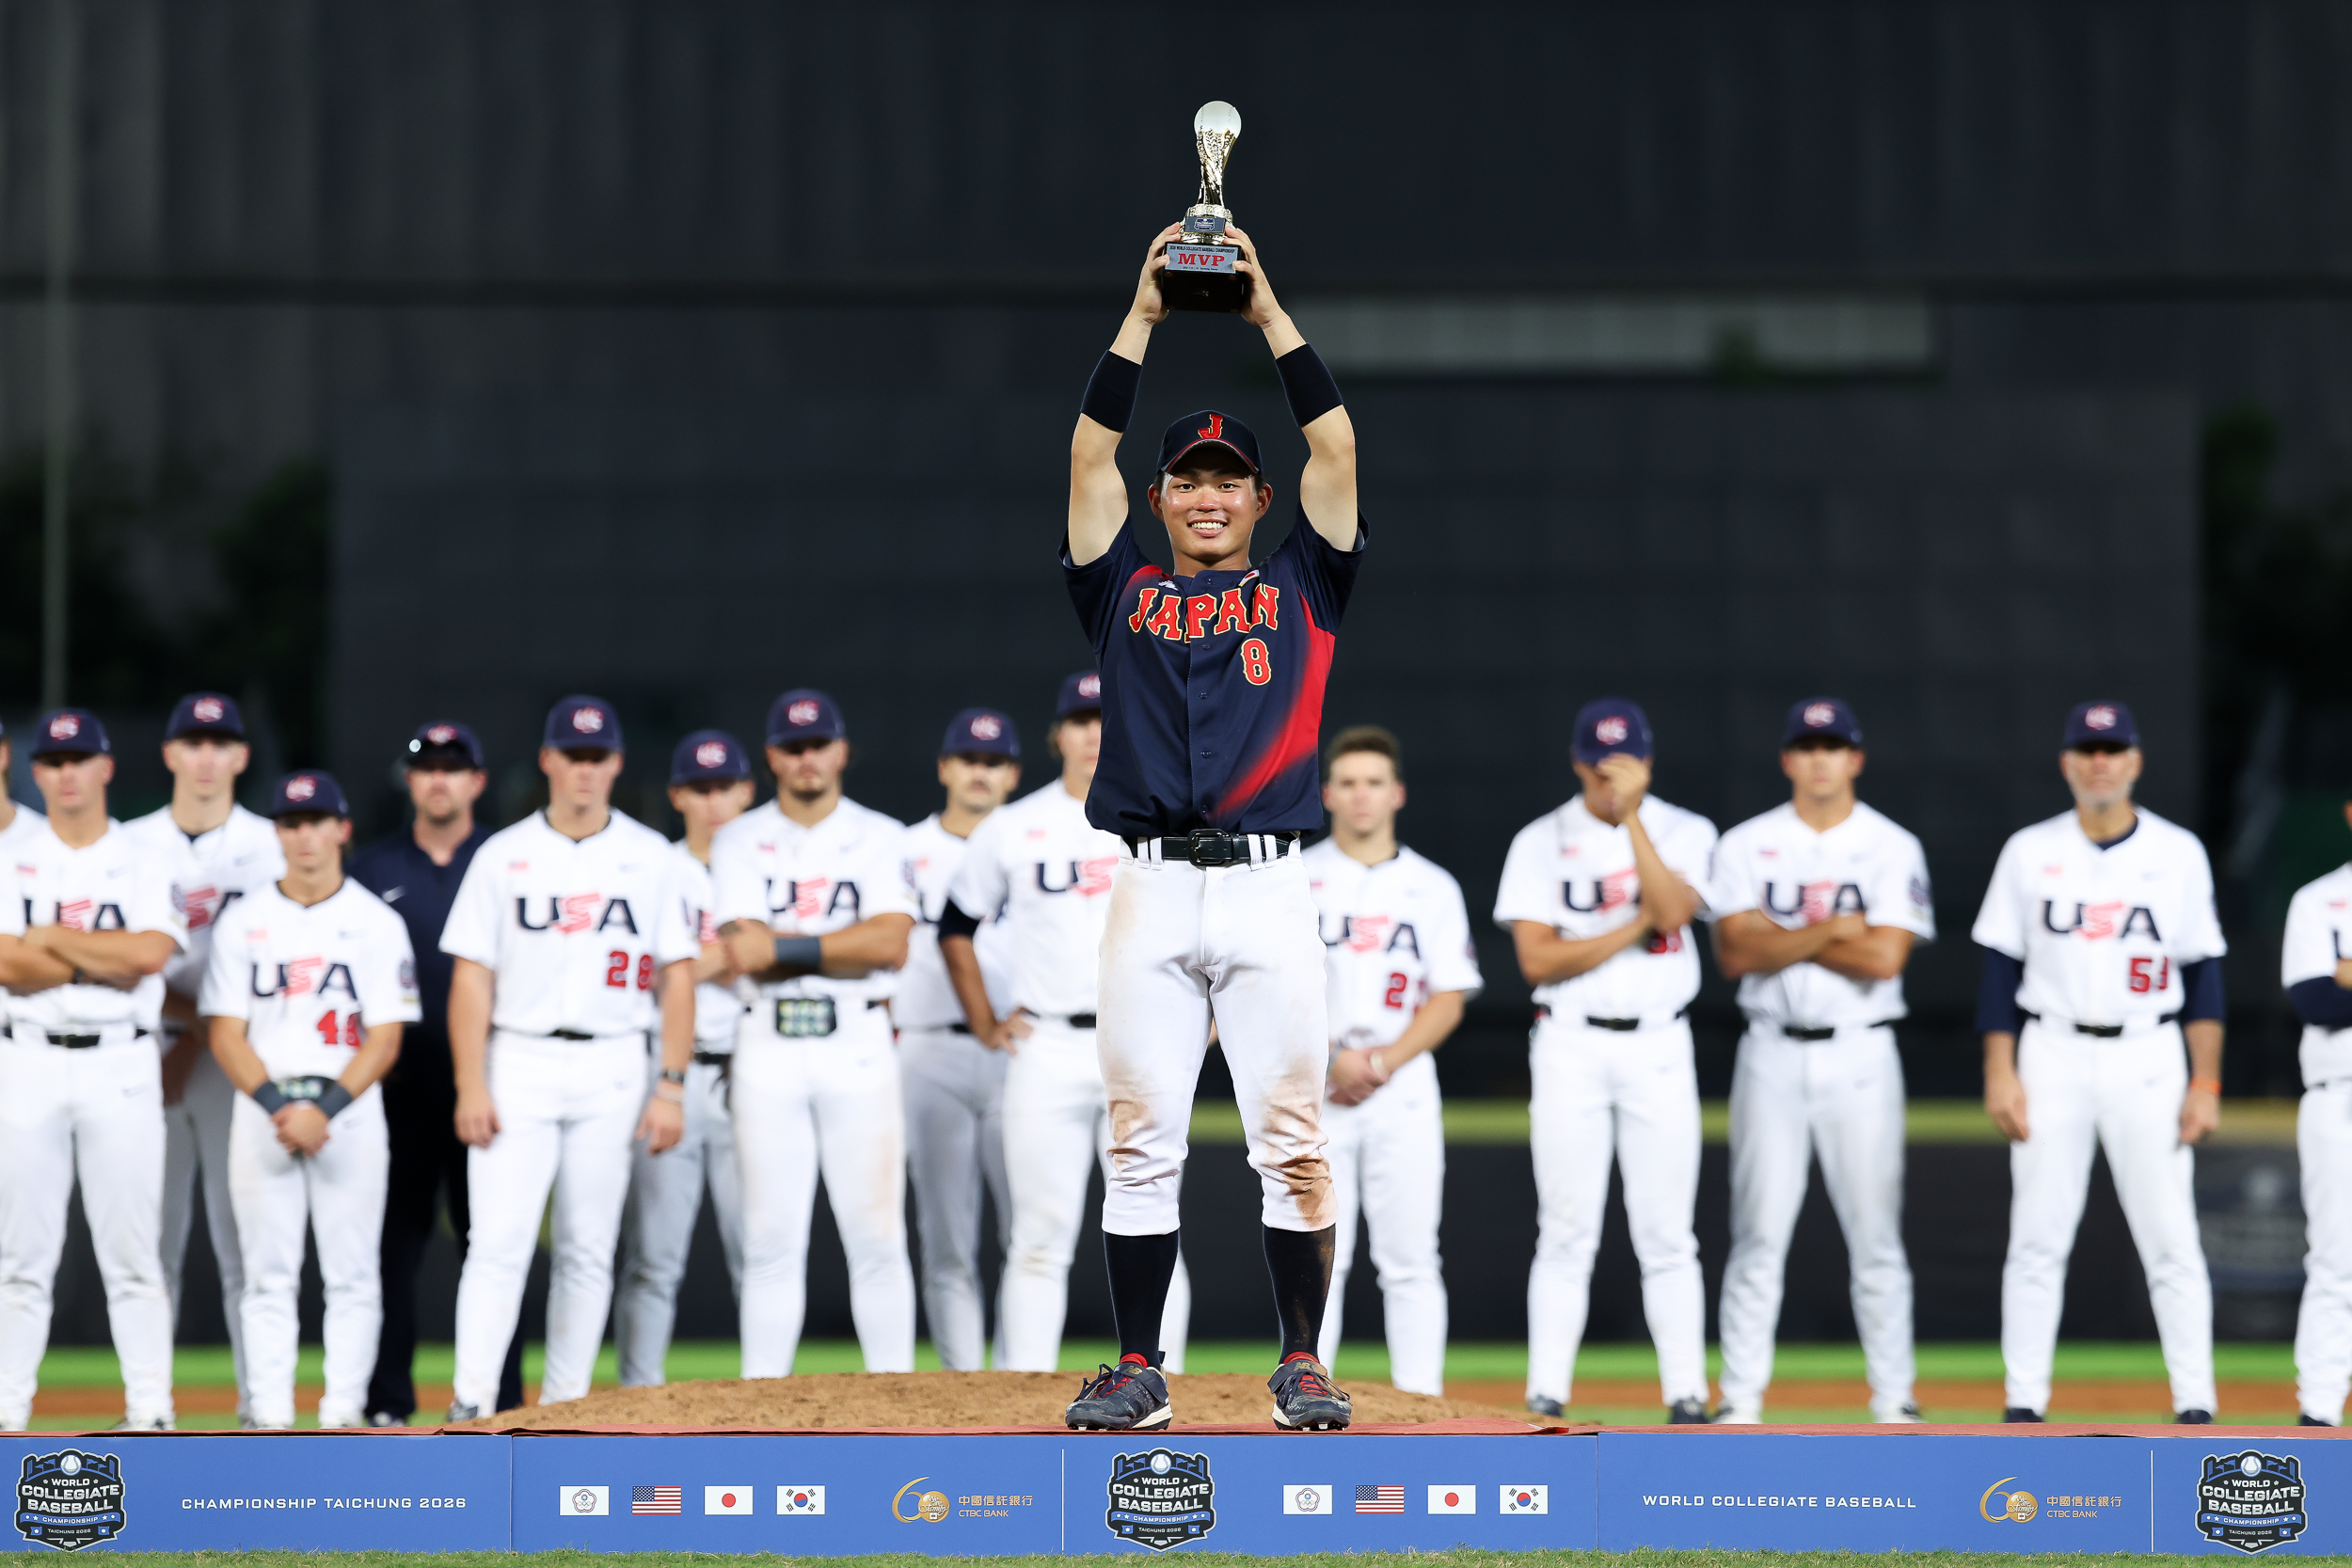
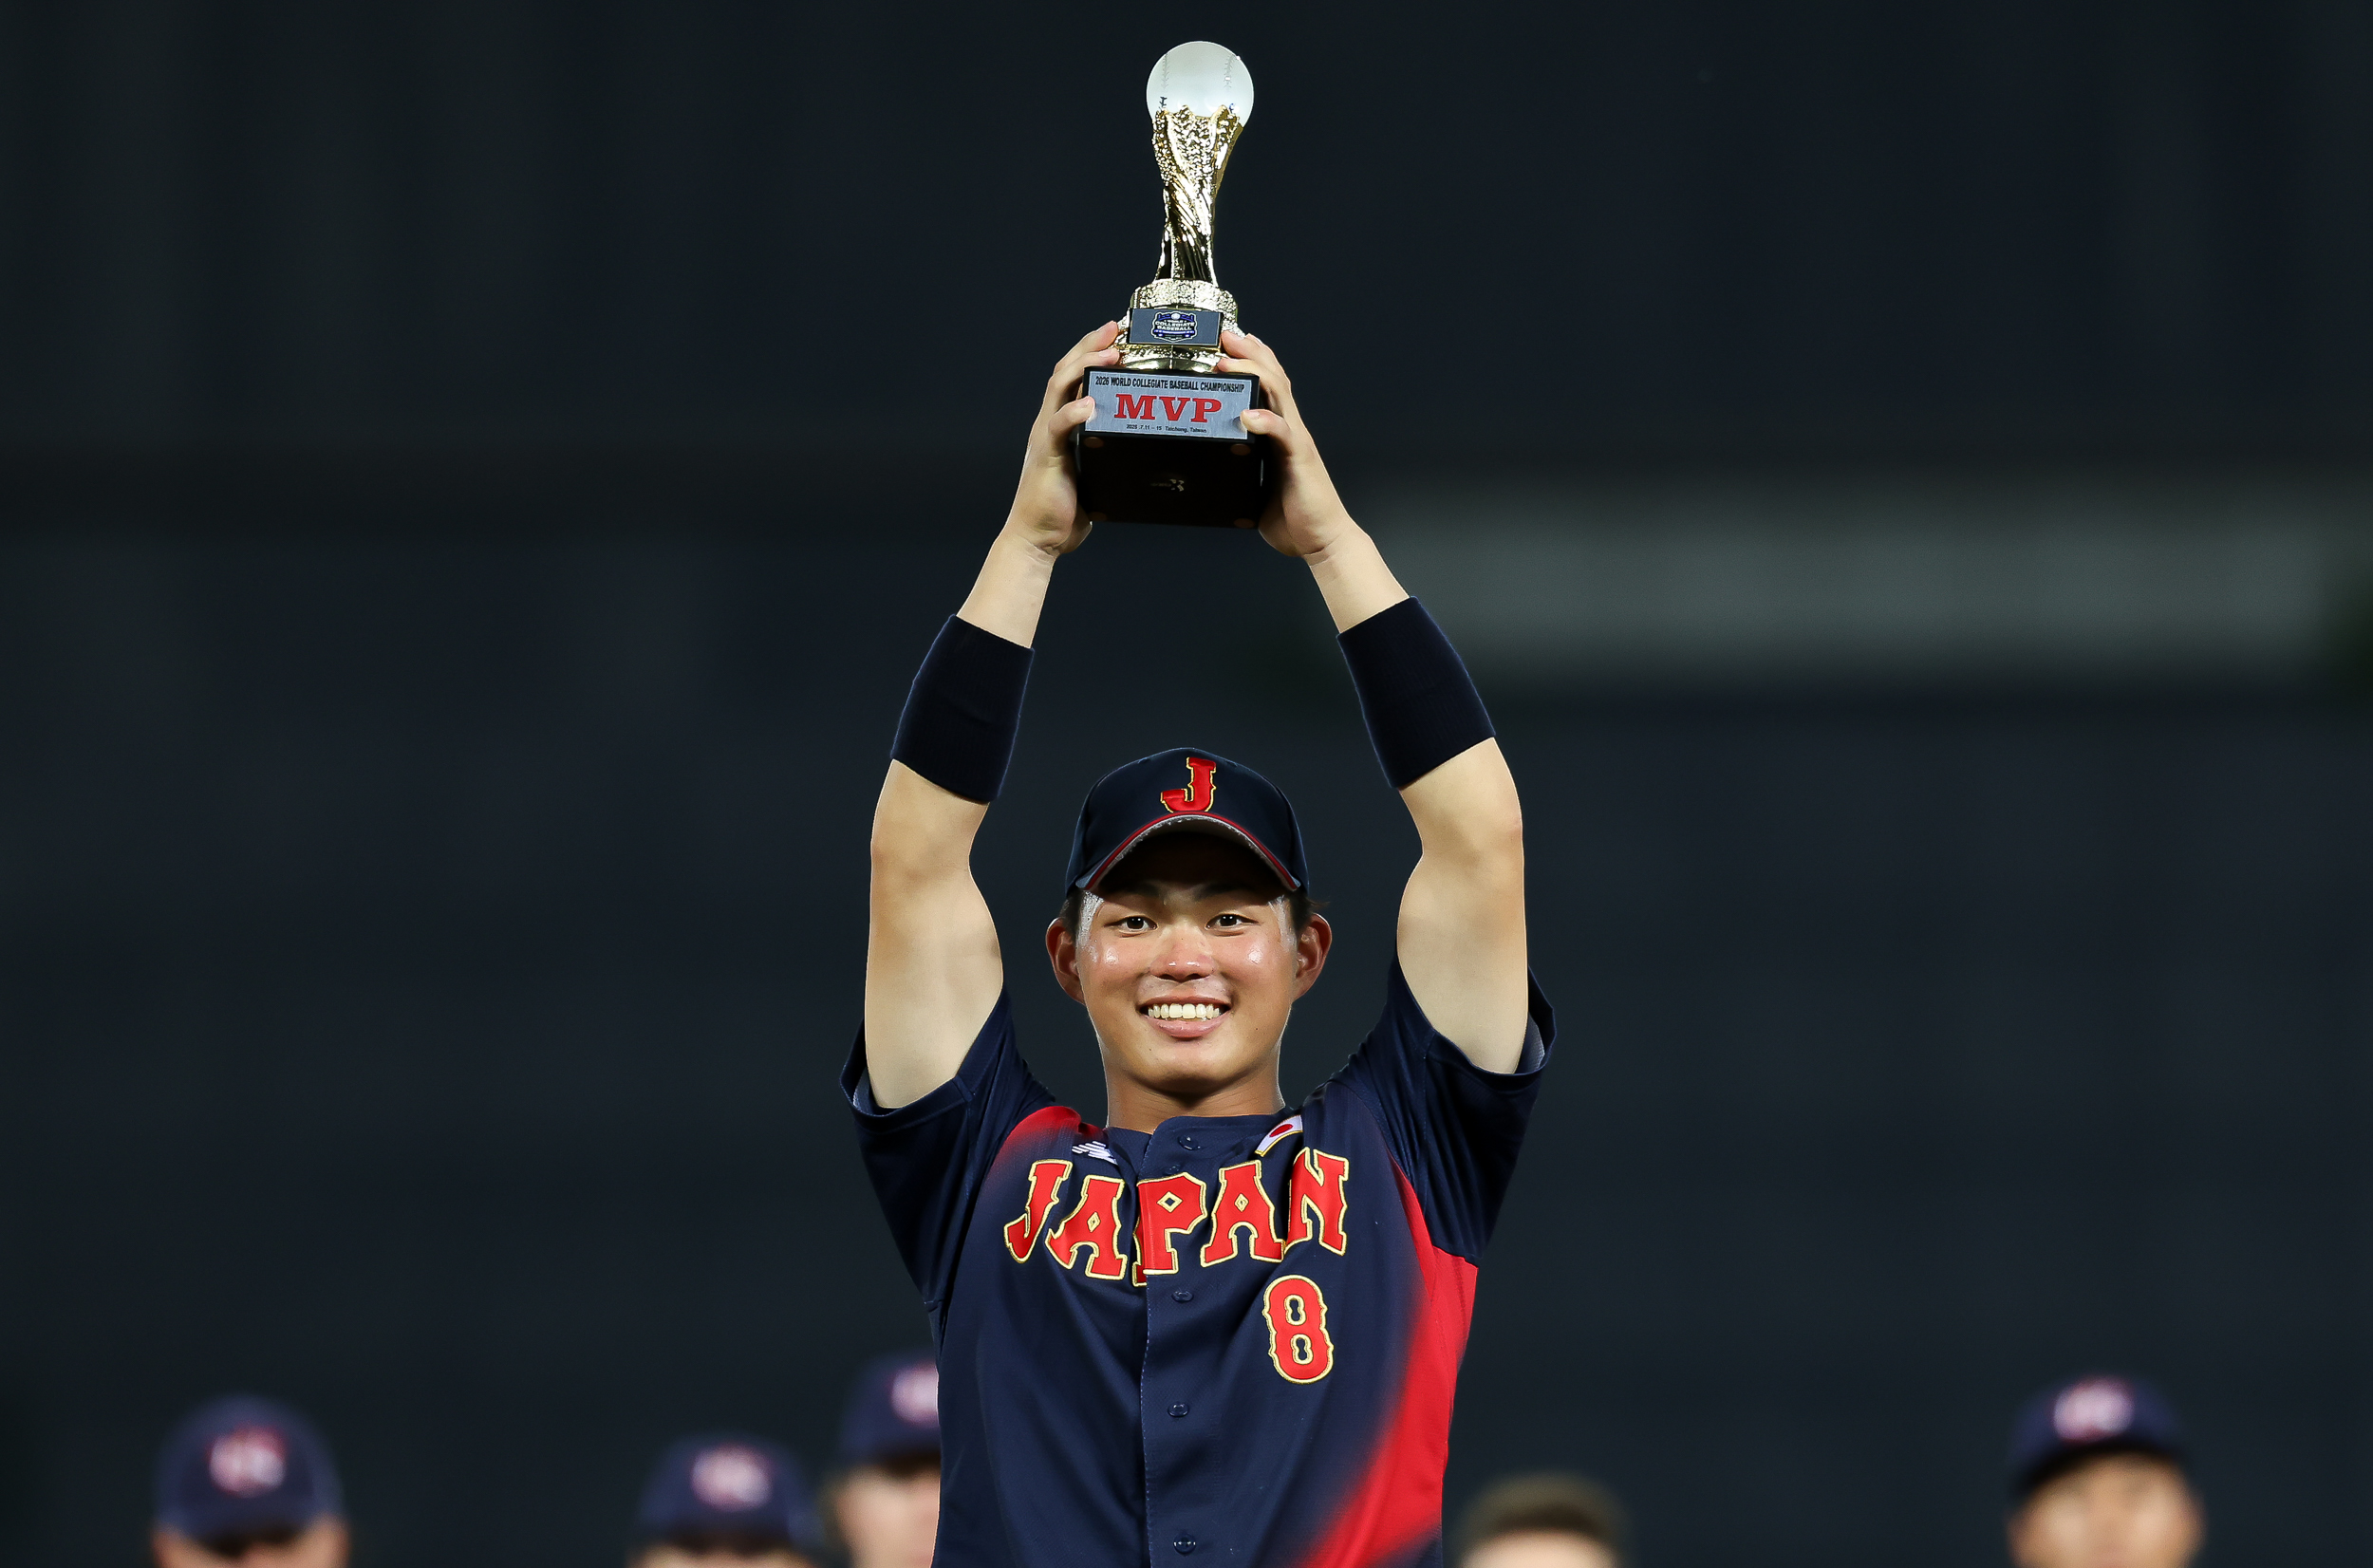
Following a championship game comes high-energy celebrations and trophy presentations: coach tosses, trophy lifts, and team portraits. Maintaining the dual-camera setup is crucial here. The super-telephoto lens covers trophy handoffs (100mm for full-body, 300mm for tight emotional expressions), while the wide-angle lens handles close-quarters coach tosses, group photos etc…
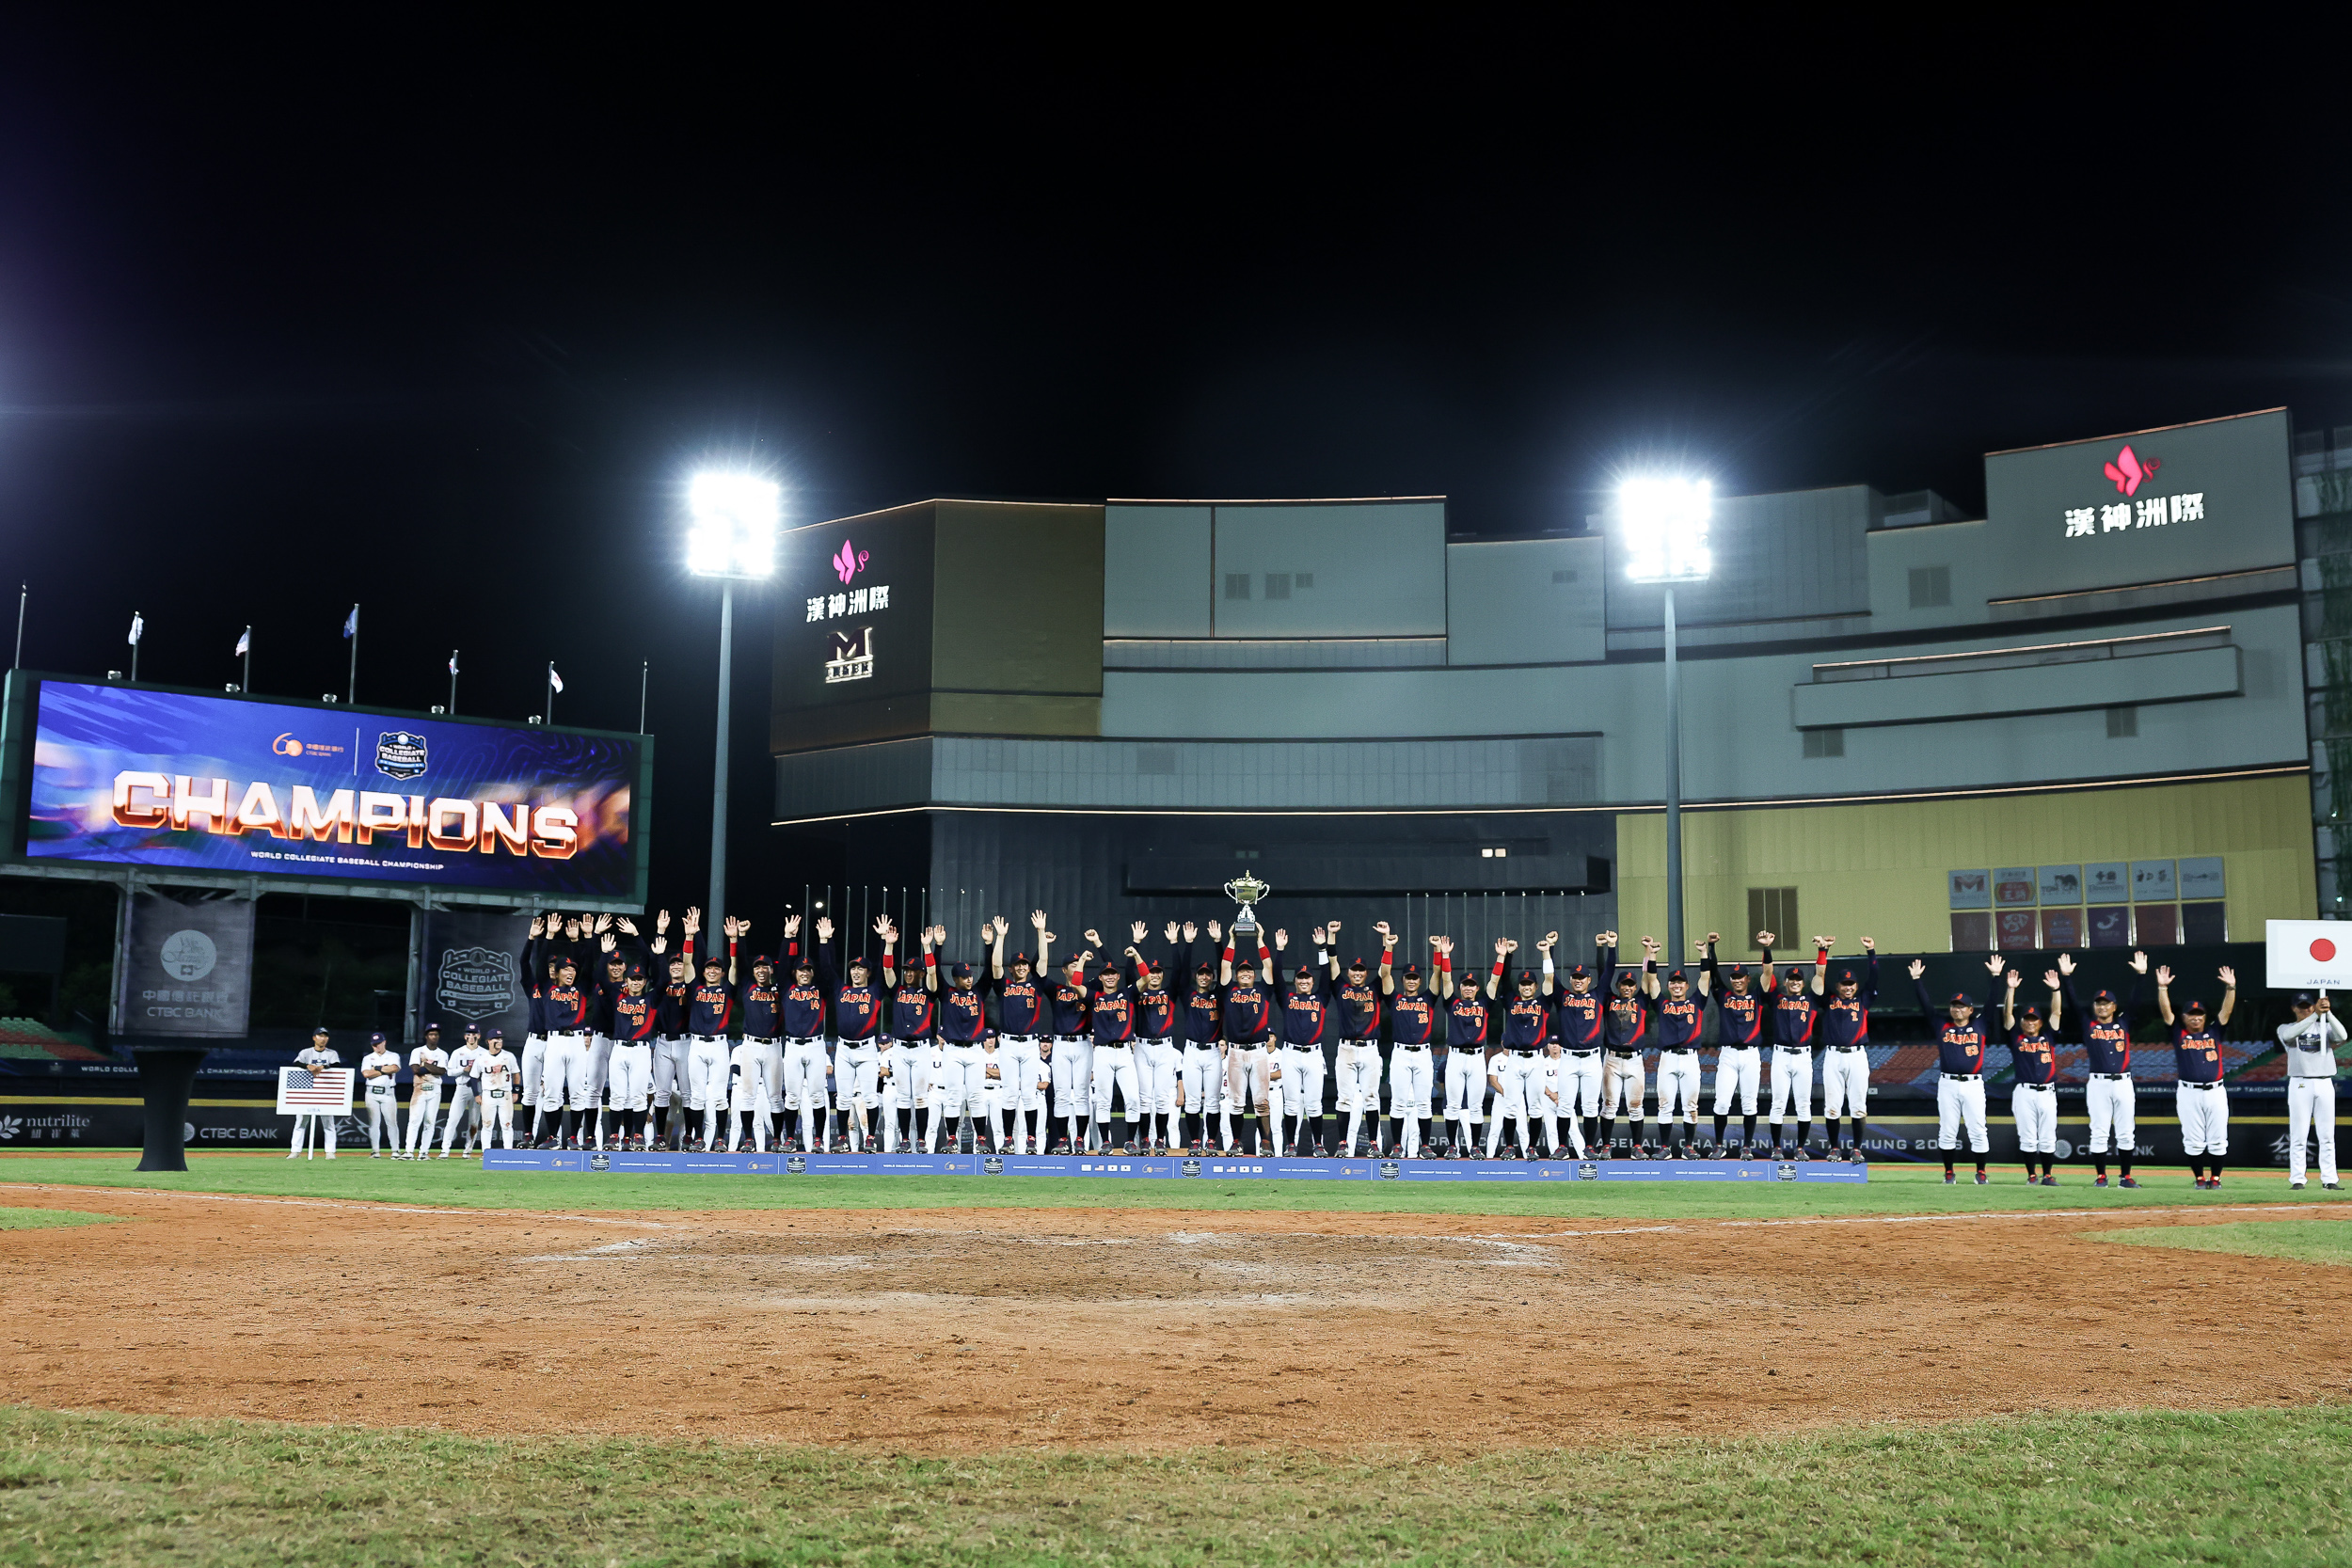
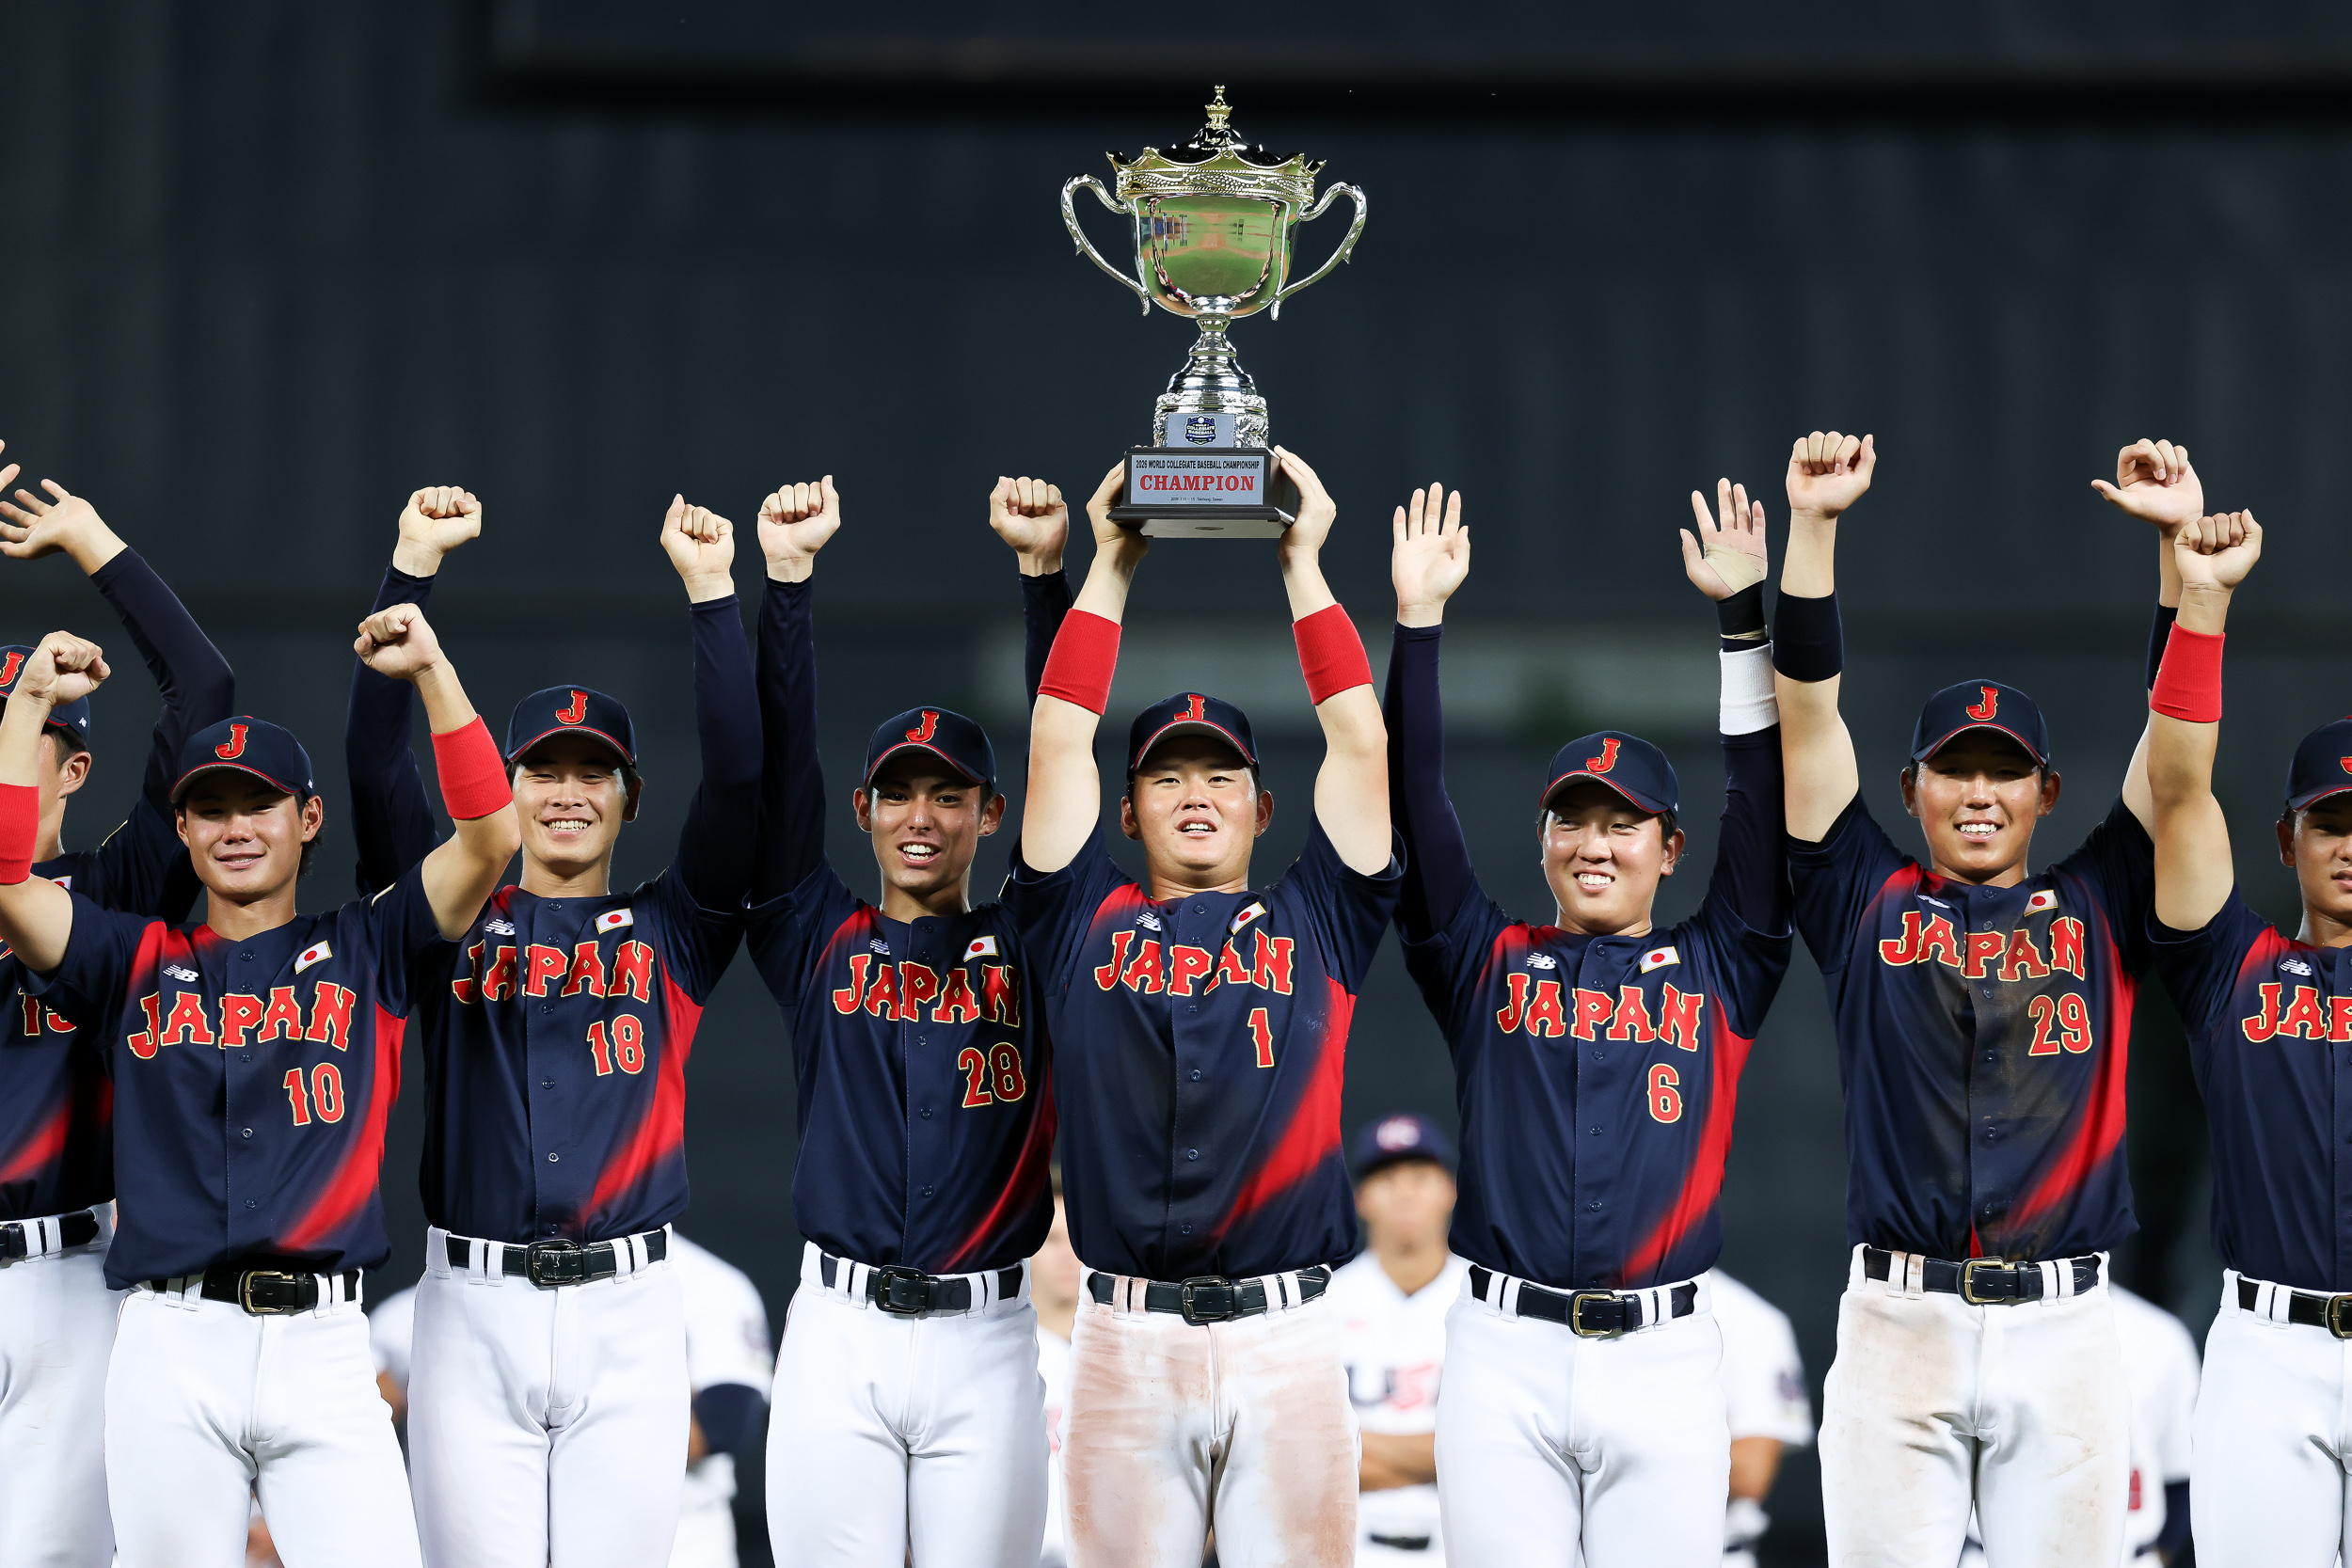
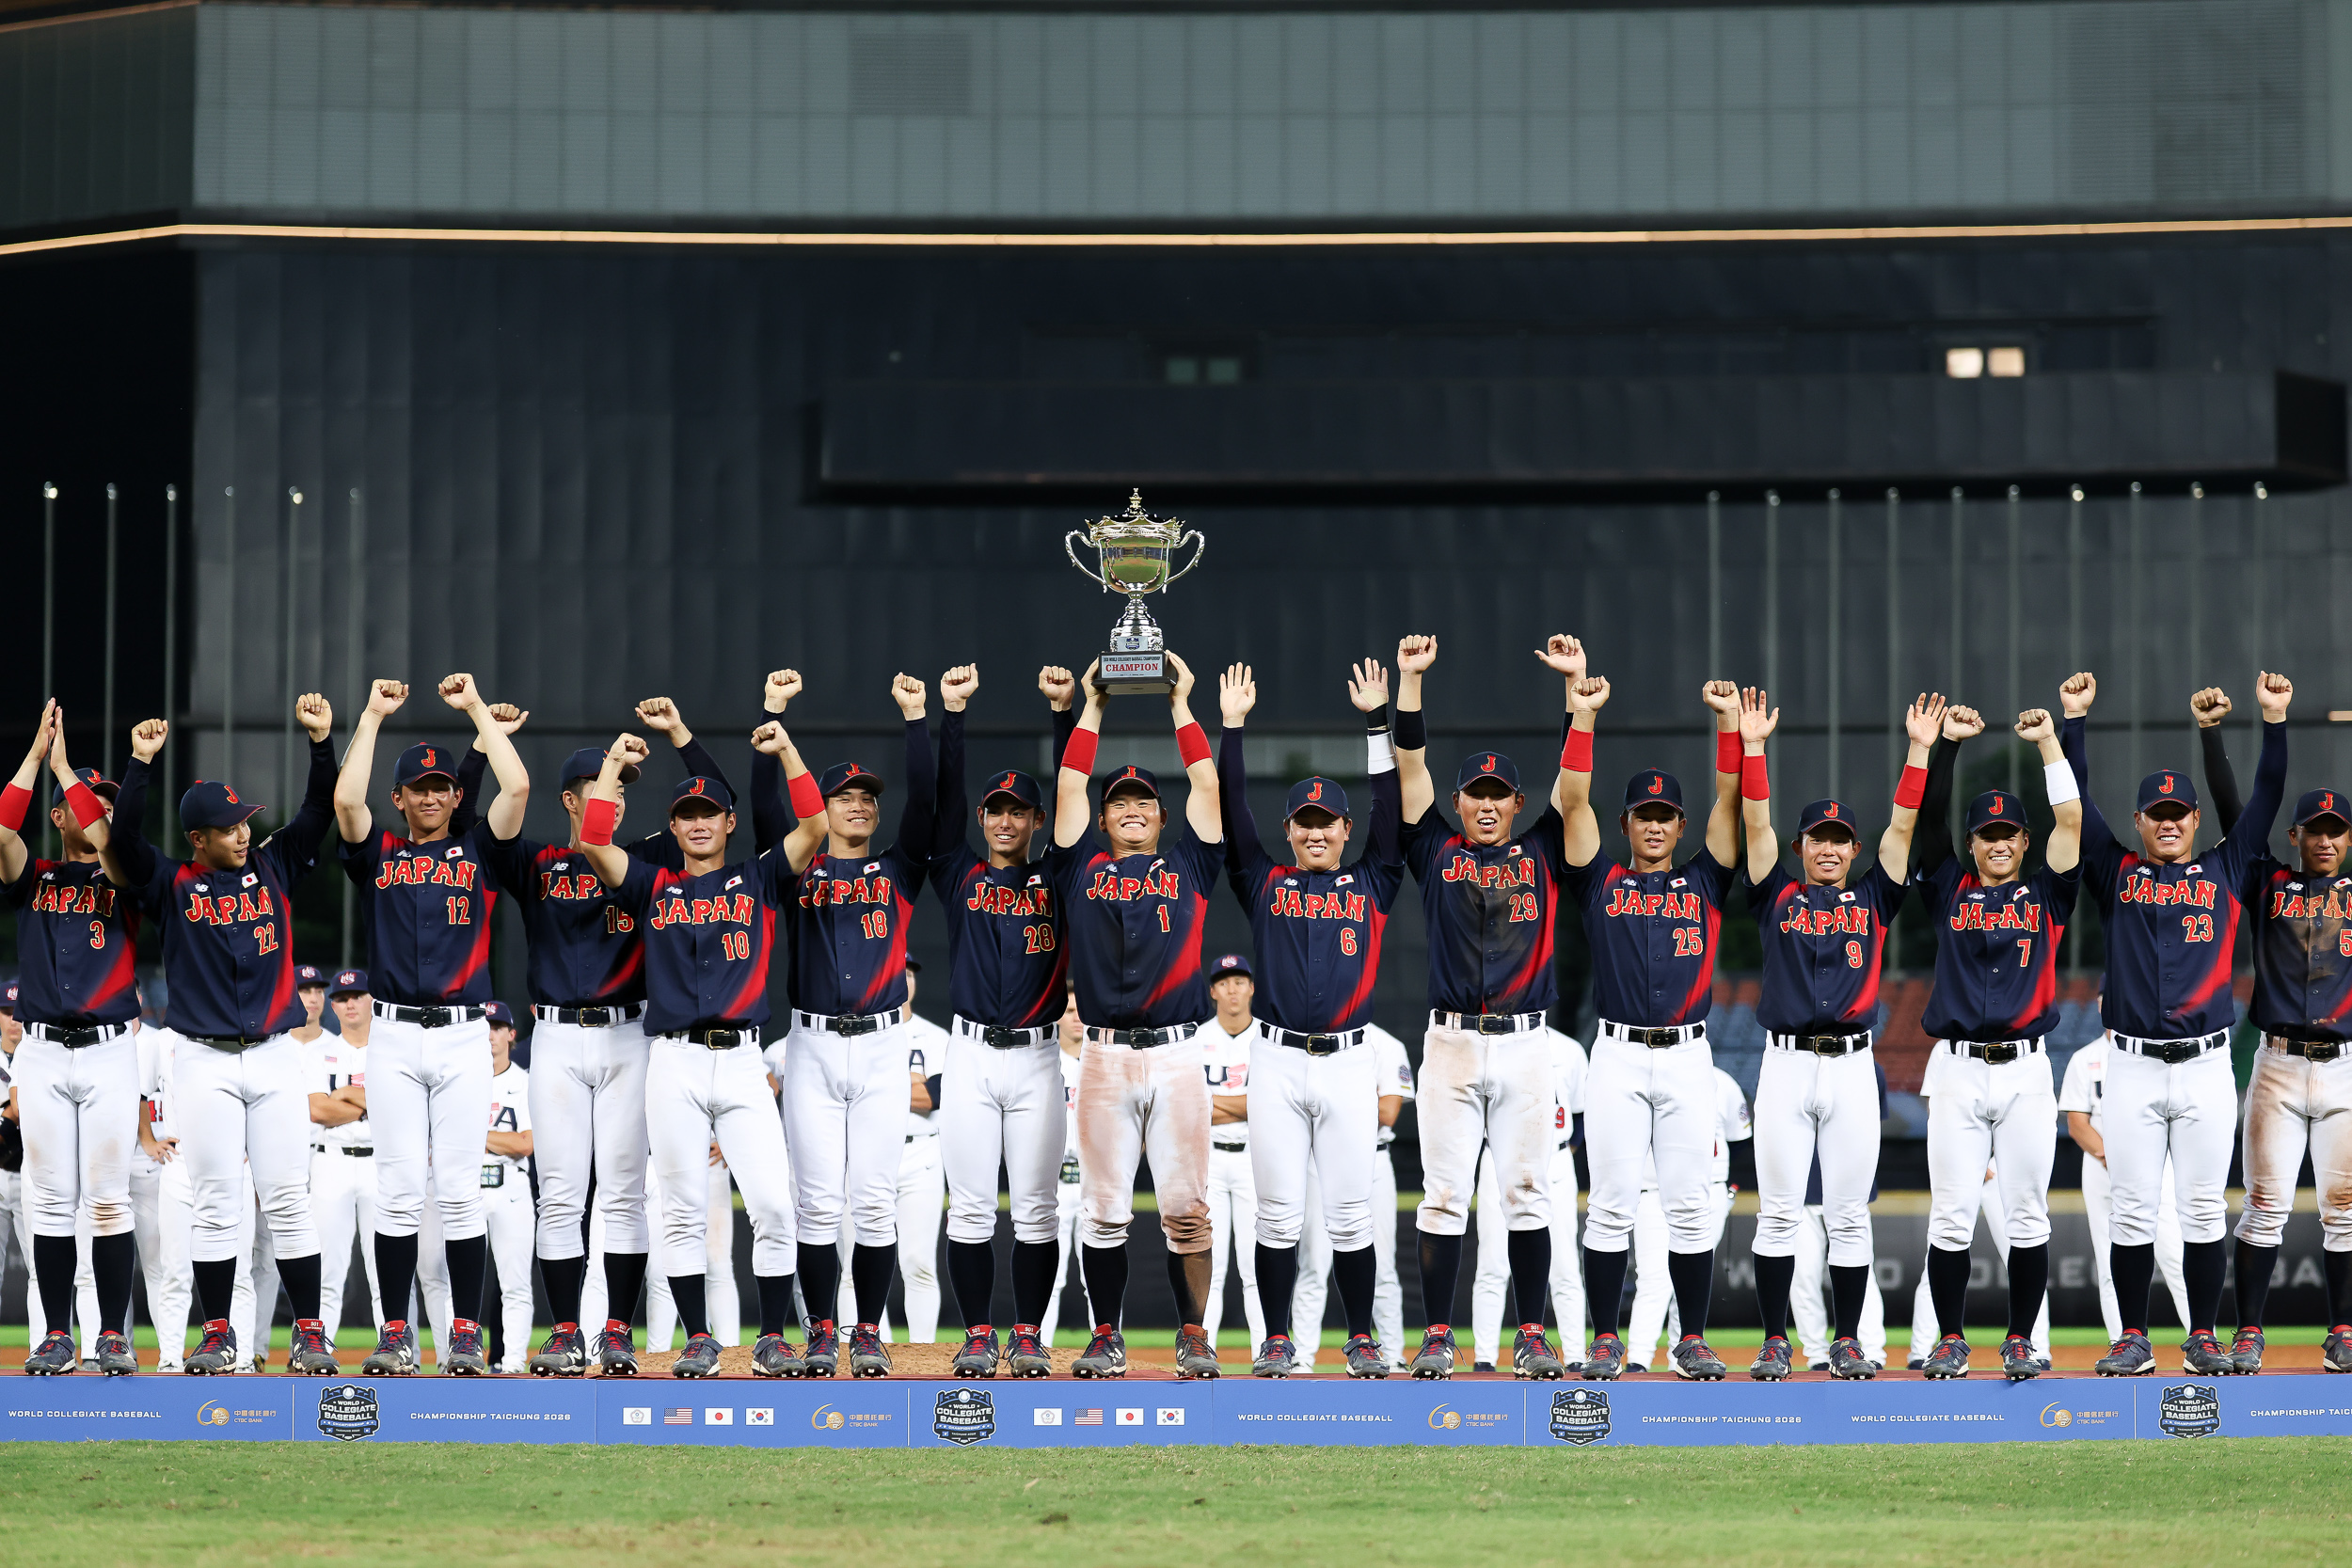
Real-Time Transmission & Data Management Workflow
Major international tournaments (FIFA World Cup, WBC, Olympic Games) utilize dedicated picture editors and direct FTP camera transmission. However, standard commercial events require photographers to do self-editing and filing on-site.
Having pre-rated my images in-camera, I ingest JPGs inning-by-inning into my laptop for rapid editing (cropping, exposure adjustment, sharpening), apply metadata & captions, and send images to client platforms in real time. Upon returning to the studio, I archive everything into a structured directory on an external SSD and local RAID storage:
|
ARCHIVAL FOLDER STRUCTURE: 📁 Highlights Folder: Curated selection of all live-filed images from the event. 📁 Daily JPG Archive: Complete archive of all JPG files captured throughout the day. 📁 Daily RAW Archive: Complete original RAW files retained for commercial/print licensing. |
Key Feature Spotlight: Canon R1’s Pre-Continuous Shooting
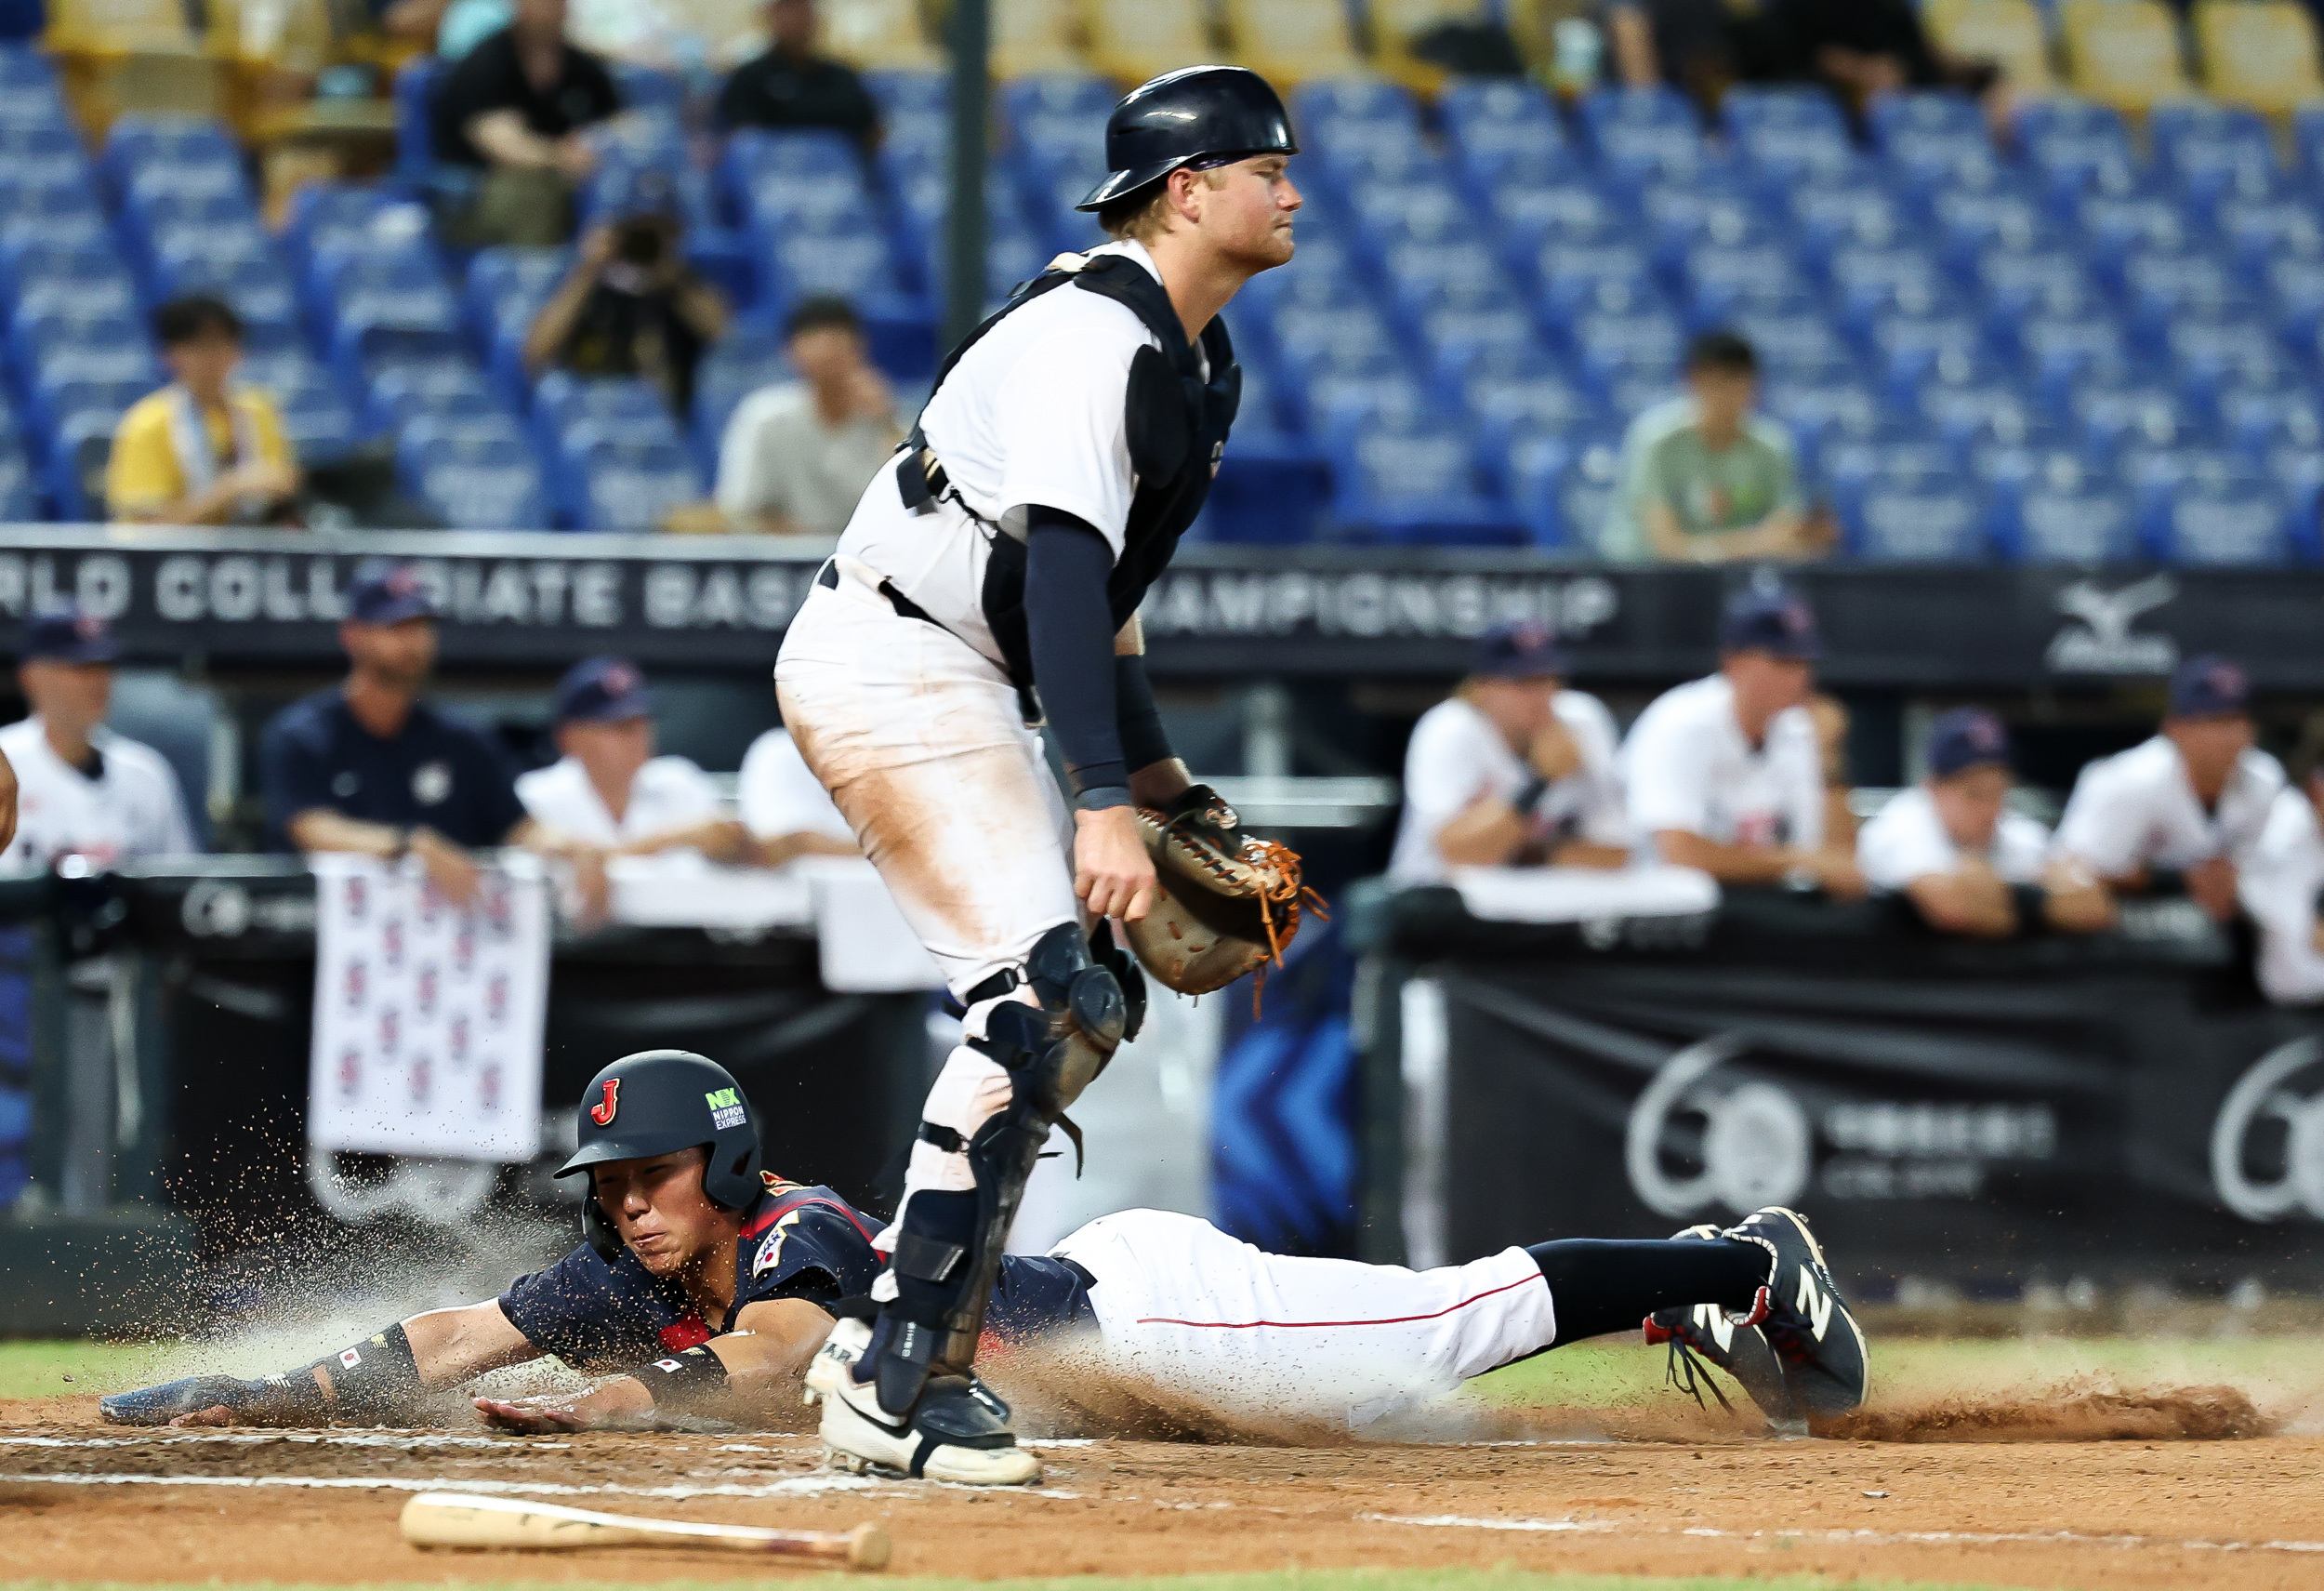
Having covered my overall workflow during this shoot, I’d like to highlight one feature on the Canon R1 that truly stood out: Pre-Continuous Shooting (Pre-Capture).
As the name implies, Pre-Capture allows the camera to start buffering frames the moment you half-press the shutter button. Once you fully press it down, those pre-buffered frames are officially saved to your memory card.
While this feature might offer subtle benefits in casual daily photography, it becomes an absolute game-changer in Pro-Sports photography, where unexpected split-second moments define the outcome.
In traditional sports coverage—such as a baseball game—the shooting sequence relies heavily on human reaction time:
Visual Perception (spotting a pitch, hit, or defensive play) ➔ Cognitive Signal (brain instructing the hand to press the shutter) ➔ Capture & Storage (saving frames to the card).
For 70 to 80 percent of scenarios, this traditional reflex chain works flawlessly. However, crucial turning points—like a hit-by-pitch or the exact millisecond of bat-to-ball contact—often happen faster than human reaction time. By the time your finger depresses the shutter, the key moment has already passed. Pre-Capture was engineered precisely to bridge this reaction gap.
While pre-capture is not entirely new to the high-end mirrorless market—and the Canon R1’s 0.5-second pre-buffer duration isn’t the longest—its execution strikes a sweet spot for professional sports shooters. Capturing up to 20 full-resolution 24.2-megapixel frames in that half-second window, complete with simultaneous RAW+JPEG recording, delivers an ideal balance.
For professional sports workflows (especially when paired with dual 1TB CFexpress Type B cards), this configuration hits the sweet spot between capturing unmissable action, managing storage capacity, and keeping post-game image selection manageable.
Conclusion
Being a sports photographer is a balancing act. Having client bookings is fantastic—it provides the financial foundation to sustain your career. Having passion is crucial—it fuels your dedication through exhausting game days. Having top-tier flagship gear is incredible—it removes performance bottlenecks and prevents missed moments.
However, never forget that meticulous planning and structured execution are what bind gear, passion, and skill together. Delivering high-quality images efficiently under tight deadlines is what makes clients consistently return to hire you time and time again.
Gear List Used in This Field Test
Gear List
Camera Body:Canon R1、R5 II
Camera Lens:
RF 15-35mm F2.8L IS USM
RF 24-70mm f/2.8L IS USM
RF 70-200mm f/2.8L IS USM Z
RF 100-300mm f/2.8L IS USM
Accessory:
Canon Speedlite EL-5
Photo Gallery

曾为科技网站编辑以及报社记者,现职 Capture@ 主笔,喜欢研究各式知识,并以经营好新媒体为人生目标。